HS50_advance_level 1_20200522_221201 (1).pdf - 第353页
06/2002 E dition Studen t Guide H S-50 Advance d I 9 Co nveyor Syst em 12 9.3 A djustmen t of the Proxim ity Switc hes PCB S top- per 9 fig 9.3 - 1 P ro ximi ty s witch stop per ➠ Utilize the men u for the extraction of …

Student Guide HS-50 Advanced I 06/2002 Edition
9 Conveyor System
11
➠ Slowly, turn the adjusting screw of the proximity switch amplifier to the right, until the LED light
remains illuminated.
➠ Hold the PCB approximately 5 mm above the PCB conveyor.
– The LED must go out.
➠ If the switching point of the proximity switch amplifier is outside the selected range, correct it
accordingly.
Note:
All adjustments are the same except the location in the machine
9.2.4 Output Conveyor
➠
Slide the PCB over the proximity switch "Output conveyor".
➠ Turn the adjusting screw of the proximity switch amplifier "Output conveyor" fully counterclock-
wise.
– The yellow LED of the amplifier begins to flash.
➠ Slowly, turn the adjusting screw of the proximity switch amplifier to the right, until the LED light
remains illuminated.
➠ Hold the PCB approximately 5 mm above the PCB conveyor.
– The LED must go out.
➠ If the switching point of the proximity switch amplifier is outside the selected range, correct it
accordingly.
➠ Use the instructions for the adjustment of the first conveyor to adjust the second conveyor ac-
cordingly.
06/2002 Edition Student Guide HS-50 Advanced I
9 Conveyor System
12
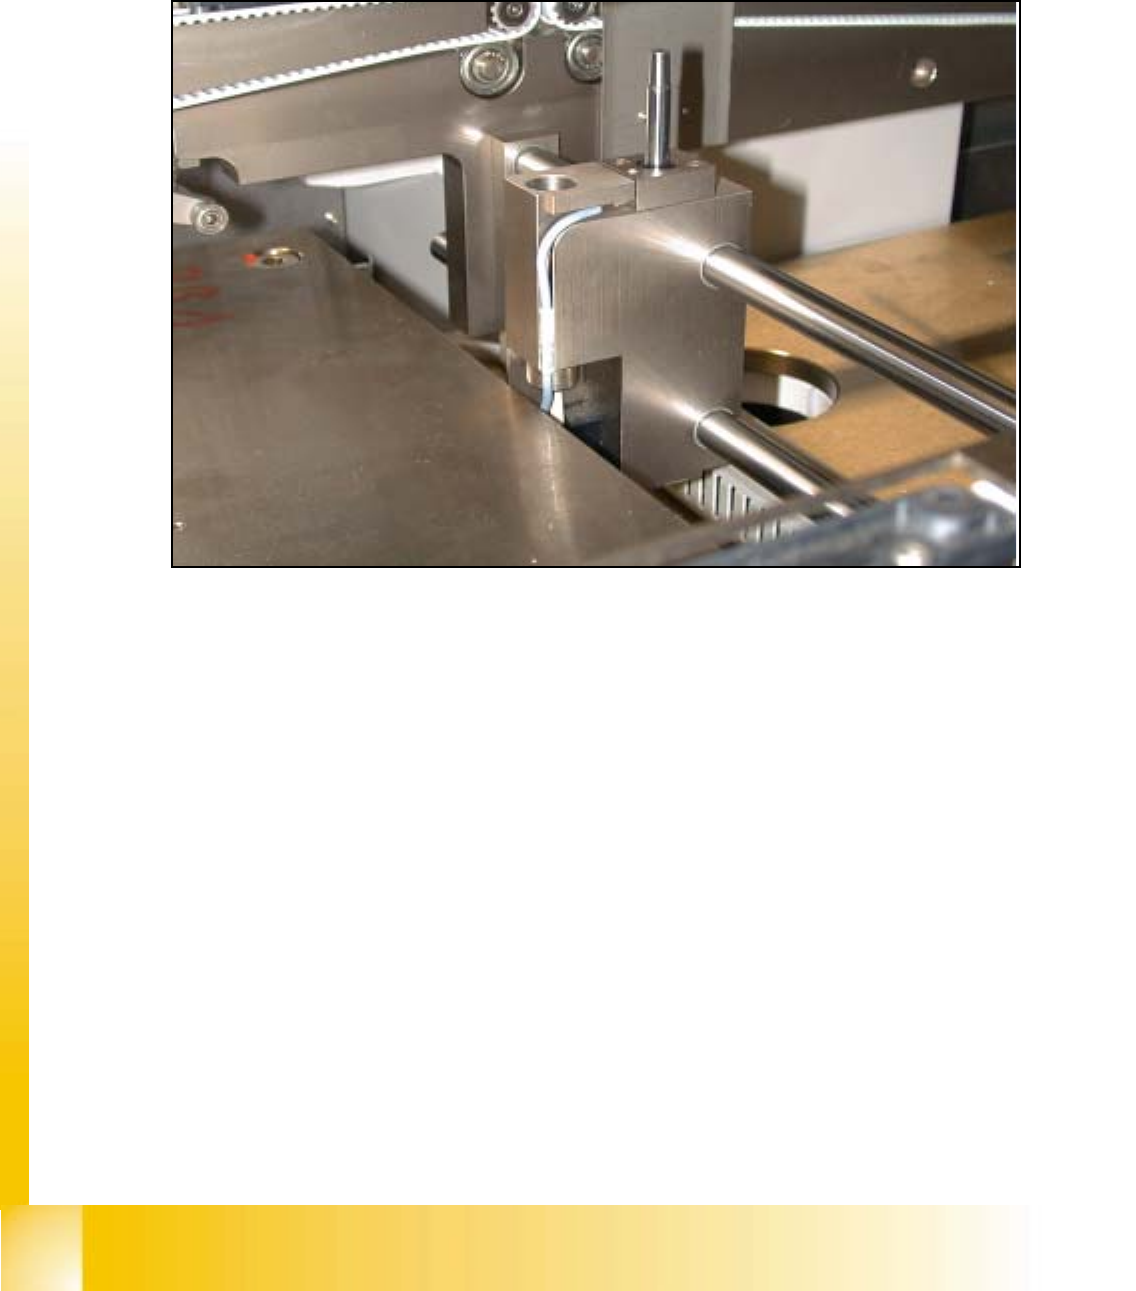
9.3 Adjustment of the Proximity Switches PCB Stop-
per
9
fig 9.3 - 1 Proximity switch stopper
➠ Utilize the menu for the extraction of the PCB stopper.
SITEST: 9
➠ Select "Transport functions" ==> "PCB conveyor 1 or 2" ==> "Stopper 1 (2)
retract / extract".
➠ Carefully, move the proximity switch until contact is reached.
➠ Pull back the proximity switch until a small gap of approximately 0.2 mm is reached, while the
contact must not get interrupted.
Student Guide HS-50 Advanced I 06/2002 Edition
9 Conveyor System
13
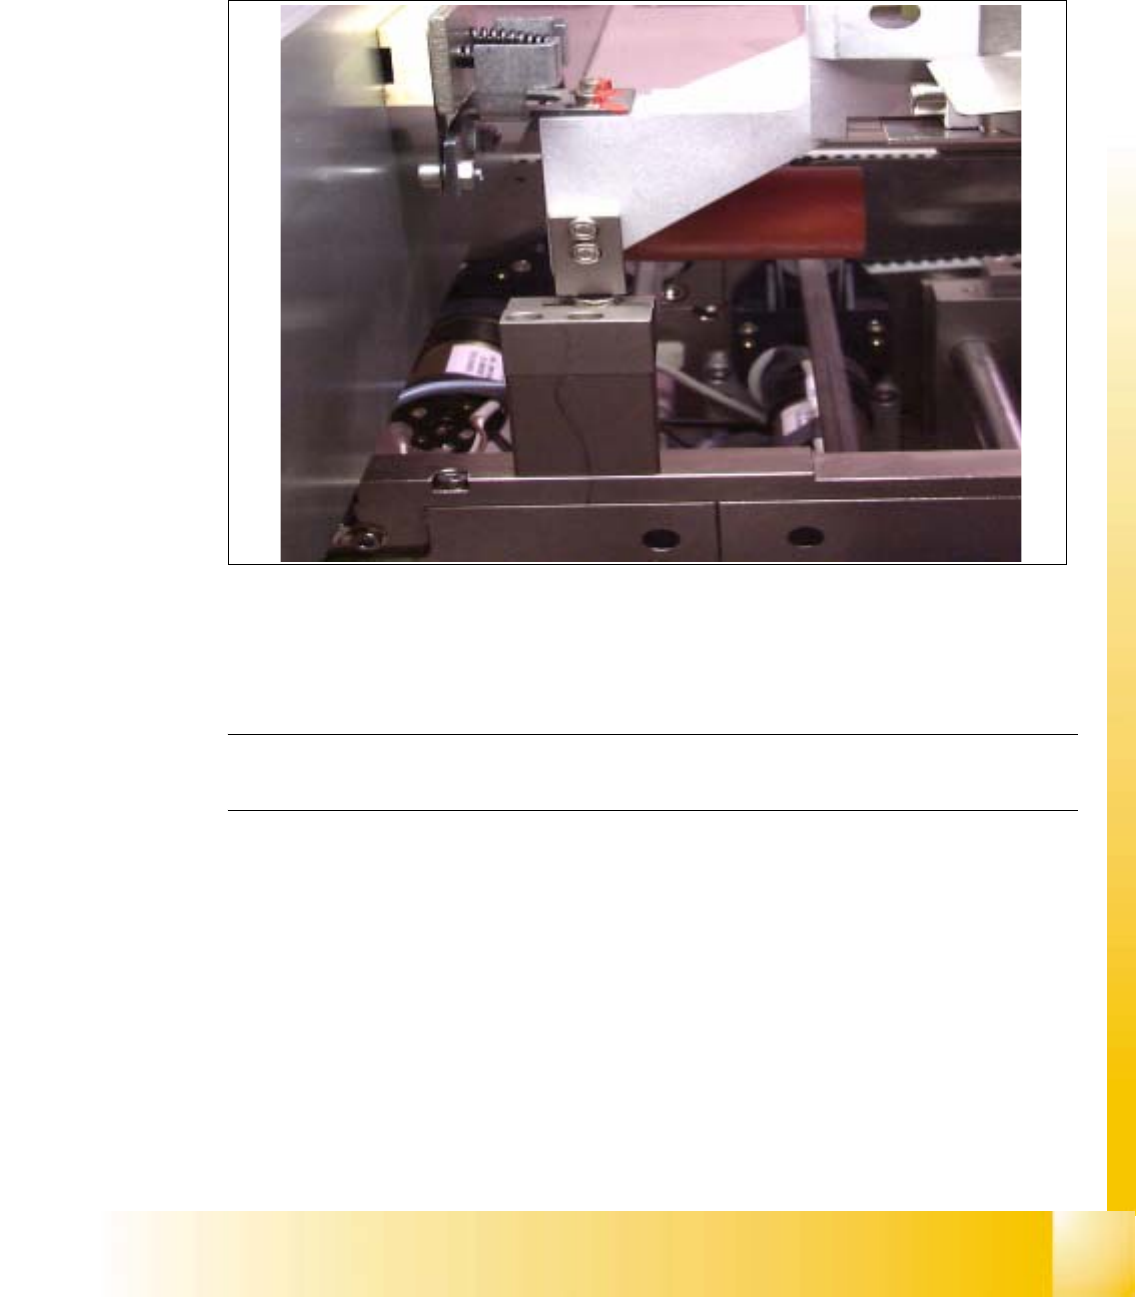
9.4 Limit Switch and Proximity Switch
Width Adjust-
ment
9
fig 9.4 - 1 Distance of proximity switch
9
➠ Position gantry 2 above the proximity switch.
➠ Set a distance of 0.4 mm.
NOTE
Adjust the second conveyor the same way. 9