00197973-10_SM_MaterialTower.pdf - 第79页
0019797 3 - 10 / 02 , 2016 Y Axis SIPLACE Mat. Towe r St ora ge Serv ice Manual © ASM 5- 13 Step 6 Required tension for t he new Y belt is 120Hz ± 2 Hz Tighten the Y b elt by tighten the s crew of the pulley. • Belt Tens…
Y Axis 00197973-10 / 02 , 2016
5-12 © ASM SIPLACE Mat. Tower Storage Service Manual
Step 4
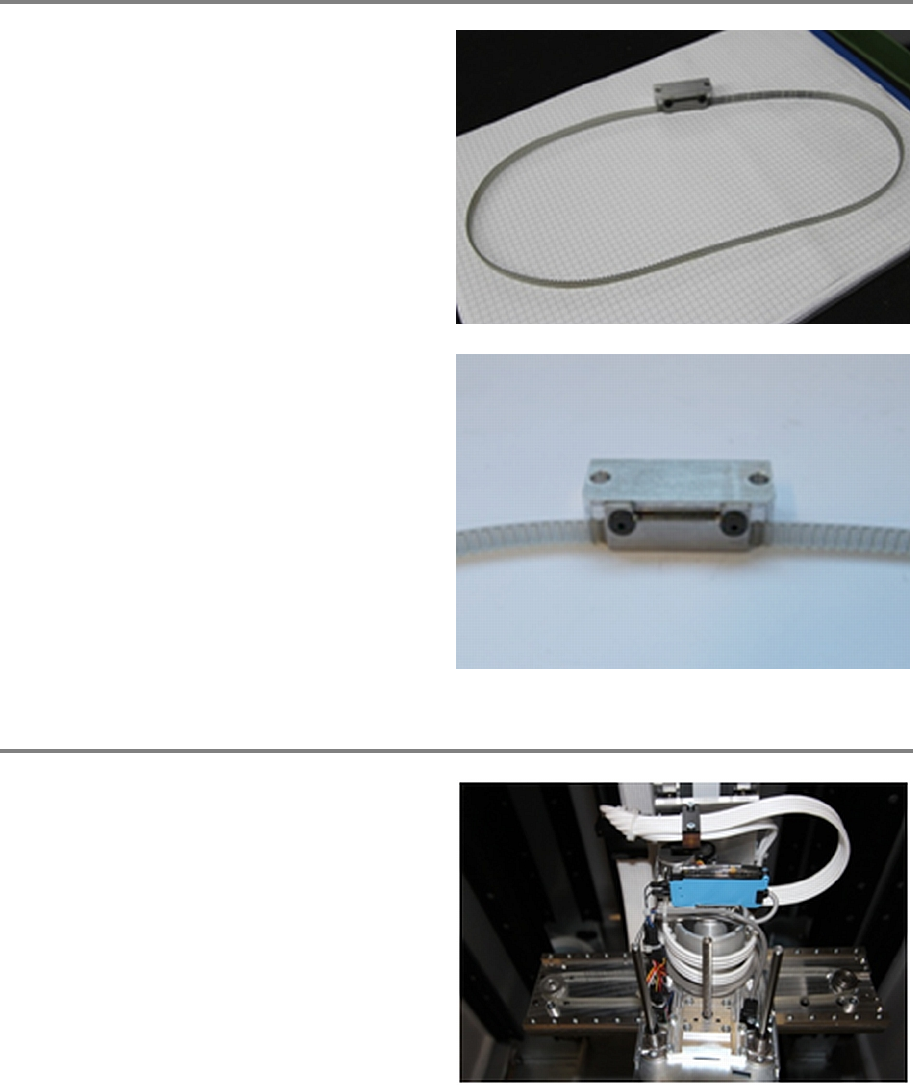
Take out the Y belt including the belt fixation.
Loose the fixation on the Y belt. (Two black
screws from Bossard B1206_M3x8)
Step 5
Put the new Y belt (without the Y belt fixation)
over the motor pulley, underneath the gripper
and over the pulley on the right side.
00197973-10 / 02 , 2016 Y Axis
SIPLACE Mat. Tower Storage Service Manual © ASM 5-13
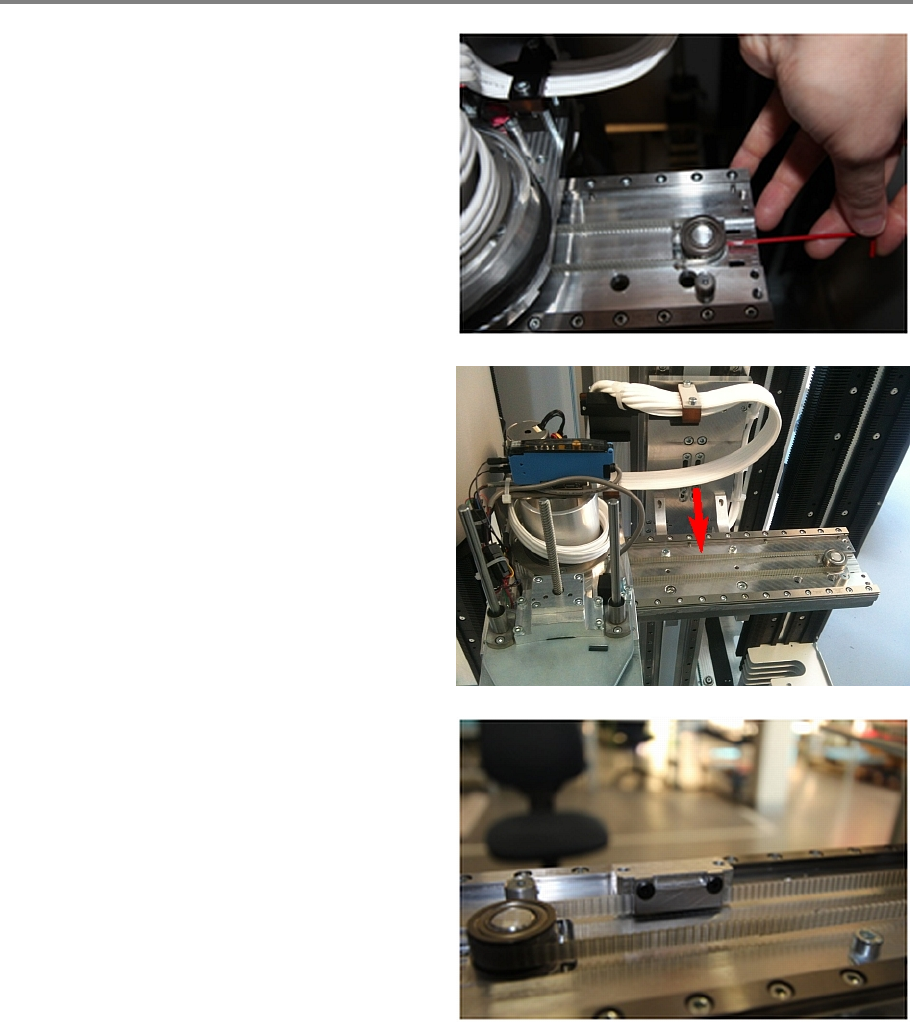
Step 6
Required tension for the new Y belt is
120Hz ± 2
Hz
Tighten the Y belt by tighten the screw of the
pulley.
• Belt Tension Meter
Measure the belt tension with the gripper being
on the far left side. Measure in the middle of the
rear belt.
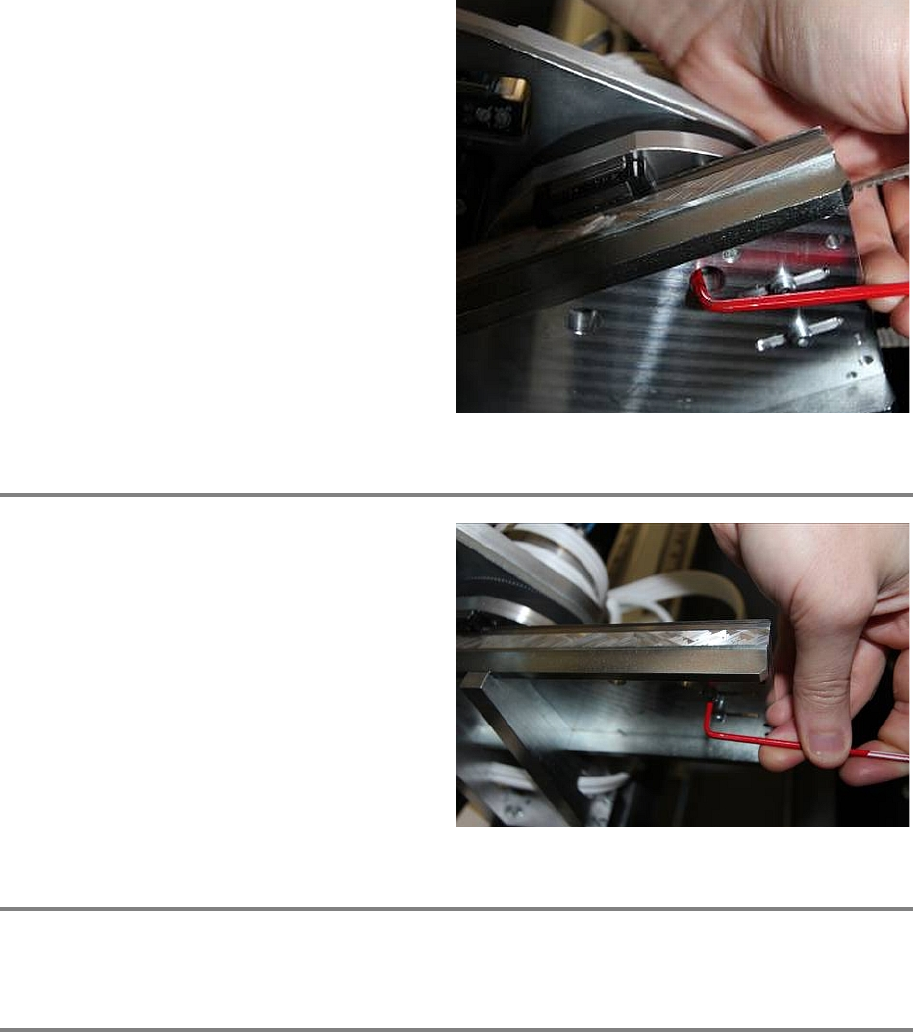
Use Loctite on all screws.
Now fix the Y belt fixation to the front belt as
shown in the picture. Careful the picture is made
from behind for bett
er visibility.
Make sure that the belt is fixed straight in the
fixation and well positioned.
Y Axis 00197973-10 / 02 , 2016
5-14 © ASM SIPLACE Mat. Tower Storage Service Manual
Move the Y belt fixation to the right, push the
gri
pper over it and fix the Y belt fixation to the
gripper through the holes in the Y plate. (Two
screws from Bossard B3_M4x12)
Make sure that the belt cannot slip. Hold the
gripper and slightly pull the Y belt to check this.
Step 7
Use Loctite on all screws.
Once the tension of the belt is correct, fix the
pulley by tightening the screws from below.
Check if the tension of the Y belt is still
120Hz ±
2 Hz
Step 8
Manually pull and push the gripper from left to right to check if the gripper can freely move.
Step 9
Remove all tools and close the doors of the machine.
Plug in the power connector and switch on the machine.
Initialize the machine by means of the software.