Understanding_ the_Cleaning_Process_for_Automatic_Stencil_Printers - 第10页
Clean S tencil Subtr act 1 - 2 prints from the det ermined numb er of prints for your “wipe frequency” Stencil af ter a wiper cycle Understanding the Cleani ng Process fo r Autom atic S tencil P rinte rs
Determining Wiper Frequency Manually
• Inspect the stencil and ensure the stencil is clean
• Print 1 board
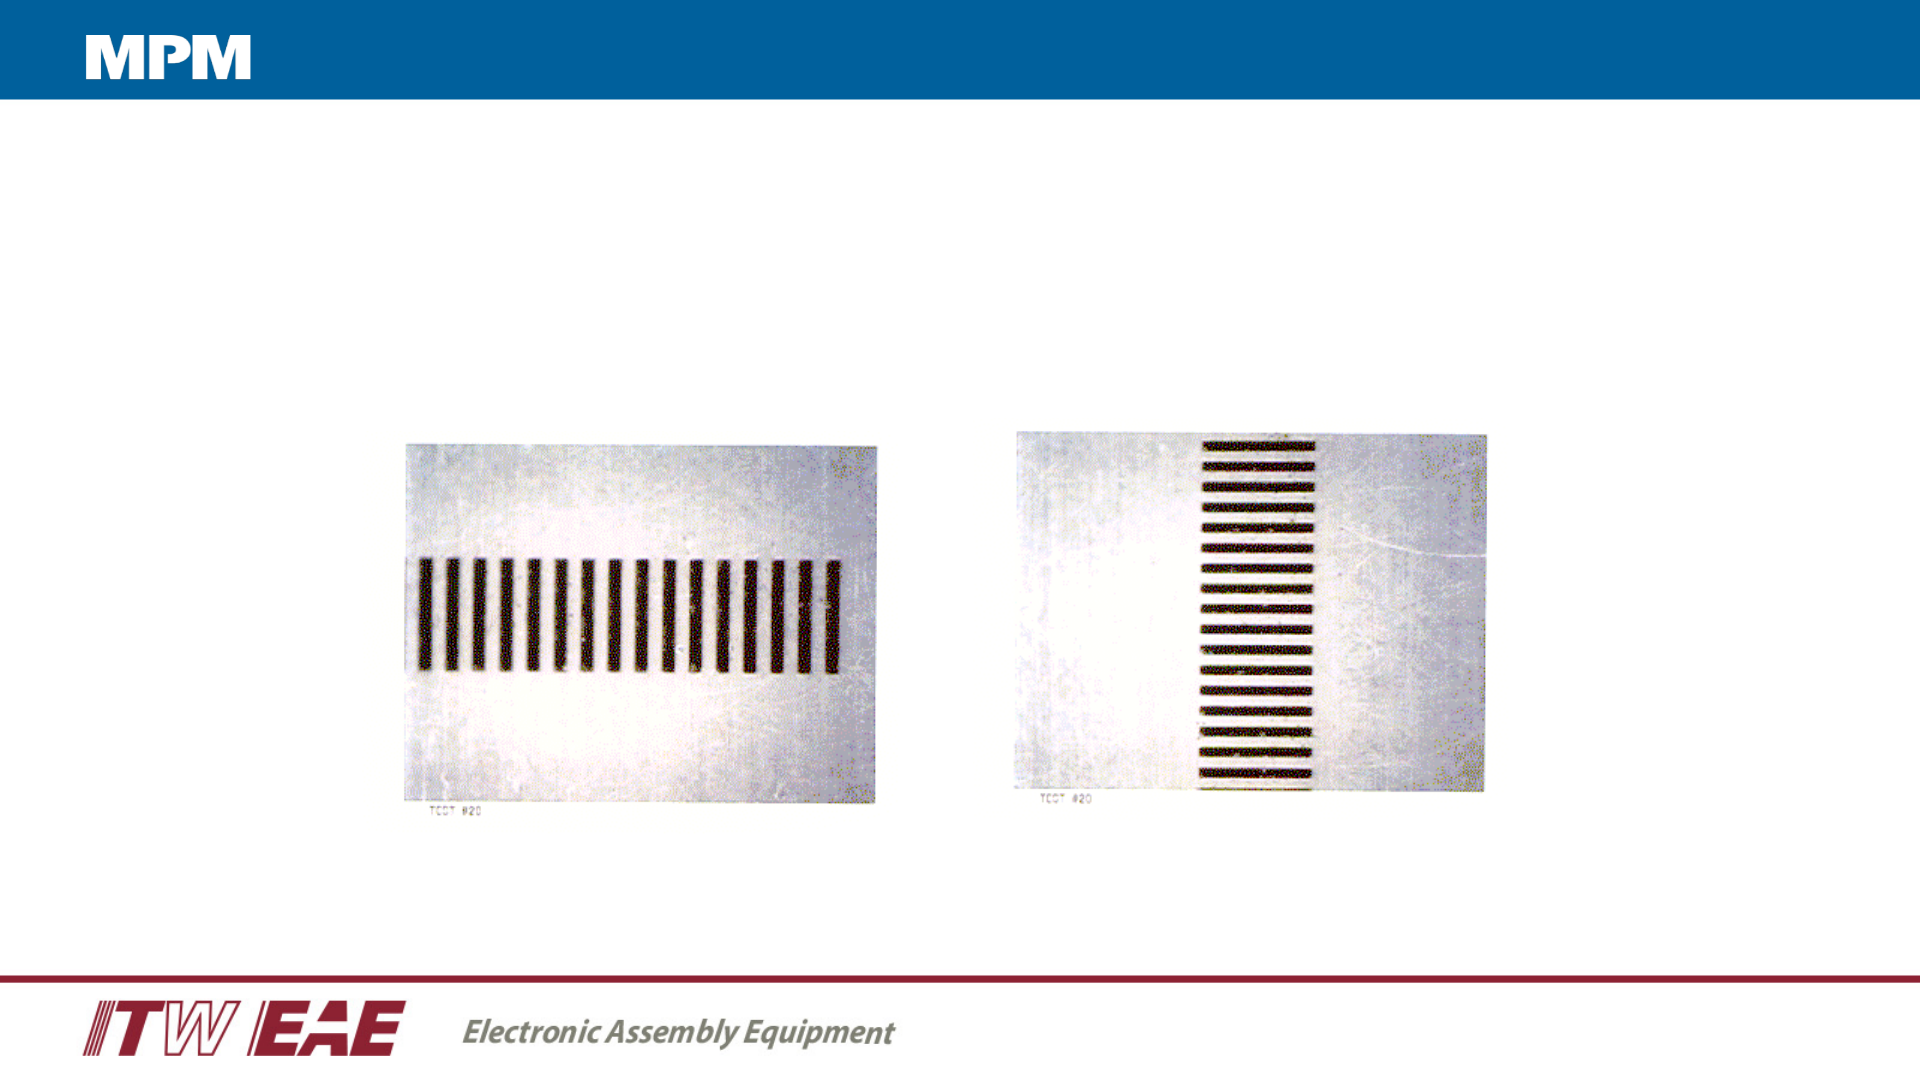
• Jog vision system to inspect stencil bottom surface for paste residue (Squeeze Out)
• If there is no evidence of Squeeze Out, print another 1-2 boards
• Repeat this until you see Squeeze Out
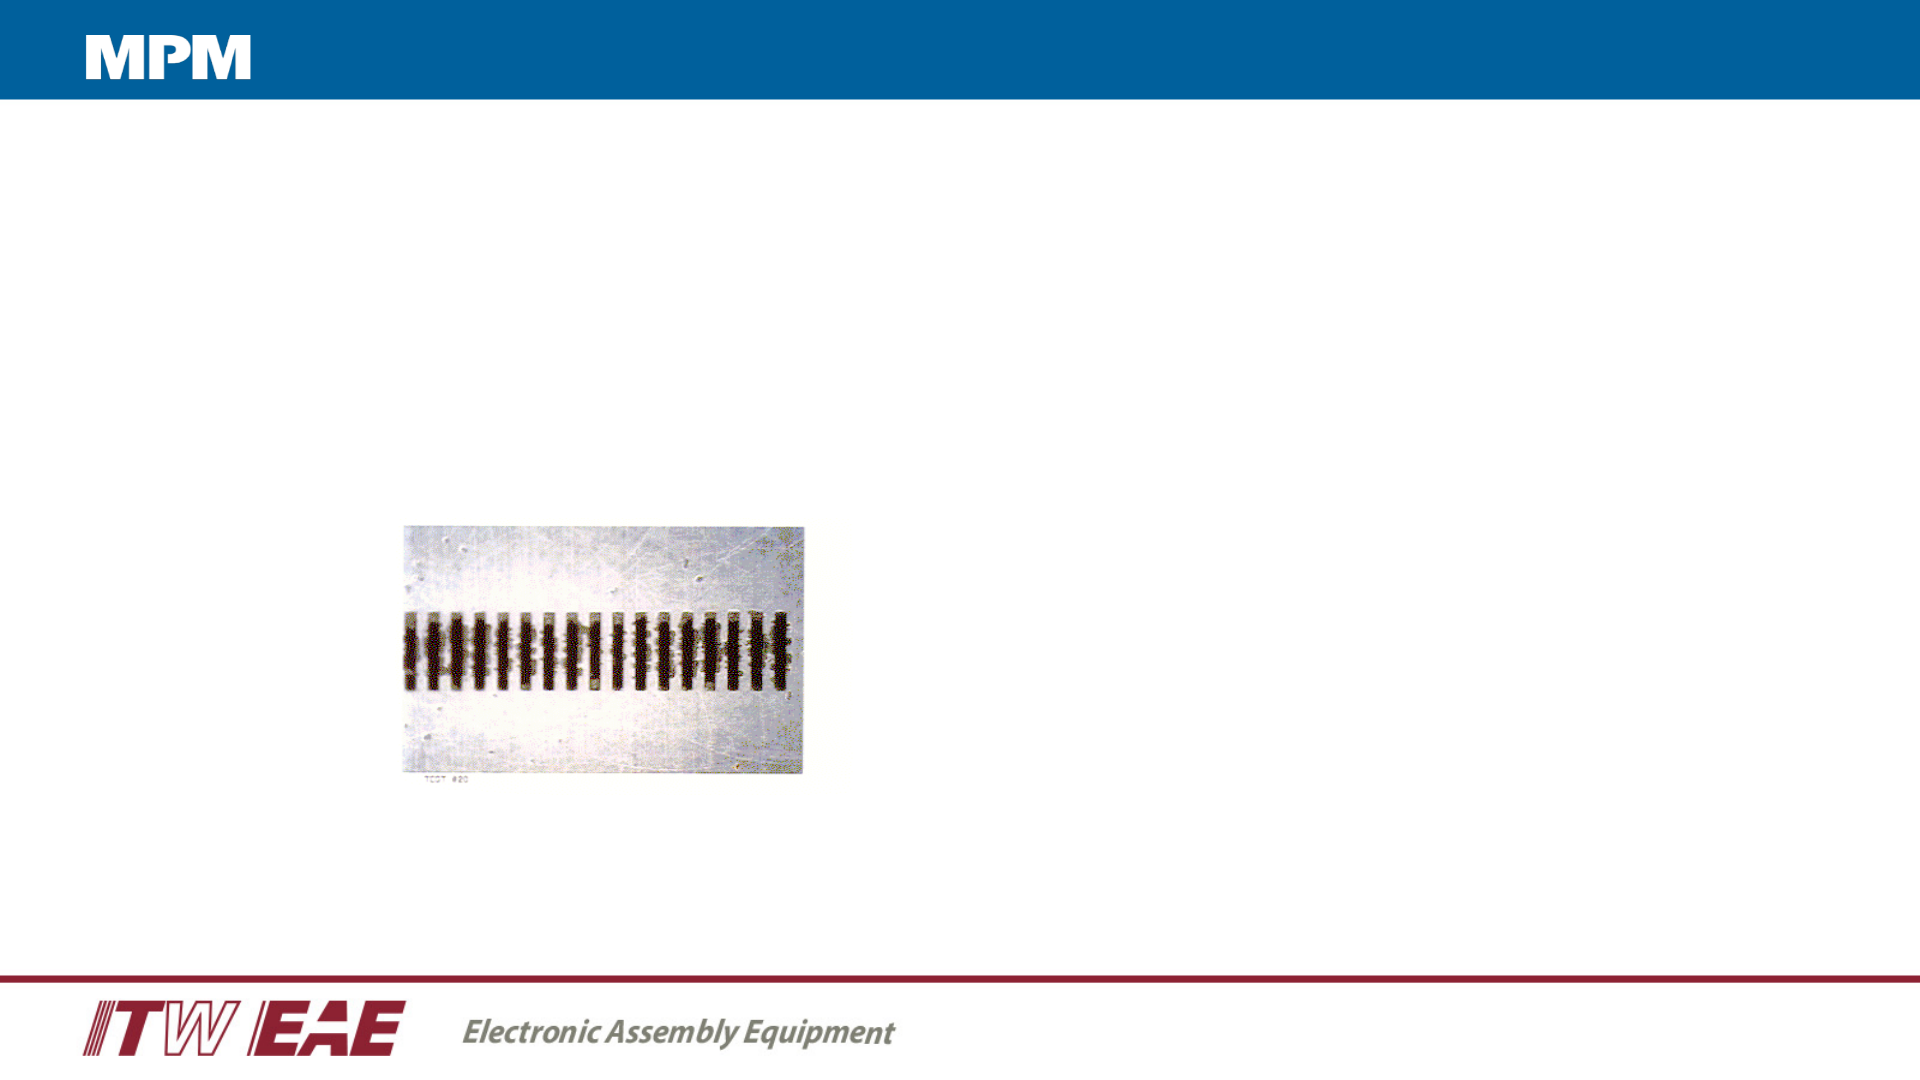
Solder paste residue
bridging the gaps between
the apertures
Understanding the Cleaning Process for Automatic Stencil Printers
Clean Stencil
Subtract 1 - 2 prints from the determined number of prints for your “wipe frequency”
Stencil after a wiper cycle
Understanding the Cleaning Process for Automatic Stencil Printers
Wipe Types
11
• Dry Wipe – most common used – addresses the solder balls on the bottom of the stencil caused by bleed-out from the aperture
• Vacuum Wipe – address the aperture to remove paste and address clogging of the aperture
• Solvent wipe – used to address the flux on the bottom of the stencil
Wipe frequency
• >15 – excellent gasketing – aperture sizes are not challenging
• 10-15 – good gasketing with the occasional anomaly
• 5-10 – Average wipe frequency – some challenging apertures – some gasketing issues
• 2-5 – Poor gasketing – mismatch of materials – stencil design issues – very challenging components
• 1-each print – something is wrong - requiring a wipe after every print – micro components – pushing envelope
Understanding the Cleaning Process for Automatic Stencil Printers