Understanding_ the_Cleaning_Process_for_Automatic_Stencil_Printers - 第9页
Determinin g Wiper F requen cy Man ually • Insp ect the st encil a nd ensu re the s ten cil is clean • Print 1 b oar d • Jog vision sys tem t o inspect stencil bott om sur f ace for past e residue (Squeeze Out) • If ther…
Taking the guess work out of Frequency
• Most customers “Guesstimate” the wiper frequency
• Apply same frequency number to each individual printer program
• Issue: wiping frequency is not linear
• Under-wiping
• Allow paste to build up on bottom of stencil
• Solder balls, bridging poor gasketing
• Allows paste to build up in apertures resulting in clogging and decreased material transfer
• Over-wiping
• Elimination of flux that acts like lubricant during material transfer
• Excess paper and solvent consumption
• Cycle time hit
• Simple DOE can determine a starting point for wiping
• Use of onboard Inspection or down stream SPI is another tool to determine or adjust frequency
8
Understanding the Cleaning Process for Automatic Stencil Printers
Determining Wiper Frequency Manually
• Inspect the stencil and ensure the stencil is clean
• Print 1 board
• Jog vision system to inspect stencil bottom surface for paste residue (Squeeze Out)
• If there is no evidence of Squeeze Out, print another 1-2 boards
• Repeat this until you see Squeeze Out
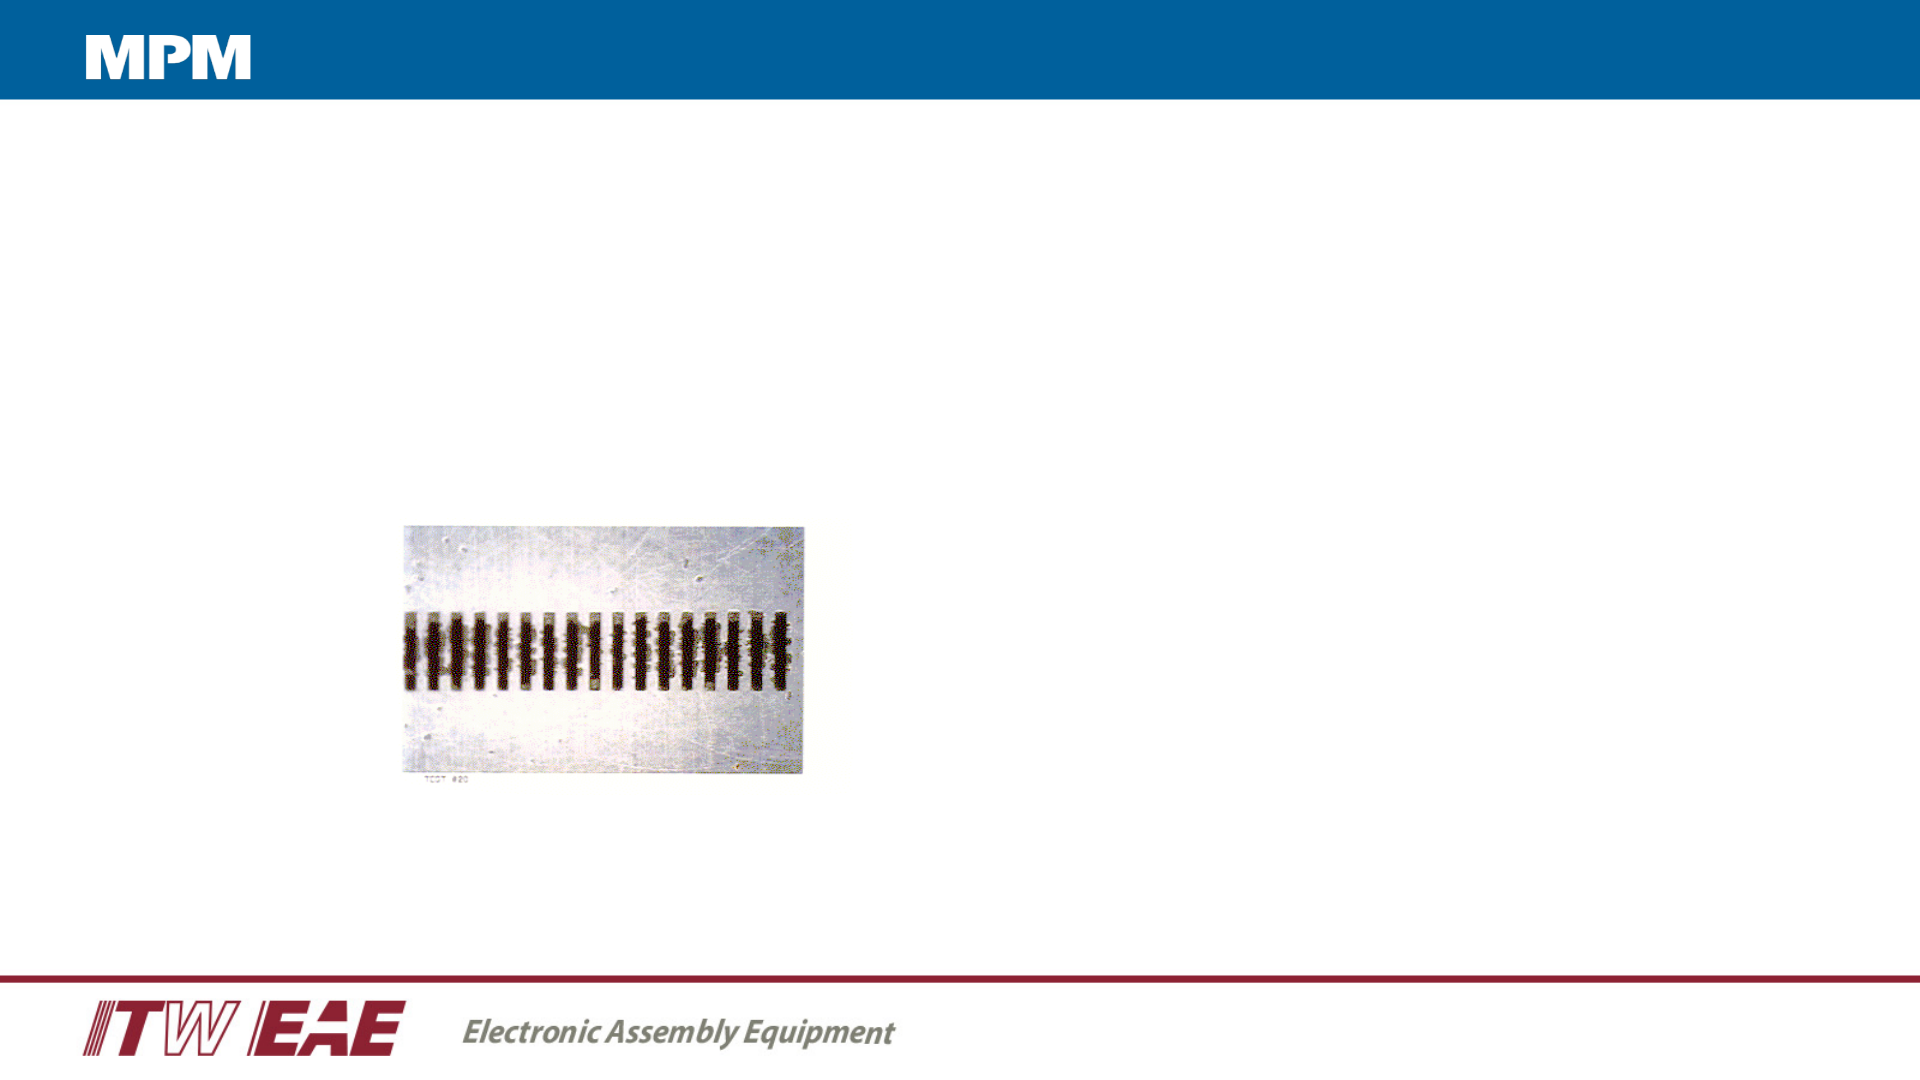
Solder paste residue
bridging the gaps between
the apertures
Understanding the Cleaning Process for Automatic Stencil Printers
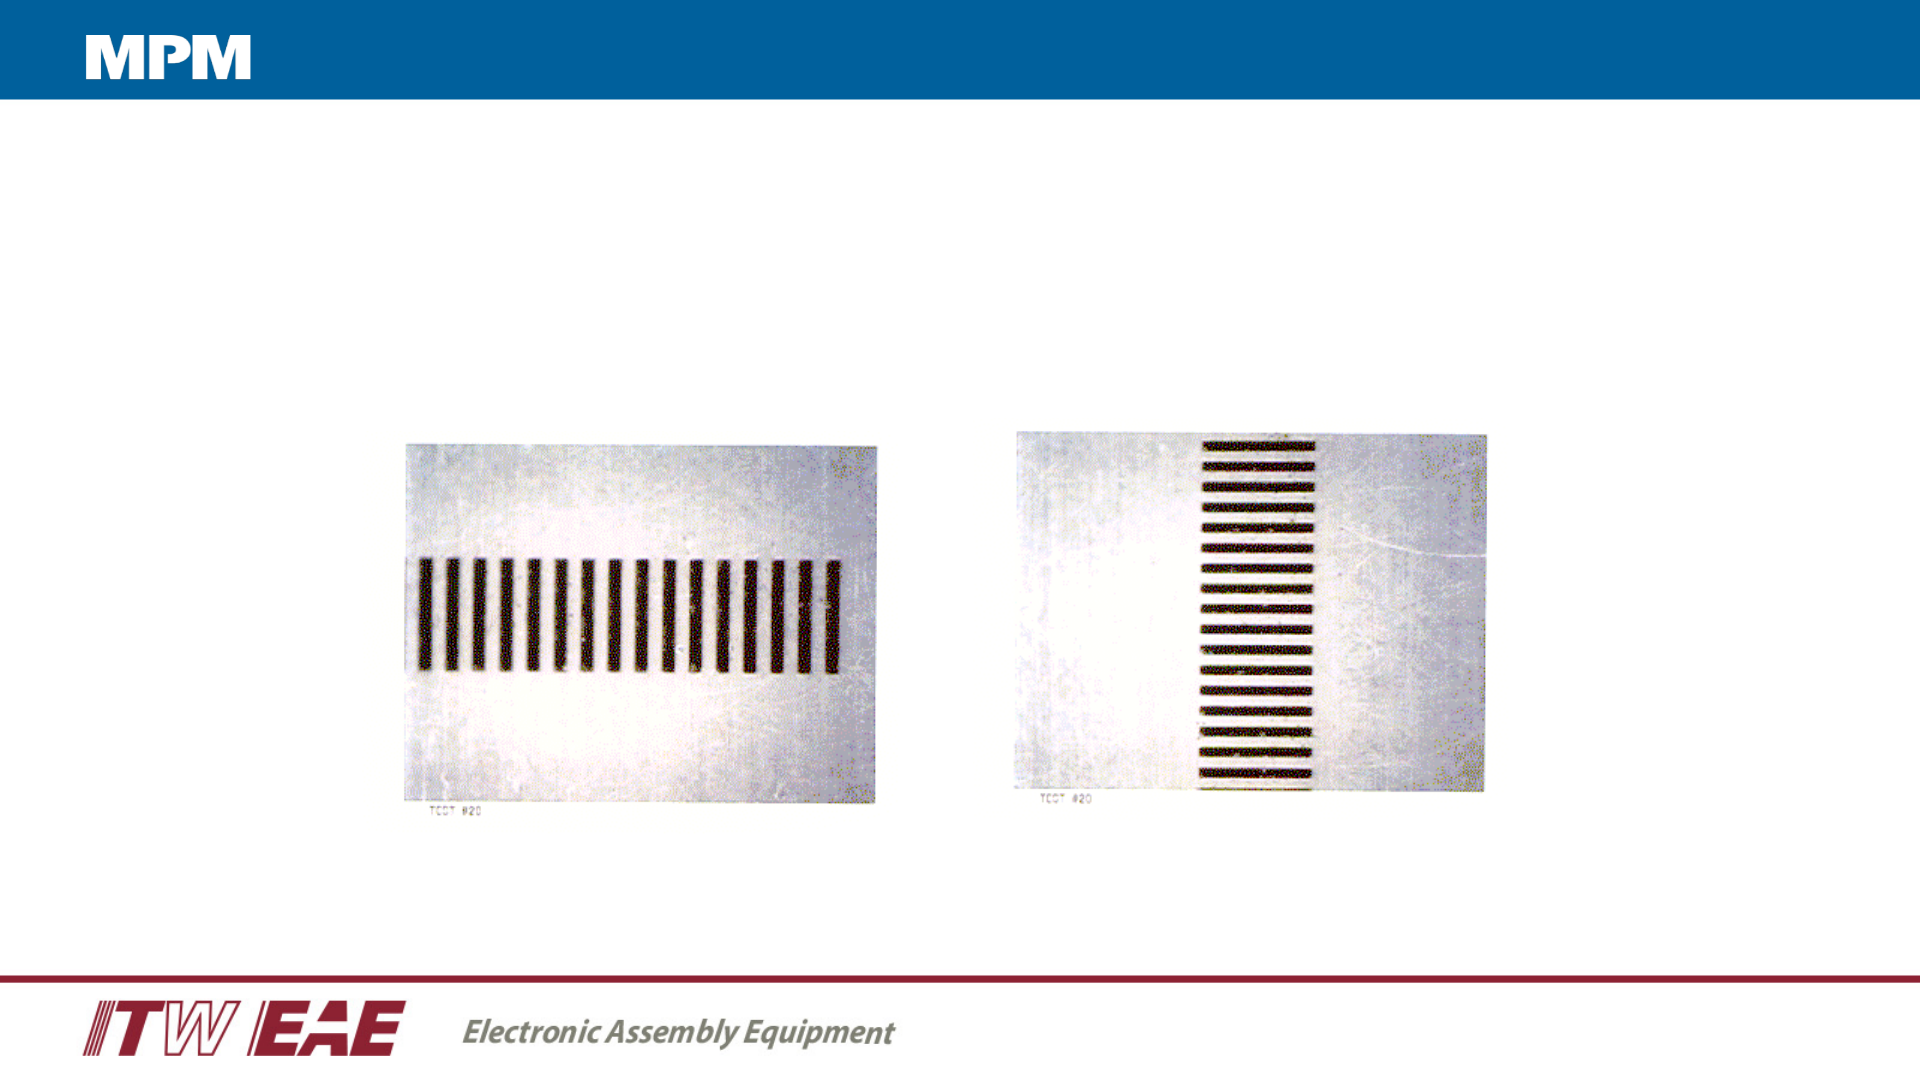
Clean Stencil
Subtract 1 - 2 prints from the determined number of prints for your “wipe frequency”
Stencil after a wiper cycle
Understanding the Cleaning Process for Automatic Stencil Printers