Horizon UserManualV6.pdf - 第349页
SQUEEGEES Fitting the Squeegees From the Status page: 1. Press Setup (F6). Run Open Cover Paste Load Clean Screen Adjust Setup Monitor Maint. 2. Press Setup Squeegee (F4). Mode Load Data Edit Data Setup Squeegee Change S…
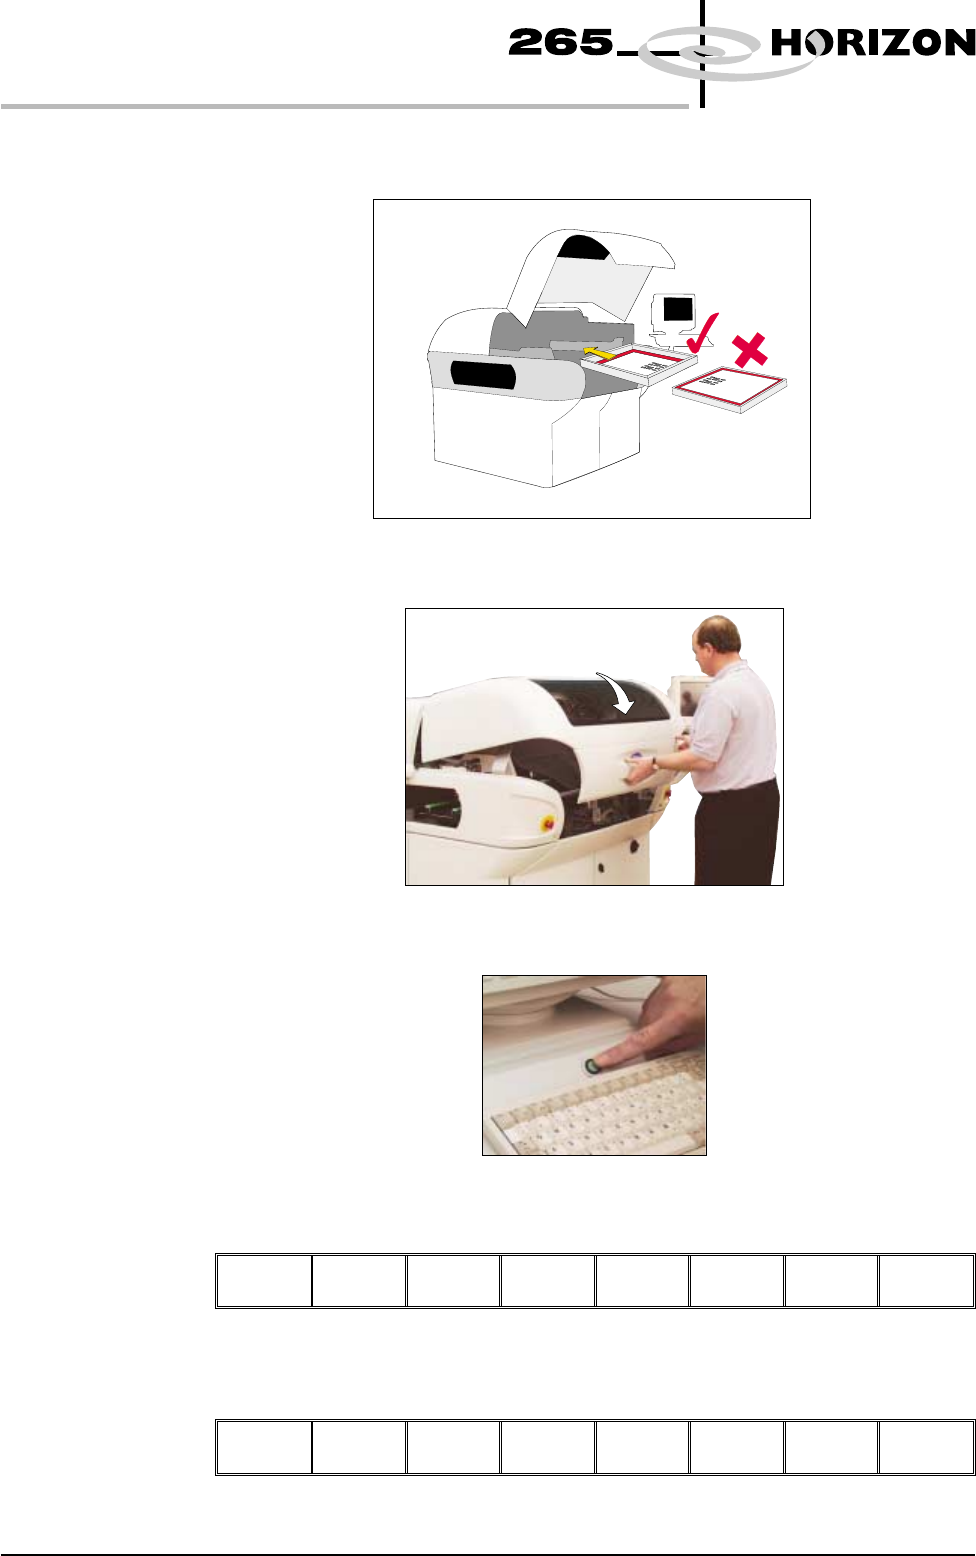
10. Insert the screen into the printer, ensure correct orientation and print
justification.
11. Close the front printhead cover.
12. Press the System button.
13. Press Change Screen (F2).
Change
Screen
Board
Clamps
Prime
Paper
Prime
Solvent
Exit
14. Press Exit (F8).
Change
Screen
Board
Clamps
Prime
Paper
Prime
Solvent
Exit
9.48 User Manual Software Version 6
CONSUMABLE REPLENISHMENTS
VORTEX UNDERSCREEN CLEANER
SQUEEGEES
Fitting the
Squeegees
From the Status page:
1. Press Setup (F6).
Run Open
Cover
Paste
Load
Clean
Screen
Adjust
Setup
Monitor Maint.
2. Press Setup Squeegee (F4).
Mode Load
Data
Edit
Data
Setup
Squeegee
Change
Screen
Change
Tooling
Change
Language
Exit
3. Press Change Squeegee (F1).
Change
Squeegee
Calibrat
Heights
Exit
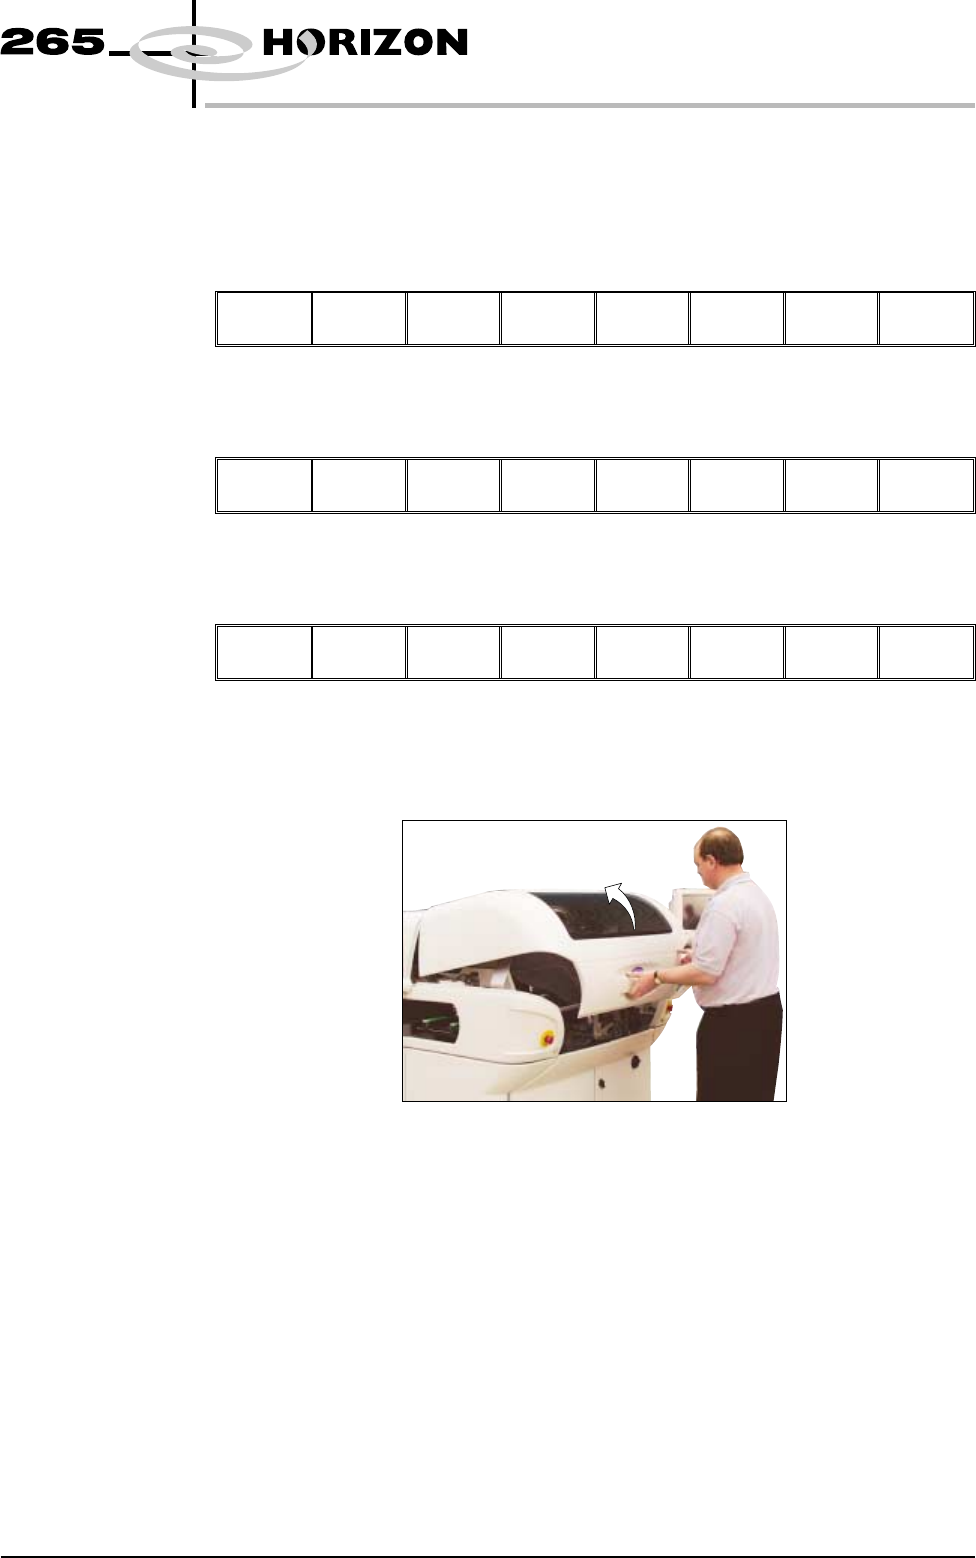
The message ‘Open cover and change squeegees’ is displayed.
4. Open the front printhead cover.
The front and rear squeegees must be fitted in the correct positions. Each
squeegee has a key-way machined into it to ensure that it cannot be incorrectly
fitted.
Software Version 6 User Manual 9.49
CONSUMABLE REPLENISHMENTS
SQUEEGEES
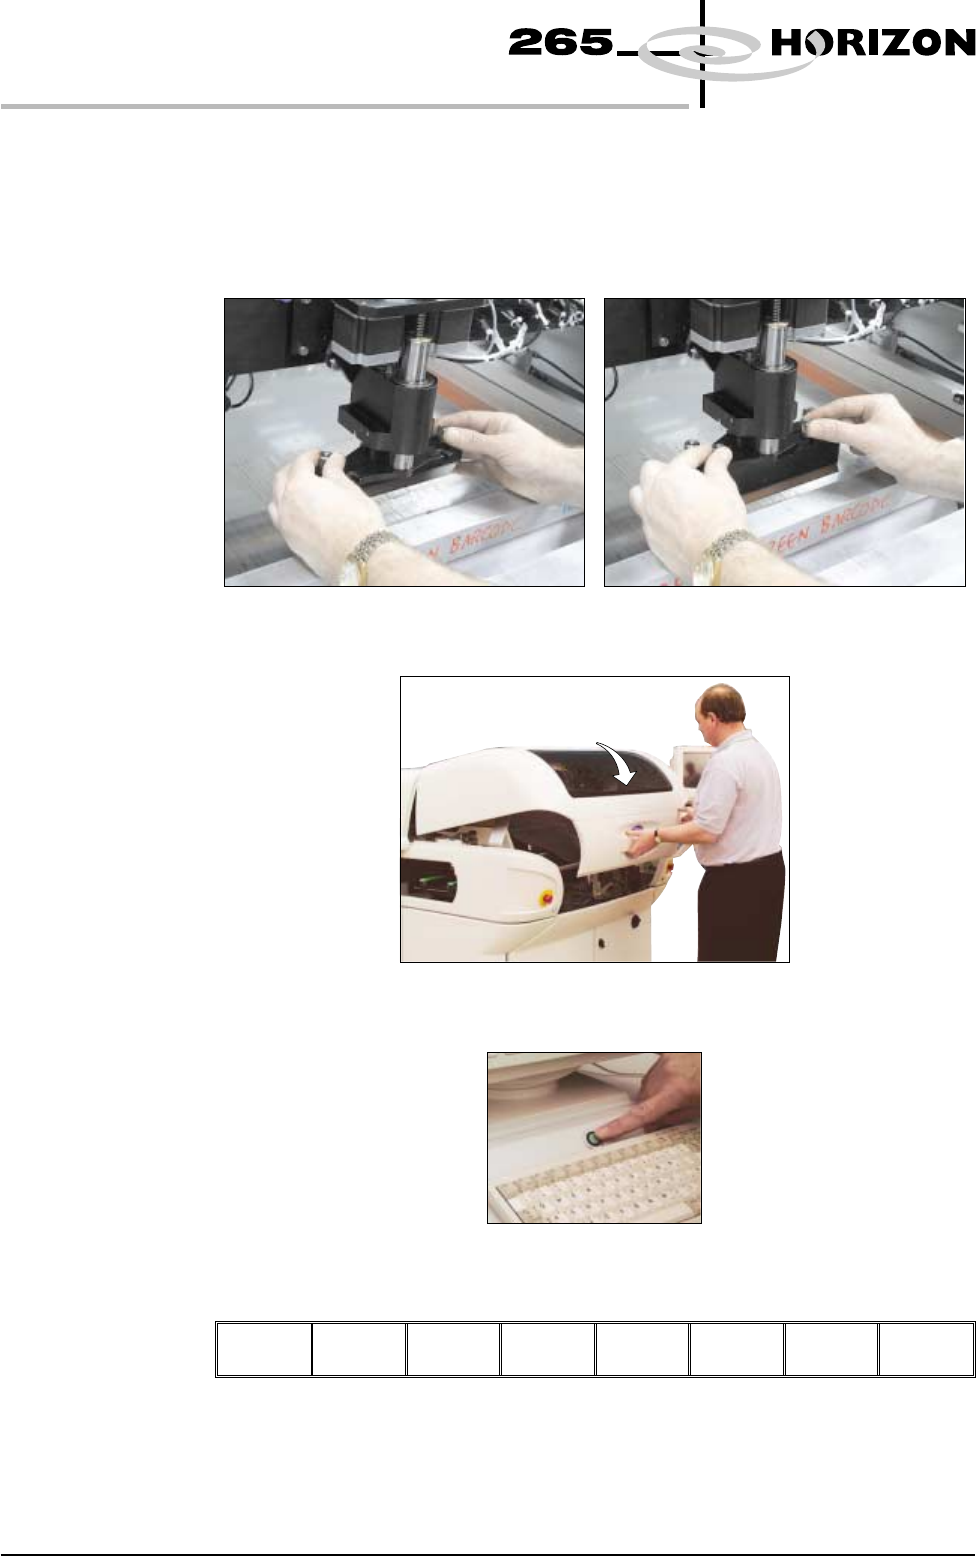
5. Fit the rear squeegee onto the rear squeegee mount tightening the
thumbscrews until they are finger tight.
6. Fit the front squeegee onto the front squeegee mount again ensuring that the
thumbscrews are only finger tight.
7. Close the front printhead cover.
8. Press the System button.
9. Press Continue (F1).
Continue
10. If fitted, remove stencil.
9.50 User Manual Software Version 6
CONSUMABLE REPLENISHMENTS
SQUEEGEES