Horizon UserManualV6.pdf - 第374页
4. Fill the diaphragm until it starts to balloon, this can be spread sideways by massaging the diaphragm with the fingers. 5. Alternatively, fill using all three filling ports for even distribution. NOTE Ensure that only…
18. Select Proceed (F1).
Proceed
Select
Another
The ProFlow unit is placed in contact with the screen.
19. Open the front printhead cover.
Recharging
1.
Ensure that the ProFlow pressure mechanism is in the raised position (to
expose transfer head diaphragm).
2. Remove the centre filling port bayonet cap.
NOTE
The ITC transfer head has one central filling port only.
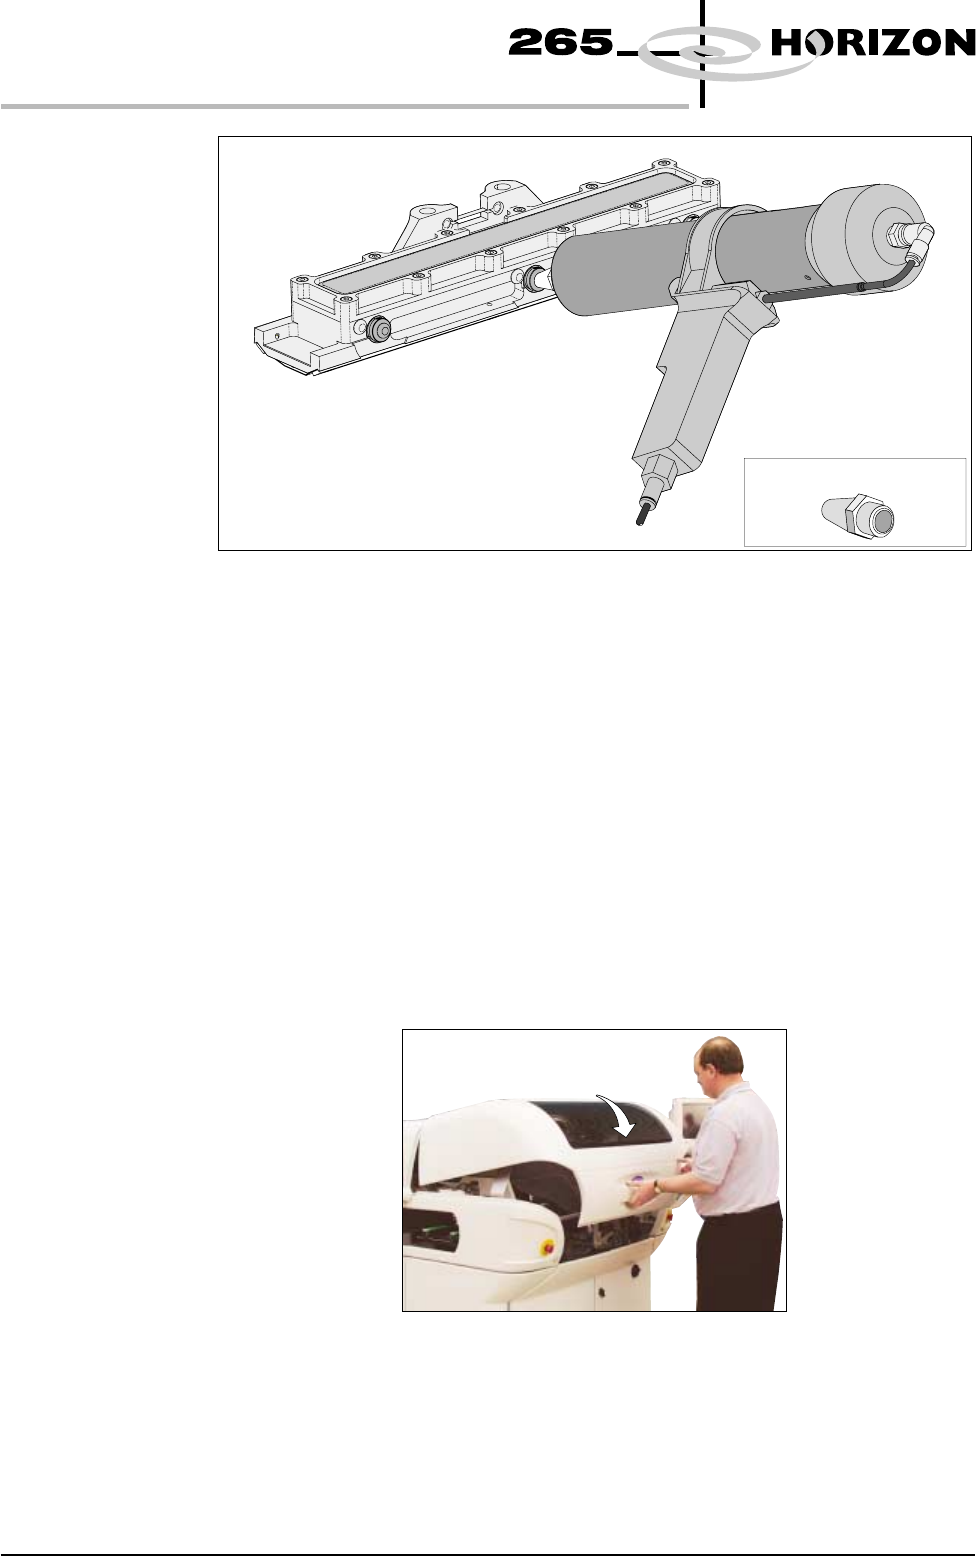
3. Using either a general purpose mastic gun or the optional pneumatic paste
gun (with a standard paste cartridge loaded). Push the nozzle of the gun into
the centre filling port of the ProFlow transfer head (see figure below).
Software Version 6 User Manual 9.73
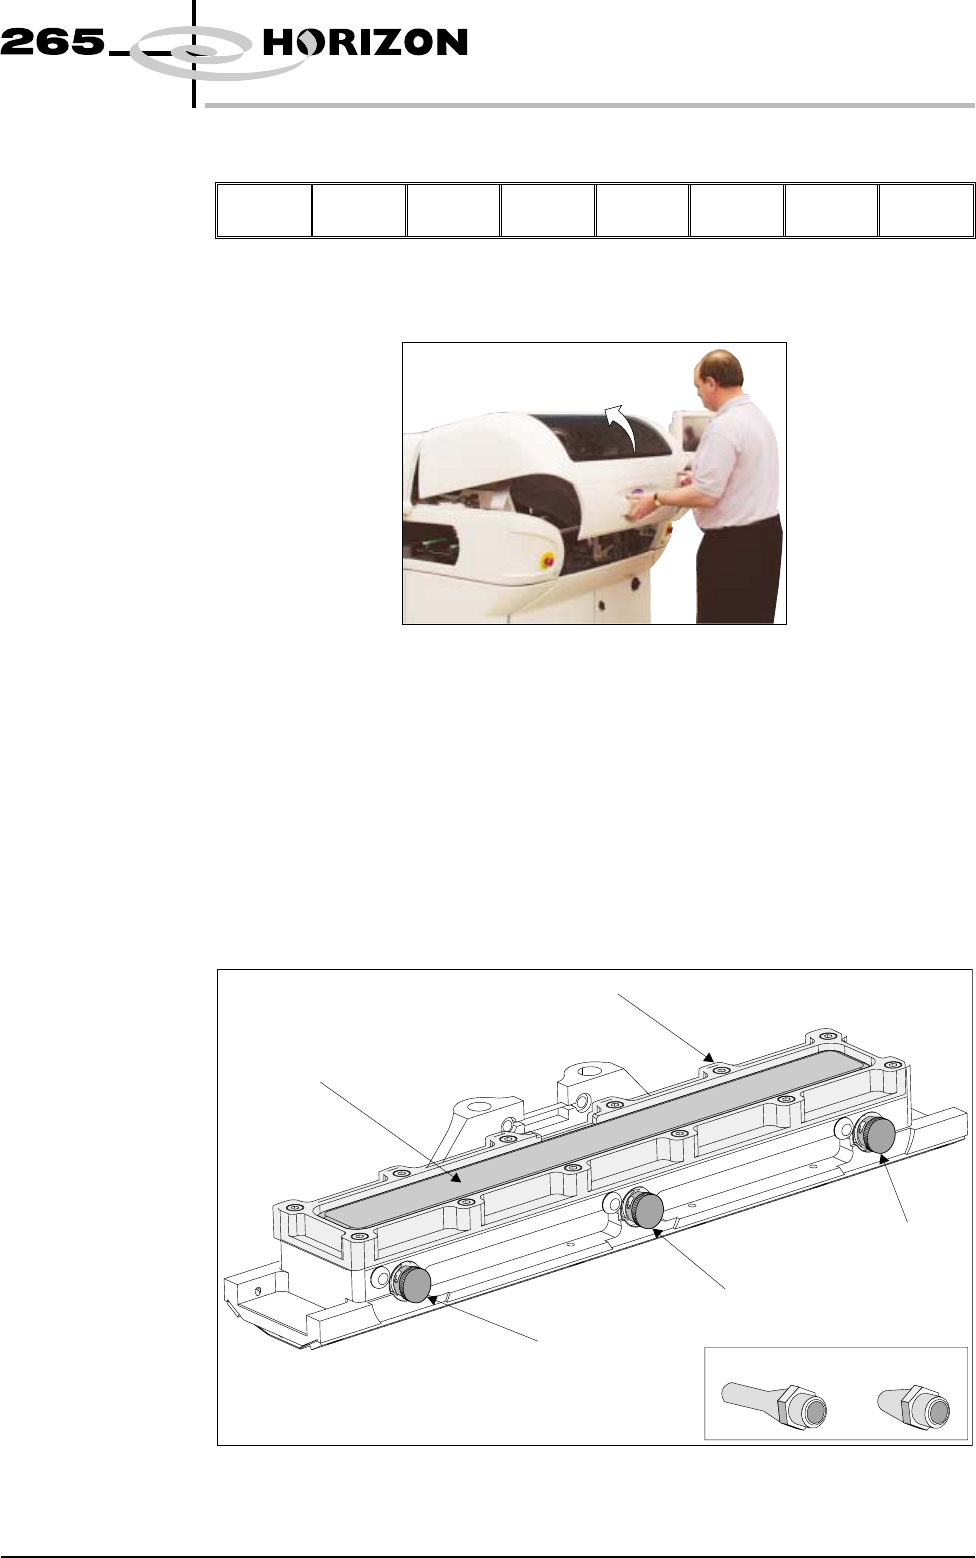
CONSUMABLE REPLENISHMENTS
PROFLOW
Filling Port
Bayonet Cap
Diaphragm
Diaphragm Retainer
Recharging Nozzles
Filling Port
Bayonet Cap
Filling Port
Bayonet Cap
4. Fill the diaphragm until it starts to balloon, this can be spread sideways by
massaging the diaphragm with the fingers.
5. Alternatively, fill using all three filling ports for even distribution.
NOTE
Ensure that only one port is opened at a time.
6. Do not overfill. If this occurs any excess will seep out between the wipers
and the screen.
NOTE
Clean any excess seepage before commencing print operations.
7. Ensure that the threaded areas around the filling ports are thoroughly clean
before commencing print operation.
8. Refit the port bayonet caps.
9. Close the front printhead cover.
9.74 User Manual Software Version 6
CONSUMABLE REPLENISHMENTS
PROFLOW
Short Recharging Nozzle
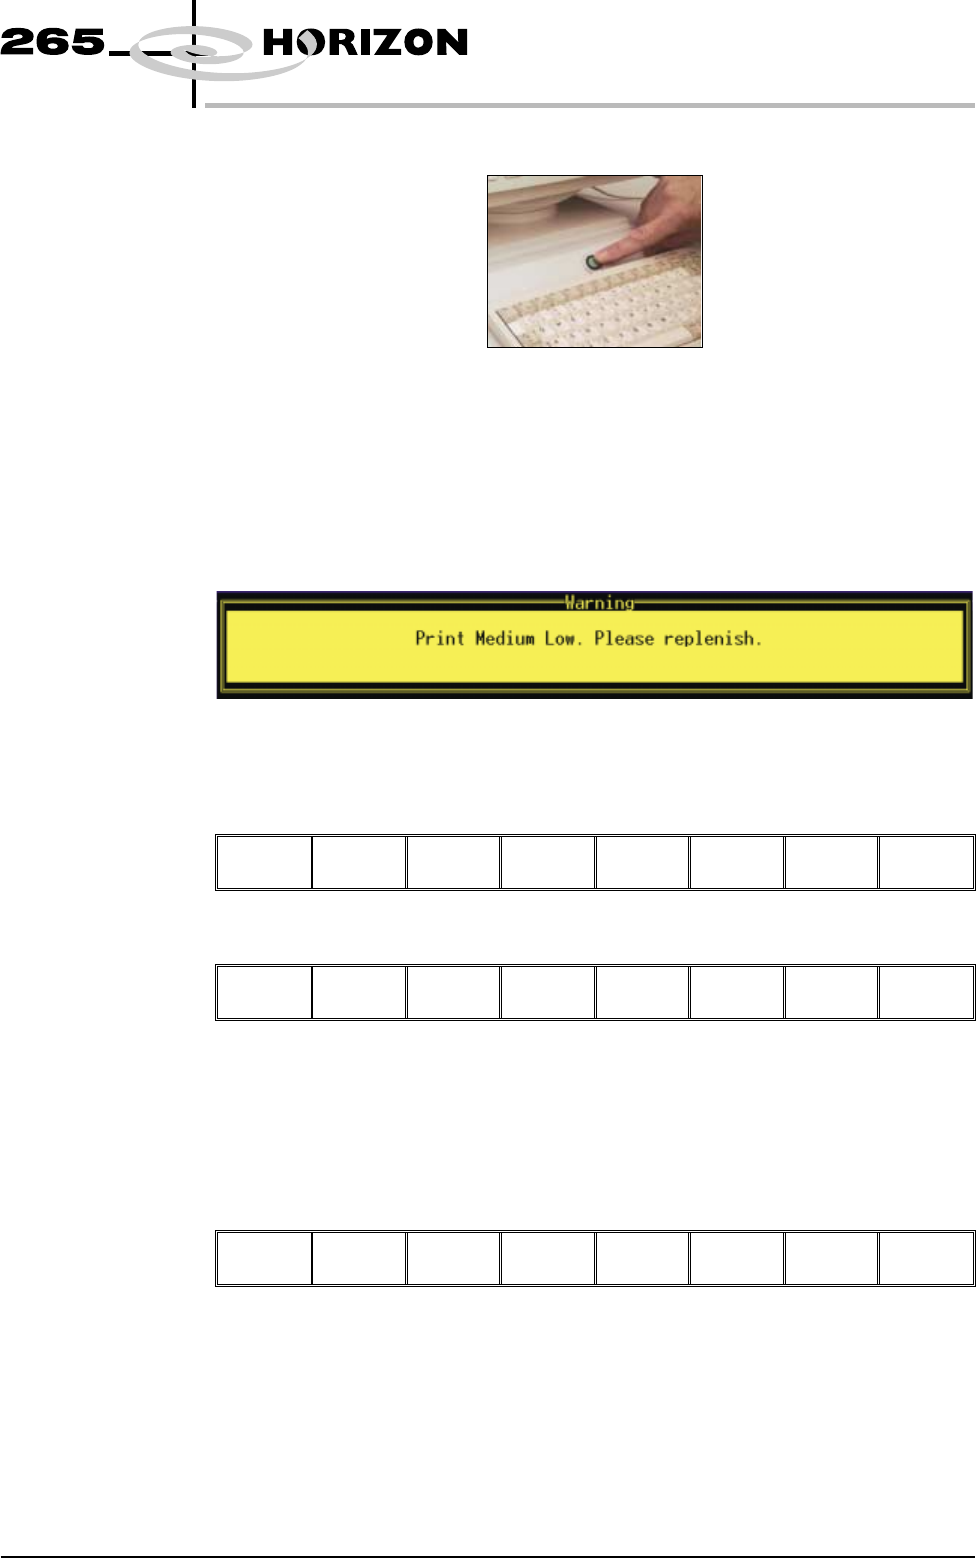
10. Press the System button.
During a Print Run When the transfer head needs replenishing a warning window is automatically
displayed on the monitor. The warning window varies, depending on the setting
of the consumable action in set preference.
If the set preference is set to warn, continue with Step 1. If the set preference is
set to pause go to Step 6. If the set preference is set to suspend go to Step 13.
1. If the set preference is set to warn, the following window is displayed:
The tricoloured beacon shows amber/green.
2. Select Confirm (F1).
Confirm
3. Select End Run (F1), when the ProFlow unit is at the rear of the image.
End
Run
Stop
Cycle
Paste
Load
Clean
Screen
Adjust Knead
Paste
4. Carry out Steps 19-29 of Prior to a Print Run procedure, earlier in this
section.
5. Select Run (F1). The print run resumes.
Run
Open
Cover
Knead
Paste
Clean
Screen
Adjust Setup Monitor Maint.
Software Version 6 User Manual 9.75
CONSUMABLE REPLENISHMENTS
PROFLOW