Horizon UserManualV6.pdf - 第66页
29. Lift the front printhead cover. 30. Check that the setup of the tooling is adequate for the board, adjust as necessary. 31. Close the front printhead cover. 32. Press the System button. 33. Select Exit (F8). Adjust C…
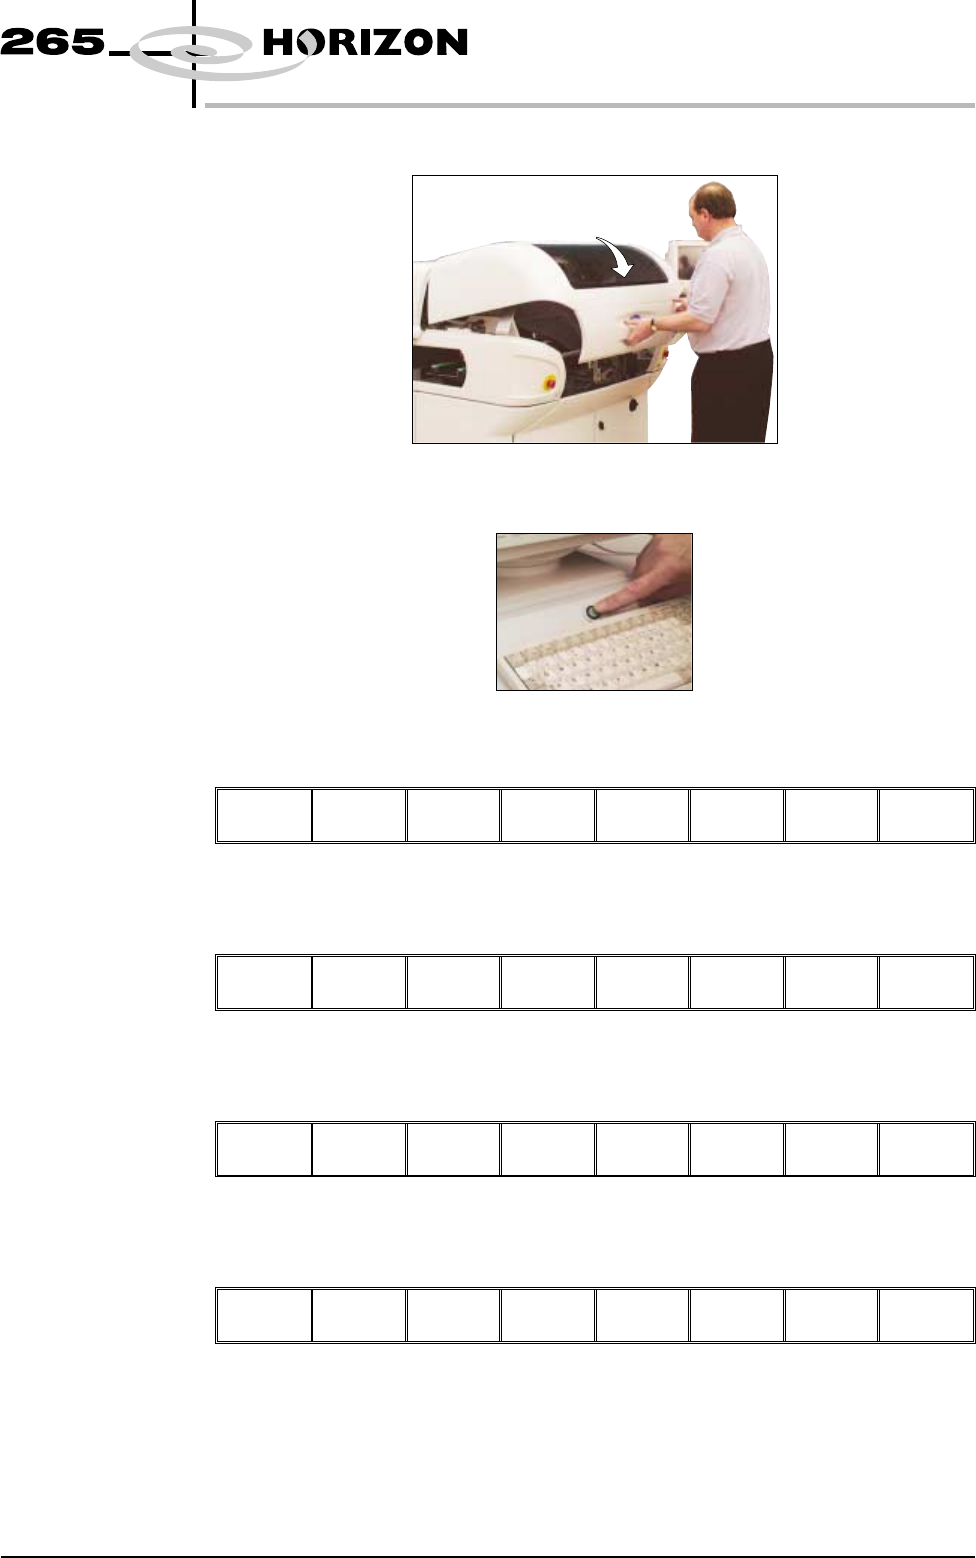
23. Close the front printhead cover.
24. Press the System button.
25. Select Exit (F8).
Adjust Change
Screen
Board
Clamps
Set
Stop
Exit
26. Select Home Camera (F4).
Adjust Open
Cover
Remove
Cleaner
Home
Camera
Full
Width
Load
Width
Print
Height
Exit
27. Select Print Height (F7).
Adjust Open
Cover
Remove
Cleaner
Board
Stop
Full
Width
Load
Width
Print
Height
Exit
28. Select Open Cover (F2).
Open
Cover
Home
Position
Exit
Software Version 6 User Manual 1.49
MACHINE PROGRAMMING
STAGE 5C
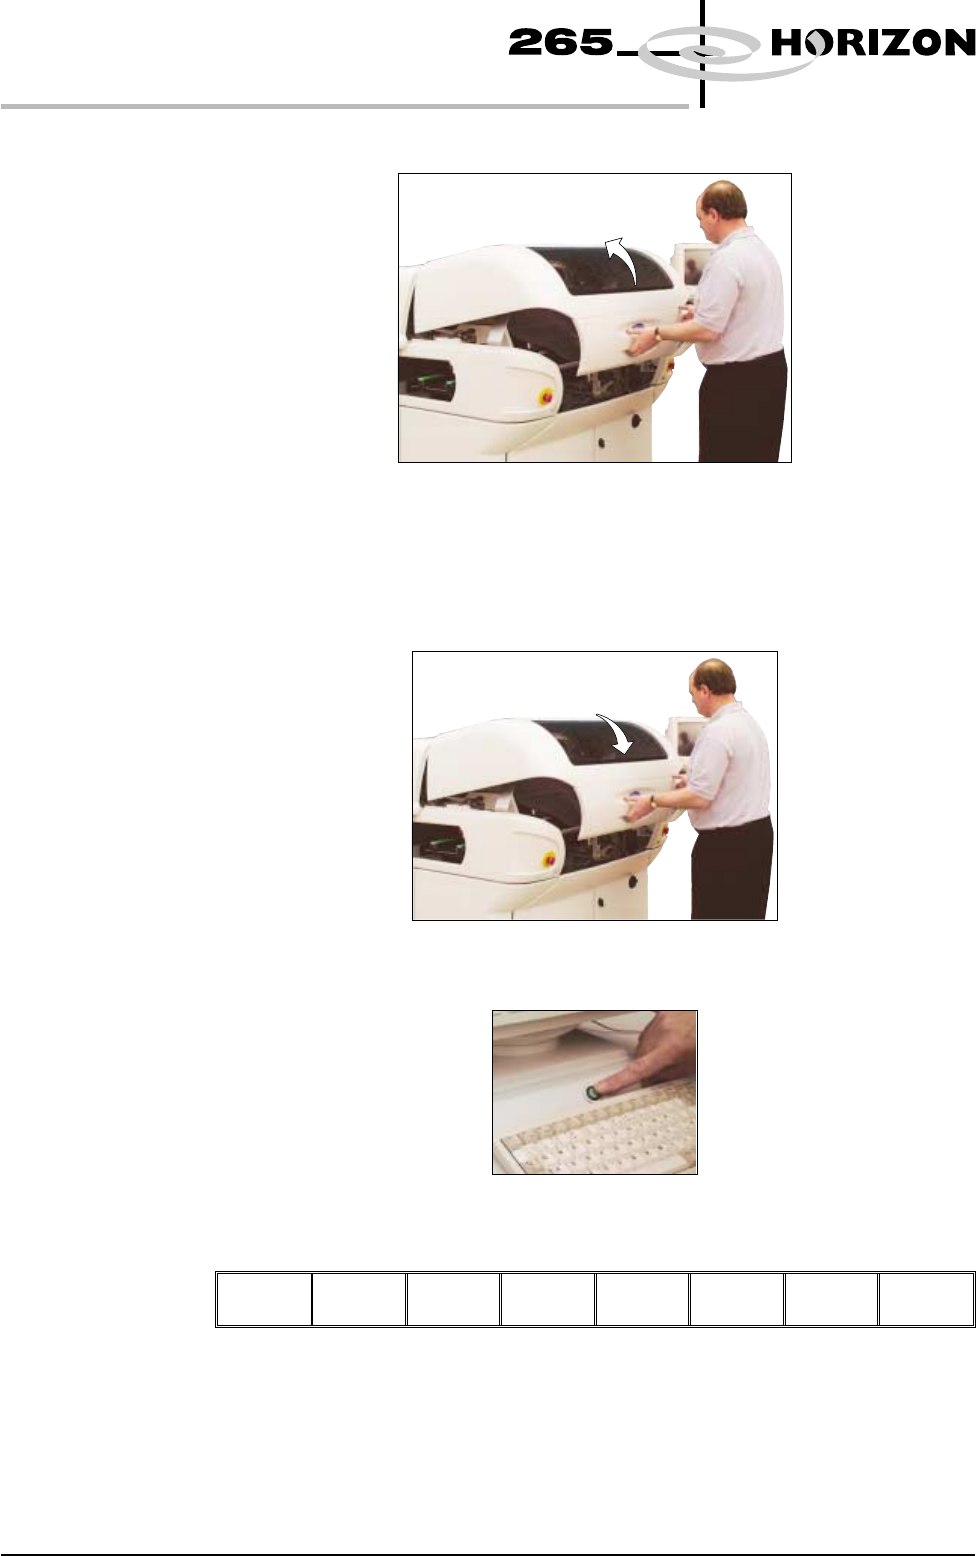
29. Lift the front printhead cover.
30. Check that the setup of the tooling is adequate for the board, adjust as
necessary.
31. Close the front printhead cover.
32. Press the System button.
33. Select Exit (F8).
Adjust Change
Screen
Board
Clamps
Set
Stop
Exit
1.50 User Manual Software Version 6
MACHINE PROGRAMMING
STAGE 5C

34. Select Home Position (F7).
Open
Cover
Home
Position
Exit
35. Select Open Cover (F2).
Adjust
Open
Cover
Remove
Cleaner
Board
Stop
Full
Width
Load
Width
Print
Height
Exit
36. Lift the front printhead cover.
37. Select Board Clamps (F3), to open the clamps.
Adjust
Board
Clamps
Set
Stop
Exit
38. Remove the board from the rails.
39. Load the appropriate stencil for the product file loaded, ensuring the correct
orientation of the stencil.
Software Version 6 User Manual 1.51
MACHINE PROGRAMMING
STAGE 5C