ThermoFlex-Manual.pdf - 第61页
Section 4 ThermoFlex 4-3 Thermo Scientific If desired, press the key to display the pump's disc harg e pressure - P 1 . The display will alter nate between P 1 and the pump's discharge pressure value . If the ch…
Section 4
4-2 ThermoFlex
Thermo Scientific
Start Up
Setup
Note For rst time use, please refer to the quick start instructions included
with your chiller or the copy in this manual. The manual's version follows
the Table of Contents.
Before starting the chiller, double check all electrical and plumbing
connections. Have extra recirculating uid on hand. If the chiller will not
start refer to Section 7 Troubleshooting.
If the chiller is equipped with a deionization lter cartridge refer to Section
5 for installation.
• Place the optional GFCI breaker located on the rear to the up position.
• For ThermoFlex900 through 10000s, place the circuit protector located
on the rear to the on ( I ) position. The display will indicate a series of
upward scrolling bars (
).
• For ThermoFlex15000 and 24000s, the display will indicate a series of
upward scrolling bars (
) as soon as power is supplied.
• The bars will scroll upward indicating the controller is initializing. The
initialization takes approximately 15 seconds.
• When the bars disappear the controller display will go blank.
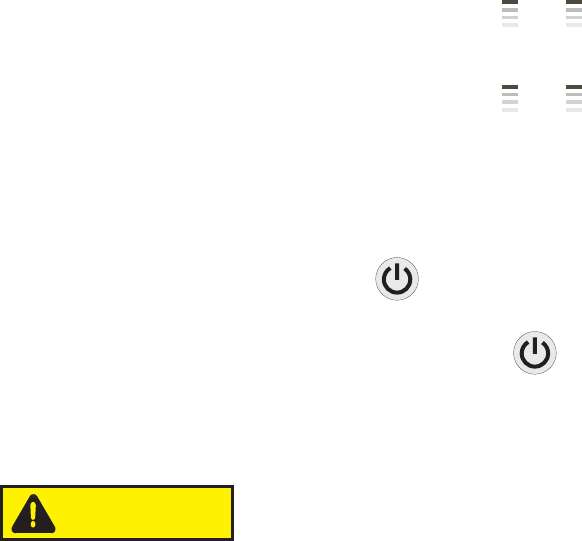
• Press the
key on the controller. The controller will show the process
uid temperature. The pump and refrigeration system will also start.
Note You can press the
key anytime after placing the circuit
protector to the on position.
If the auto restart is enabled and the chiller shuts down as a result of
a power failure, when power is restored the chiller will automatically
restart. Auto restart is enabled using the Setup Loop, see Setup Loop
in this Section.
Note After initial start up, check your plumbing for leaks.
CAUTION
Section 4
ThermoFlex 4-3
Thermo Scientific
If desired, press the key to display the pump's discharge
pressure - P 1 . The display will alternate between P 1 and the pump's
discharge pressure value.
If the chiller is equipped with an optional ow transducer, pressing
again will display the ow rate - FLo. The display will alternate
between FLo and the ow rate value.
After displaying P1 or FLo for 60 seconds, if the
key is
not depressed the display will automatically revert to the process uid
temperature.
Press
again to display the process uid temperature.
P 1 - Pump discharge pressure
in PSI, bar or kPa*.
FLo - Flow rate in liters or gallons per
minute* (optional feature).
* See Setup Loop in this Section to
change displayed scales.
indicates the controller display is alternating
between the two displays.
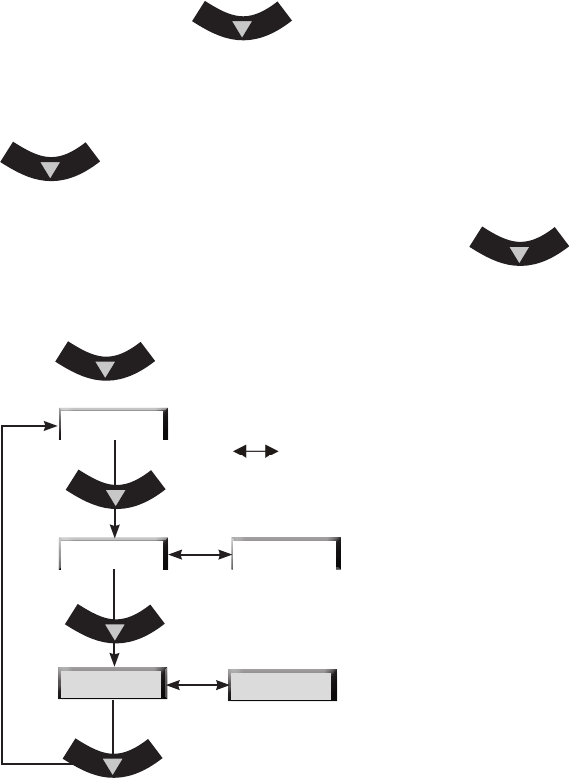
Figure 4-2 Main Loop
FLo
xx.x C
xx
xx
P1
Section 4
4-4 ThermoFlex
Thermo Scientific
mode mode
mode
mode
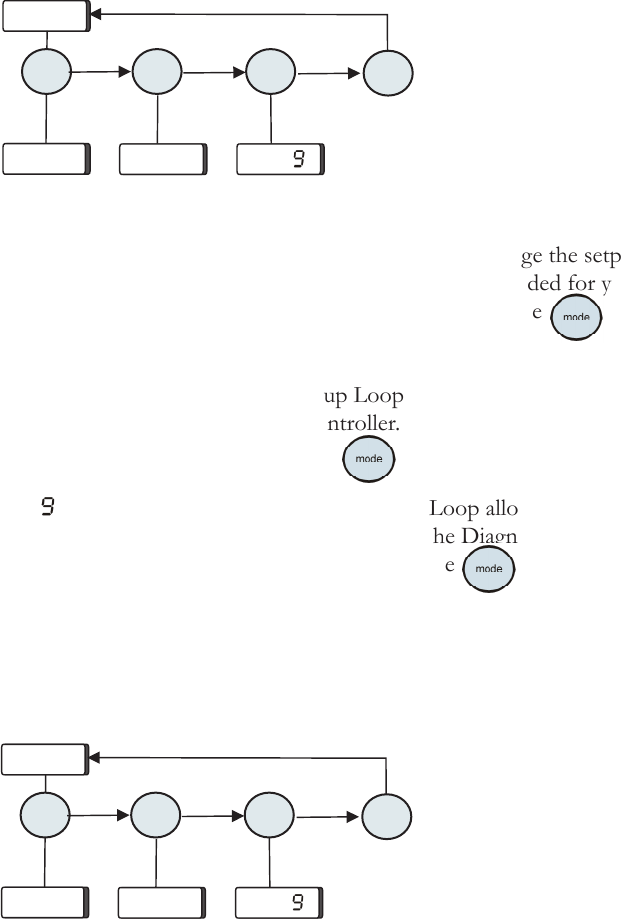
Controller Loops
The controller has the capability to display various loops which indicate
operating conditions and parameters. The loops are selected and changed
by pressing the appropriate keys.
When the controller is rst powered up it goes through a short
initialization (~15 seconds) and then displays the process uid temperature.
Use the key combination shown below to scroll through the loops.
SP is the Setpoint Loop and is used to display and change the setpoint.
The setpoint is the desired process uid temperature needed for your
application. The Setpoint Loop is accessed by pressing the
key, see
next page.
SEtuP is the Setup Loop. The Setup Loop allows you to display and/or
alter different parameters of the controller. The Setup Loop is accessed
from the SP display by pressing the
key.
diA is the Diagnostic Loop. The Diagnostic Loop allows you to display
the operating times for various components. The Diagnostic Loop is
accessed from the Setup display by pressing the
key, see Section 6
for more details.
Note The loops can be accessed and changed without the chiller running
as long as the circuit protector (ThermoFlex900-10000s) is in the on
( I ) position.
Figure 4-3 Controller Loops (Chiller running)
SP
SEtuP
diA
xx.x C
Figure 4-4 Controller Loops (Chiller not running)
mode mode
mode
mode
SP
SEtuP
diA