00196062-03_SM_LDU-X_EN.pdf - 第51页
4 Service Work 4.2 Replacing Spare Parts Service Manual SIPLACE LDU-X Linear Dipping Unit 11/2017 51 ► Place the LDU-X down on its left-hand side, on a stable, clean and even sur- face. ► Remove the screw shown in the di…
4 Service Work
4.2 Replacing Spare Parts
50 Service Manual SIPLACE LDU-X Linear Dipping Unit 11/2017
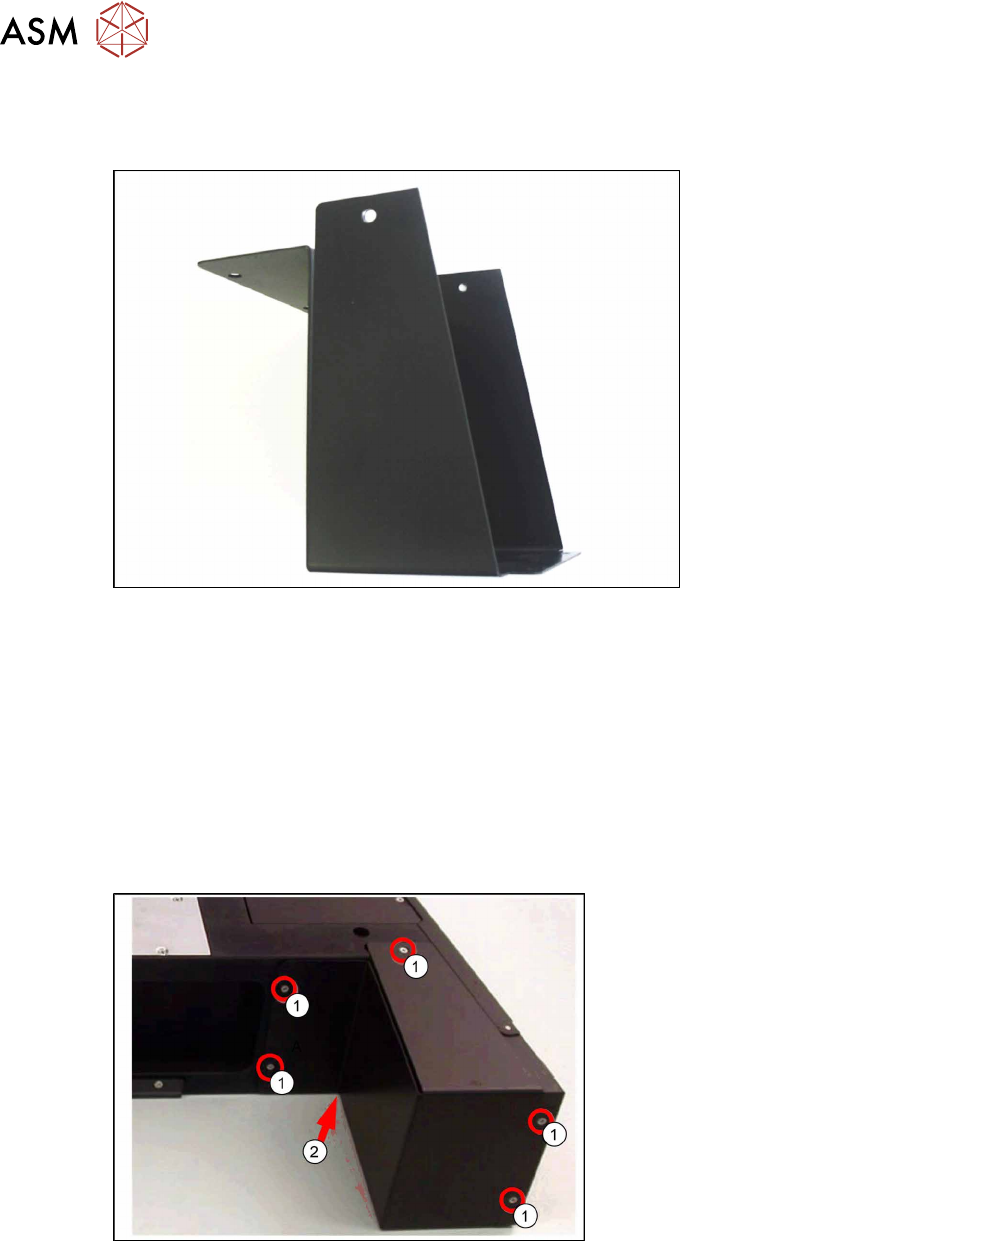
4.2.24 Replacing the cover panel
Overview
Cover panel with screws [03062033-xx]
Equipment required
●
Standard tools
●
Loctite 222 (screw locking varnish)
●
Phillips screwdriver
●
Spare parts:
– Cover panel [03062033-xx]
– Screws ISO 7046-2-M2.5 x 6-A2-70-H [03023228-xx]
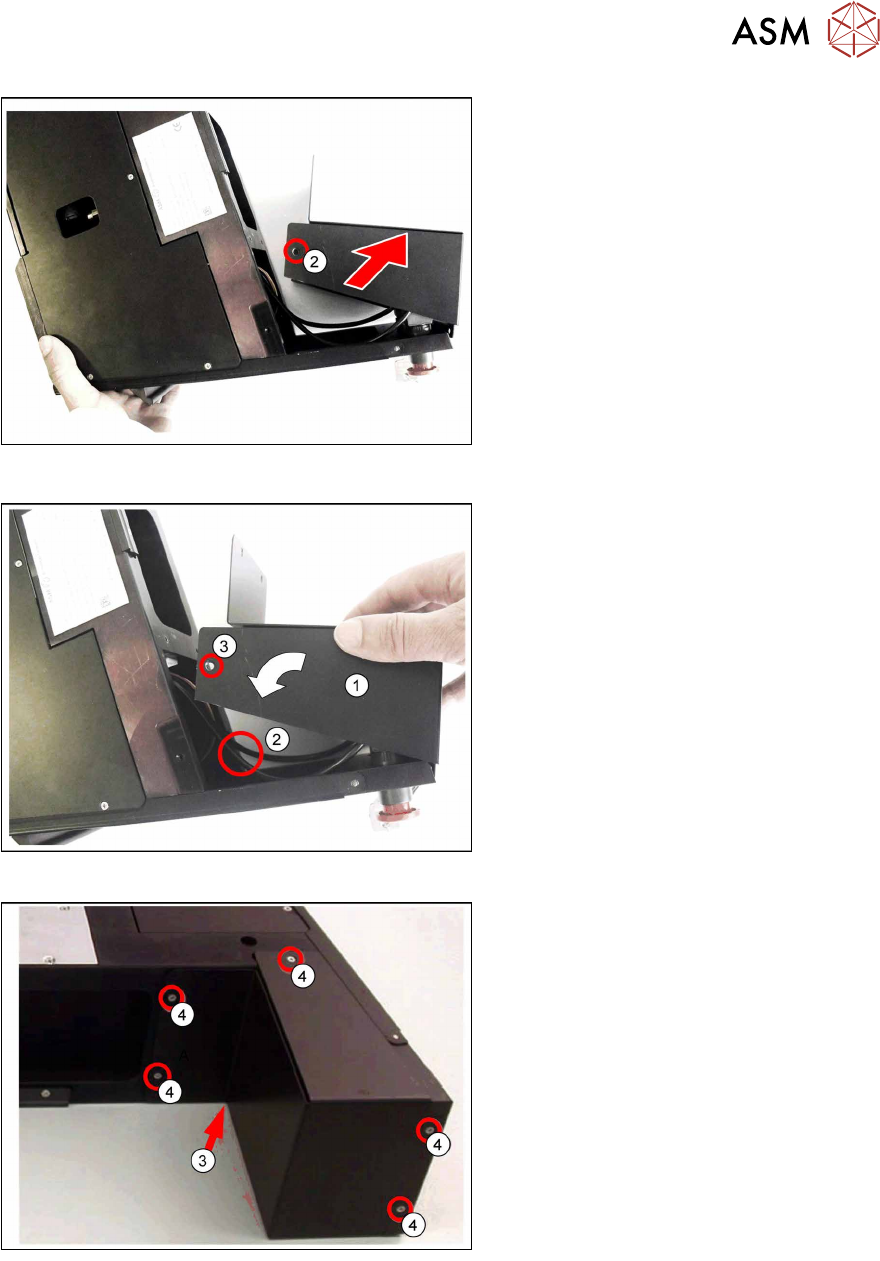
Removal
► Place the LDU-X down on its right-
hand side, on a stable, clean and
even surface.
► Unscrew the 5 marked screws(1),
which fasten the cover panels.
The 6th screw(2) is loosened in the next
step, when you have turned the LDU-X
over.
4 Service Work
4.2 Replacing Spare Parts
Service Manual SIPLACE LDU-X Linear Dipping Unit 11/2017 51
► Place the LDU-X down on its left-hand
side, on a stable, clean and even sur-
face.
► Remove the screw shown in the dia-
gram(2).
► Lift the LDU a little.
► Remove the cover panel(3) in the dir-
ection of the arrow.
Installation
Installation is performed by following the
above instructions in the reverse order.
► Place the LDU-X down on its left-hand
side, on a stable, clean and even sur-
face.
► Push the cover panel(1) on the LDU-
X, as shown in the diagram.
► Make sure that the switch cable(2)
does not get caught when you fit the
cover panel.
► Coat one of the screws used to fit the
cover panel with "Loctite 222 locking
varnish".
► Fix the cover panel into place with this
coated screw(3).
► Place the LDU-X down on its right-
hand side, on a stable, clean and
even surface.
One screw(3) was already fastened, as
the LDU-X was lying on its other side.
► Coat the other 5 screws used to fit the
cover panel with "Loctite 222 locking
varnish".
► Fix the cover panel into place with the
5 screws marked in the diagram(4).
4 Service Work
4.2 Replacing Spare Parts
52 Service Manual SIPLACE LDU-X Linear Dipping Unit 11/2017
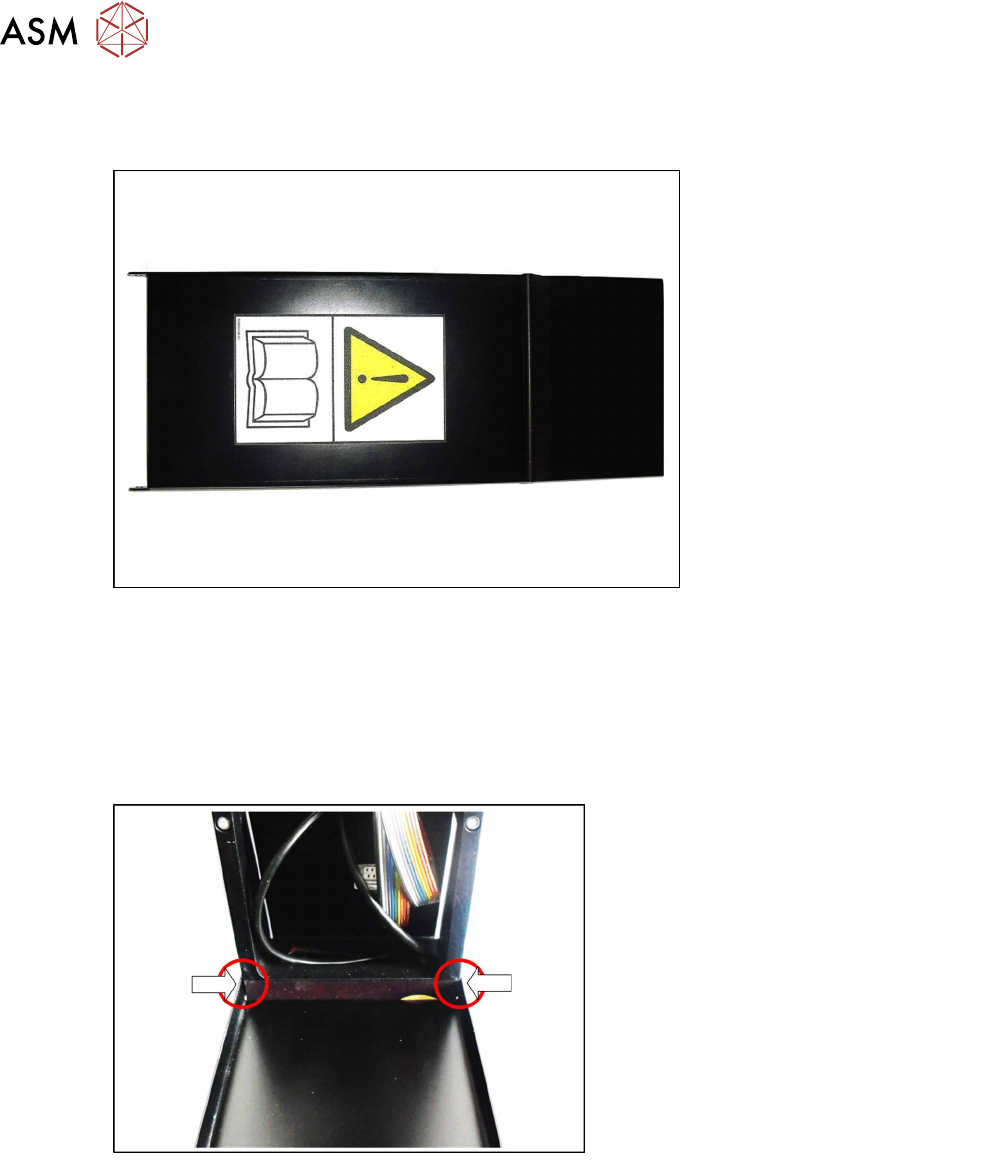
4.2.25 Replacing the flap
Overview
Flap assembly (with adhesive label) [03062032--xx]
Equipment required
●
Standard tools
●
Allen key, sizes 5, 3 , 2 and 1.5
●
Spare part: flap assembly [03062032-xx]
Removal
The flap is flexibly mounted on two pins, on
the left and right.