M20_Ope_E - 第136页
Chapter 3 Optimization 3-6 3-1-3 Execution of Optimization Click the <OK> button in the [Optimizatio n TEST] window. The window showing the progress appears. When clicking the <Stop> button in the middle of t…

Chapter 3 Optimization
3-5
*Data Generate Count
Use the default setting.
<Nozzl Mng> By clicking the <Nozzle Mng> button, editing the Nozzle Inventory for
automatic nozzle allocation is available. The information in the Nozzle
Management will be used for automatic nozzle allocation in the
optimizing process. The nozzle inventory should be set before running
automatic nozzle allocation. Set the number of nozzles for each nozzle
type.
<Nozzle Alloc> Clicking the <Nozzle Alloc> button will allocate the nozzles
according to the “Nozzle Count” setting and the result will be
displayed in the list box.
Nozzle Count Set the conditions for Nozzle Count.
Nozzle Inventory The number of nozzles for each nozzle type
registered in the [Nozzle Management] window
will be used.
Ignore The most efficient nozzle allocation will be made for a target
program. The number of nozzles for each nozzle
type registered in the [Nozzle Management]
window will be ignored.
Machine The nozzle allocation will be made using the
number of nozzles that the machine actually
has.
Note: When selecting “Ignore”, the result may include the number of
nozzles which exceeds the actual number that is owned by you.
Auto Nozzle Allocation Nozzle allocation will be automatically performed in the optimization
process by selecting the [Auto Nozzle Allocation] check box.
When allocating the nozzles manually, clear the [Auto Nozzle
Allocation] check box and set manually for each ANC. Select an ANC
No. in the list box, and set head No. and Nozzle No. from the combo
boxes.
*Enable
Leave this check box selected.
Default Nozzle Setting Clicking the <Save> button will save the contents in the list box as a
default.
Clicking the <Show> button will display the saved contents of the
default nozzle setting in the list box.
Optimization Priority In the Component Library, you can specify the placement order of
each component by setting “Optimization Priority” for each
component code.
) 5. Library > Component Library

Chapter 3 Optimization
3-6
3-1-3 Execution of Optimization
Click the <OK> button in the [Optimization TEST] window. The window showing the
progress appears.
When clicking the <Stop> button in the middle of the optimization, a message box asking whether
to stop or continue the process appears.
Clicking the <Yes> button will stop the process.
Clicking the <No> button will continue the process.
After the process has completed, the simulated cycle time will be displayed.
Chapter 3 Optimization
3-7
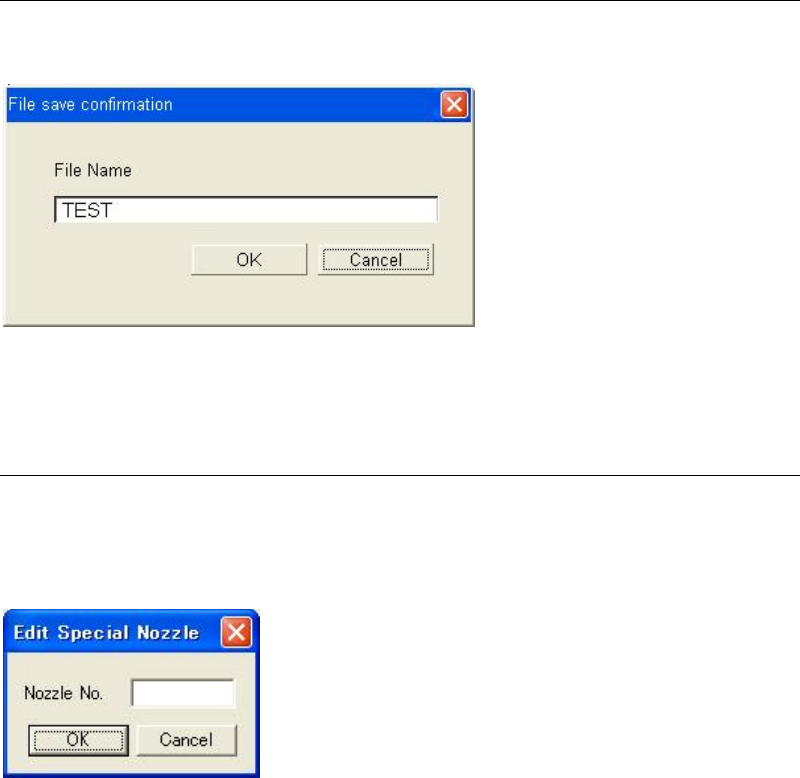
3-1-4 Saving the Result
Clicking the <Close> button will display the dialog box asking whether to save the result or not.
Type the file name and click the <OK> button to save the result.
When not saving the result, click the <Cancel> button to stop the process.
3-1-5 Special Nozzles
Menu: Tool>EditSpecialNozzle
When using special nozzles that are not registered as standard, add the nozzle(s)
A special nozzle will be added by typing the nozzle number in the “Nozzle No.”.
The entered nozzle No. will be added in the “Nozzle” combo box and can be selected from it.
Note: The allowable numbers are from 1 to 255.
Note: The maximum number of nozzle registration is 32.