M20_Ope_E - 第189页
Chapter 5 Libraries 5-39 5-1-3-3 Component Library (Component Data) Menu: Program>ComponentData Program>PickupData>ComponentCode>ComponentData Register component data to the component librar y. Note: Edit>…
Chapter 5 Libraries
5-38
5-1-3 Vision Processing and Libraries
5-1-3-1 Vision-related Libraries
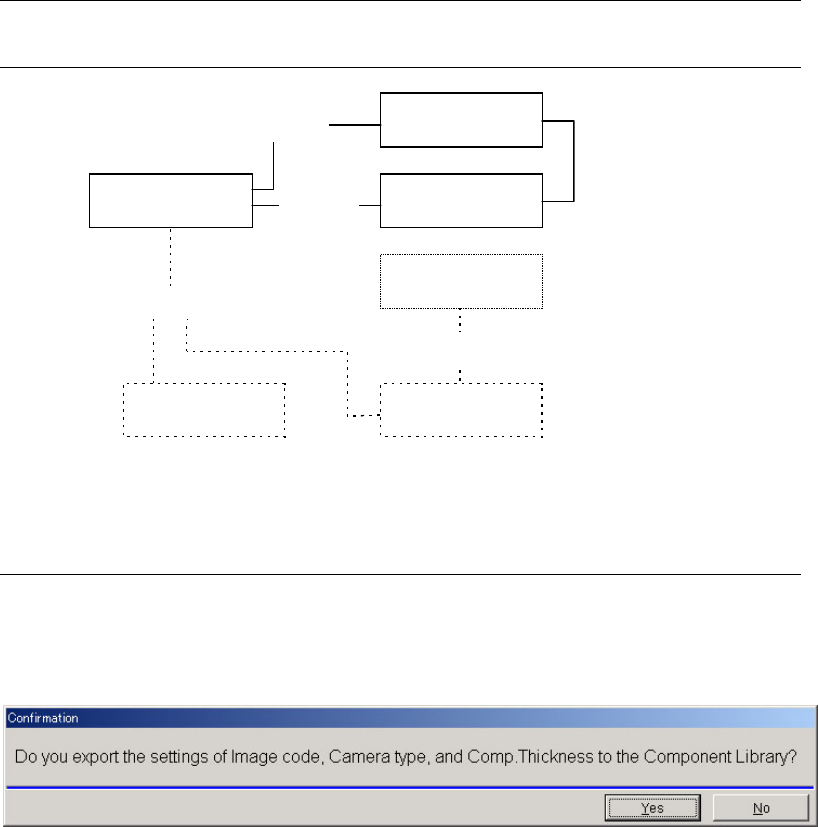
Component library
Pickup data
Placement & Mark data
Fiducial data &
Bad mark data
Image library
Nozzle library
Nozzle No.
Image code
Mark code
Component code
Code: In the Placement&Mark Data editor, enter a component code for a component process
(placement) step, a mark code for a mark process (fiducial/bad mark) step.
5-1-3-2 Exporting settings to Comp-LB at data-saving of Image-LB
When you open an Image library recode by double-clicking Image code name in Component
Library, you will see the following messages when you tried to save the Image library after
editing.
If you click [Yes] here, the new Image library code you specified, the Camera type, and
Comp.Thickness value will be exported into the resourced component library record.
If you do not want to change any settings of the resourced component library record, click [No].
Note: If [Yes] is clicked, the three settings of Image code, Camera (Centering), and Comp.Thickness in
the resourced component library will be modified according to the edited image library. If
there is at least one setting of them that should not to be modified, select [No] here, and later
you should change only the necessary setting of the component library manually.

Chapter 5 Libraries
5-39
5-1-3-3 Component Library (Component Data)
Menu: Program>ComponentData
Program>PickupData>ComponentCode>ComponentData
Register component data to the component library.
Note: Edit>View(Simple) only shows [Component code], [Comment], [Image Code], [Centering],
[Nozzle No.], [Polarity] and [Thickness].
Window:
File>Save: Overwrites the currently saved data. The saved data can be utilized
for programming.
Edit: Menus pulled down from the Edit menu are used in the same way
as the menus of the program editor. See Chapter 2.
Library: Access the image library or nozzle library.
Component Code: Serves to link the component library and program editor.
* Up to 38 characters can be entered.
Comment: Any appropriate comment
* Up to 40 characters can be entered.
Image Code: Serves to link the component library and image library. To use a
pre-registered image code, click the right mouse button to list the
codes and select from them.
* Up to 38 characters can be entered.
Component Image Data
When the same component is set on both ST-F and ST-R, the same component
image code can be used in common. This image data must be created based on
the component image when picked up from ST-F. This is also true even when
the component is set only on ST-R.
Delay Vacuum On: Specify whether to use the Delay Vacuum On function (Use/Not
Use). This function allows the head to stop vacuuming during the
head down for pickup and restart when the head is completely
lowered. This prevents a component to be picked up while the head
is still moving down. Using this function may increase cycle time,
though.
Centering: Specify the camera to process the component. Click the right mouse
button to list available cameras and select one. (Varies with
installed options)
Fixed Camera1
Fixed Camera2
Scan Camera
Beam Camera
The camera specified here is used for the job run. (the camera
specified for the image library editor is not used.)
Note: For M7, select the beam camera.
Nozzle No.: Serves to link the component library and nozzle library. Click the
right mouse button to present the spin box for specifying the nozzle
number
Coplanarity: Specify whether to check the coplanarity of the component
(optional). To enable this function, the following two items should
be selected.
a. [Coplanarity Check] in User Parameter
b. [Coplanarity Check] in SystemParameter>MachineConfig.1

Chapter 5 Libraries
5-40
Polarity: Specify the polarity of the component (Non-polarized/ Polarized/
Polarized(no-prerotation) ).
When the component is polarized and yet you don’t want to
pre-rotate the component, select “Polarized(no-prerotation)”.
When the component is polarized (with prerotation), the
component is first pre-rotated to the placement angle and then
vision processed. This process is suited for the components, which
require special accuracy.
ST-R: When the component set on the rear station is polarized or
polarized (with prerotation), the component package-angle is
automatically recognized at 180 degree rotated.
Pre-rotation is not available in the following case:
When the component is 5mm square or smaller and is processed by the scan
camera using the process mode of either [Chip], [Transistor], [Terminat.],
[Blob], or [CPL].
In this case, disable the use of pre-rotation. See Note in Chapter 9, User
Parameter, Functions.
Note: On the M6, “Polarized” (with prerotation) is automatically selected
for all components automatically.
Simlt. Pickup Perm.: Simultaneous pickup permission.
* Increment : 0.01mm
See Multiple/Simultaneous Pickup in Chapter 2.
Thickness: Component thickness
* Increment : 0.01mm
Size X/Y Enter the component’s X-directional size (width) and Y-directional
size (length). This data will be referred to when the graphic view
function of our offline software iOSII is used. (These parameters can
be left empty when performing production.)
Vision Process Result: By setting [Vision Process Result] setting to “Disabled”, you can
place the component disregarding the result of the vision
processing. In this case, the component positional offset won’t be
compensated. By default, “Enabled” is entered so the result of the
vision processing is applied.
Placement in Scan Process: Specify whether to perform placement while the scan camera is
moving. This allows the head to start placement before the scan
camera finishes scanning. To use this function, specify “Enabled” in
the cell.
Optimization Priority: Specify the placement order of each component by setting
“Optimization Priority” for each component code. The allowable
numbers are 0 to 99. When there is no need to set priority, set “0”.