M20_Ope_E - 第413页
Chapter 14 Intelligent Feeder 14-13 14-2-5 Re-registering to the Database This section explains how to register the lin k information between component barcodes and feeder barcodes (ID) to the server’s databa se. The dif…
Chapter 14 Intelligent Feeder
14-12
14-2-3 Registering to the Database
When a component barcode has been registered, the link information between the registered
component barcode and feeder barcode (ID) must be registered to the server’s database. Up to
5,000 feeder barcodes (ID) can be registered.
Action:
① Set a component in the feeder.
② Scan the "Show / Hide" barcode to display the ID registration window (InputBar).
③ Scan the feeder’s barcode.
④ Scan the component’s barcode.
⑤ Scan the "Register Database" barcode.
⑥ “OK” will be displayed if registration is completed successfully. If registration has failed,
read the displayed message, make necessary corrections, and then scan the "Register
Database" barcode again.
⑦ Scan the "Show / Hide" barcode to close the ID registration window (InputBar).
⑧ Attach the feeder to the mounter.
Now, registration to the database is complete. If you have more components and feeders to be
registered, repeat the above procedure for each component and feeder. The following
procedures can be referred to when they need to be executed.
14-2-4 Registering to the Component Library
This section explains how to register the component barcodes that have been registered to the
server’s database to the mounter’s component library. Use of this function eliminates the need
to create component data on the mounter. This function is available only for the component
codes that are registered by selecting a “Target Comp. Record” when registering a component
barcode.
Action:
① Scan the "Show / Hide" barcode to display the ID registration window (InputBar).
② Insert a floppy disk into the FDD (Note 1).
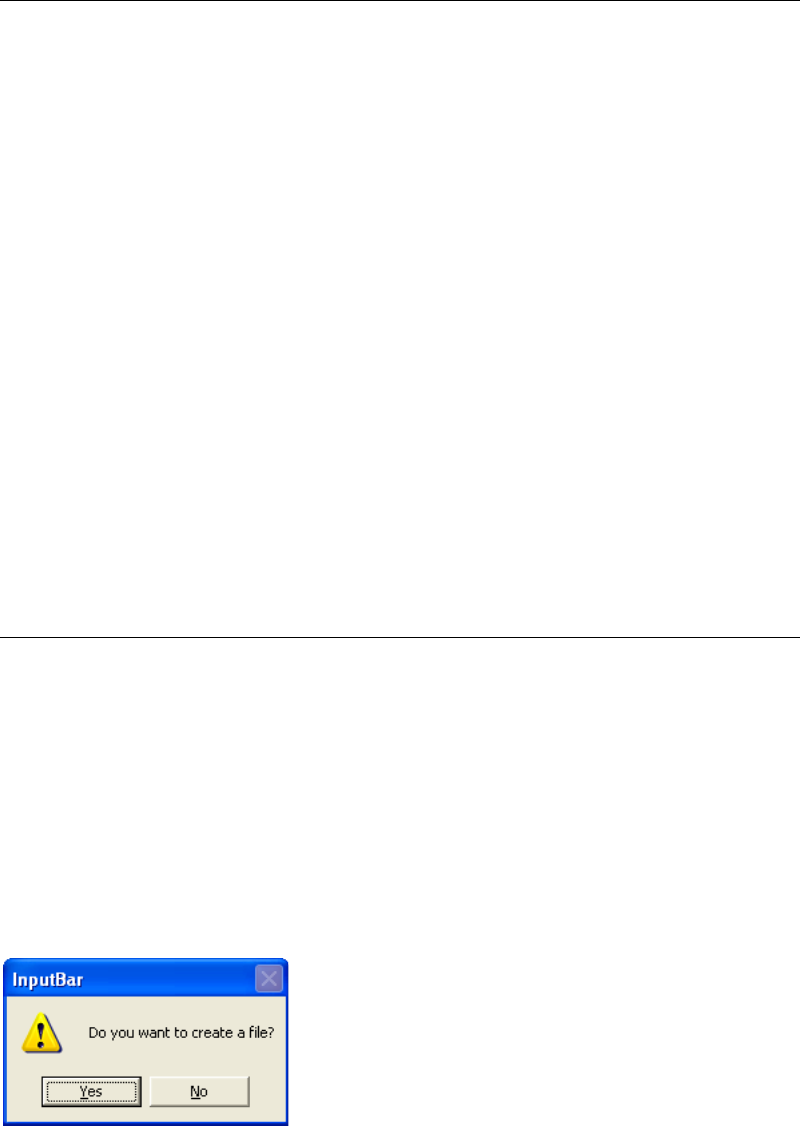
③ Select File > Create Comp. Library.
④ The following message will appear, so click <Yes>.
⑤ When registration is completed successfully, a message box will appear to inform you.
⑥ Insert the floppy disk into the mounter’s FDD (Note 2), and from the main menu, select
Tool > Backup & Restore > Individual Restore > to open the [Component Library]. Select
the component that has been registered in “Registering to the Database”, and then restore
it.
Note 1: If the component code has been created on the server PC, the FDD on the server PC
must be used. If it has been created on a mounter, the FDD on that mounter must be
used.
Note 2: The created component library file will be restored in the directory (A:¥Backup¥) of the
FDD. It is not possible to change the directory. Prepare a FDD with USB connector.

Chapter 14 Intelligent Feeder
14-13
14-2-5 Re-registering to the Database
This section explains how to register the link information between component barcodes and
feeder barcodes (ID) to the server’s database. The differences from “Registering to the
Database” are that this re-registration function allows you to set any remaining component
count and to register the information to a feeder that has already been linked to a component
barcode.
Example: This function can be used in the middle of production when components in use have
been assigned to another feeder or when you want to set a remaining component count with
the consumed count deducted.
Action:
① Scan the "Show / Hide" barcode to display the ID registration window (InputBar).
② From the InputBar’s taskbar, select Mode > Remove, and then click <OK> to start
registration remove mode.
③ Scan the feeder’s barcode.
④ Scan the new component’s barcode.
⑤ Change the current remaining count displayed in the ID registration window.
⑥ Scan the "Reregister Database" barcode.
⑦ “OK” will be displayed if re-registration is completed successfully. If re-registration has
failed, read the displayed message, make necessary corrections, and then scan the
"Reregister Database" barcode again.
⑧ Scan the "Show / Hide" barcode to close the ID registration window (InputBar).
Note: Re-registration of database is only possible while production is not run.
Note: You can skip step ② when <Disable Remove Mode> button is checked in
InputBar>Option>Setup Window.
14-2-6 Canceling Database Registration
This section explains how to cancel the link information between component codes and feeder
barcodes (ID).
Action:
① Scan the "Show / Hide" barcode to display the ID registration window (InputBar).
② From the InputBar’s taskbar, select Mode > Remove to start registration remove mode.
③ Scan the feeder’s barcode.
④ Scan the "Cancel Database" barcode.
⑤ “OK” will be displayed if registration is cancelled successfully. If cancellation has failed,
read the displayed message, make necessary corrections, and then scan the "Cancel
Database" barcode again.
⑥ Scan the "Show / Hide" barcode to close the ID registration window (InputBar).
Note: You can skip step ② when <Disable Remove Mode> button is checked in
InputBar>Option>Setup Window.

Chapter 14 Intelligent Feeder
14-14
14-2-7 Deleting a Component Barcode
This section explains how to delete a component barcode that has been registered.
Action:
① Scan the "Show / Hide" barcode to display the ID registration window (InputBar).
② Scan the component’s barcode.
③ Scan the "Delete Comp. Barcode" barcode.
④ A message “Execute the Delete Command?” will appear, so click <Yes>.
⑤ “OK” will be displayed if the barcode has been deleted successfully. If deletion has failed,
read the displayed message, make necessary corrections, and then scan the "Delete Comp.
Barcode" barcode again.
⑥ Scan the "Show / Hide" barcode to close the ID registration window (InputBar).
Note: Deletion of component barcode is only possible while production is not run.
The feeder linked with the component barcode to be deleted will be deregistered. The
deregistered feeder needs to be re-registered to the database.
14-2-8 Inquire Database
This section explains how to check the component barcodes that have been linked with feeder
barcodes (ID).
Action:
① Scan the "Show / Hide" barcode to display the ID registration window (InputBar).
② Scan the feeder’s barcode.
③ Scan the "Inquire Database" barcode.
④ If the database is referred to successfully, the results will be displayed, so check them.
→If the scanned feeder barcode (ID) is not linked with a component barcode, a message
“This Feeder barcode is not registered in ID Database” will appear.
⑤ Scan the "Show / Hide" barcode to close the ID registration window (InputBar).
14-2-9 Compare Database
This section explains how to check whether the combination of a component code and a feeder
barcode (ID) is correct.
Action:
① Scan the "Show / Hide" barcode to display the ID registration window (InputBar).
② Scan the feeder’s barcode.
③ Scan the component’s barcode.
④ Scan the "Compare Database" barcode.
⑤ The verification result will be displayed, so check it.
“OK” will be displayed if the combination is correct.
→If the combination is not correct, a message “Relation between Feeder and Comp. is
improper.” will appear and the correct component barcode will be displayed.
⑥ Scan the "Show / Hide" barcode to close the ID registration window (InputBar).