ELA Installation.pdf - 第49页
POWER UP SEQUENCE GENE RAL Chapter Issu e 3 Jun 01 Installati on Manua l 6.1 CHAP TE R 6 POWER UP SEQUENCE GENERAL Before the mach ine is powered up, a final check is required to ensure proper installation. When fully sa…

MACHINE PREPARATION
SHOCK WATCHES
5.22 Installation Manual Chapter Issue 3 Jun 01
POWER UP SEQUENCE
GENERAL
Chapter Issue 3 Jun 01 Installation Manual 6.1
CHAPTER 6 POWER UP SEQUENCE
GENERAL
Before the machine is powered up, a final check is required to ensure proper
installation. When fully satisfied that all instructions and preparations have been
carried out as detailed in Chapter 5 - Machine Preparation, proceed with the
power up checks detailed in this Chapter.
Electrical Services Check the following electrical services are available:
The machine transformer must be tapped to the nearest selectable voltage within
the following limits:
• 100V, 110V and 120V ±5%
• 200V, 210V, 220V, 230V and 240V ±2.5%
CAUTION
VOLTAGE CONFIGURATION. The factory set voltage configuration
may differ from the customers own supply.
- Ensure correct transformer configuration is used
- Ensure that the machine serial plate is annotated correctly
- Ensure filtration unit (if fitted) is voltage compatible
NOTE
Refer to Technical Reference Manual, Power Supply and Distribution chapter
for detailed information. Chapter 5 - Machine Relocation of this manual for
filtration unit information.
Detail Voltage
Measured Customer/Factory electrical supply
Detail Voltage Accept
Check dispatch documentation and serial number plate on rear
of machine matches supply
POWER UP SEQUENCE
MACHINE POWER UP SEQUENCE
6.2 Installation Manual Chapter Issue 3 Jun 01
MACHINE POWER UP SEQUENCE
Hard Disk Check
1. Connect the mains supply to the machine.
2. Turn the Mains Isolation Switch ON.
3.
NOTE
If the machine hard disk is corrupt, carry out the NT recovery procedure
detailed in the Housekeeping chapter of the Programming and Maintenance
Manual.
NOTE
If the keyboard/mouse interface with the monitor is not activated on power
up, ensure that the infra red keyboard/mouse unit has been interrogated by
the infra red receiver. This is achieved by aiming the keyboard at the IR
receiver and pressing the ID_ACK button on the underneath of the IR
receiver. Refer to the Man machine Interface chapter of the Technical
Reference manual for further information.
Checking Hard Disk
Partition C
4. Carry out the following:
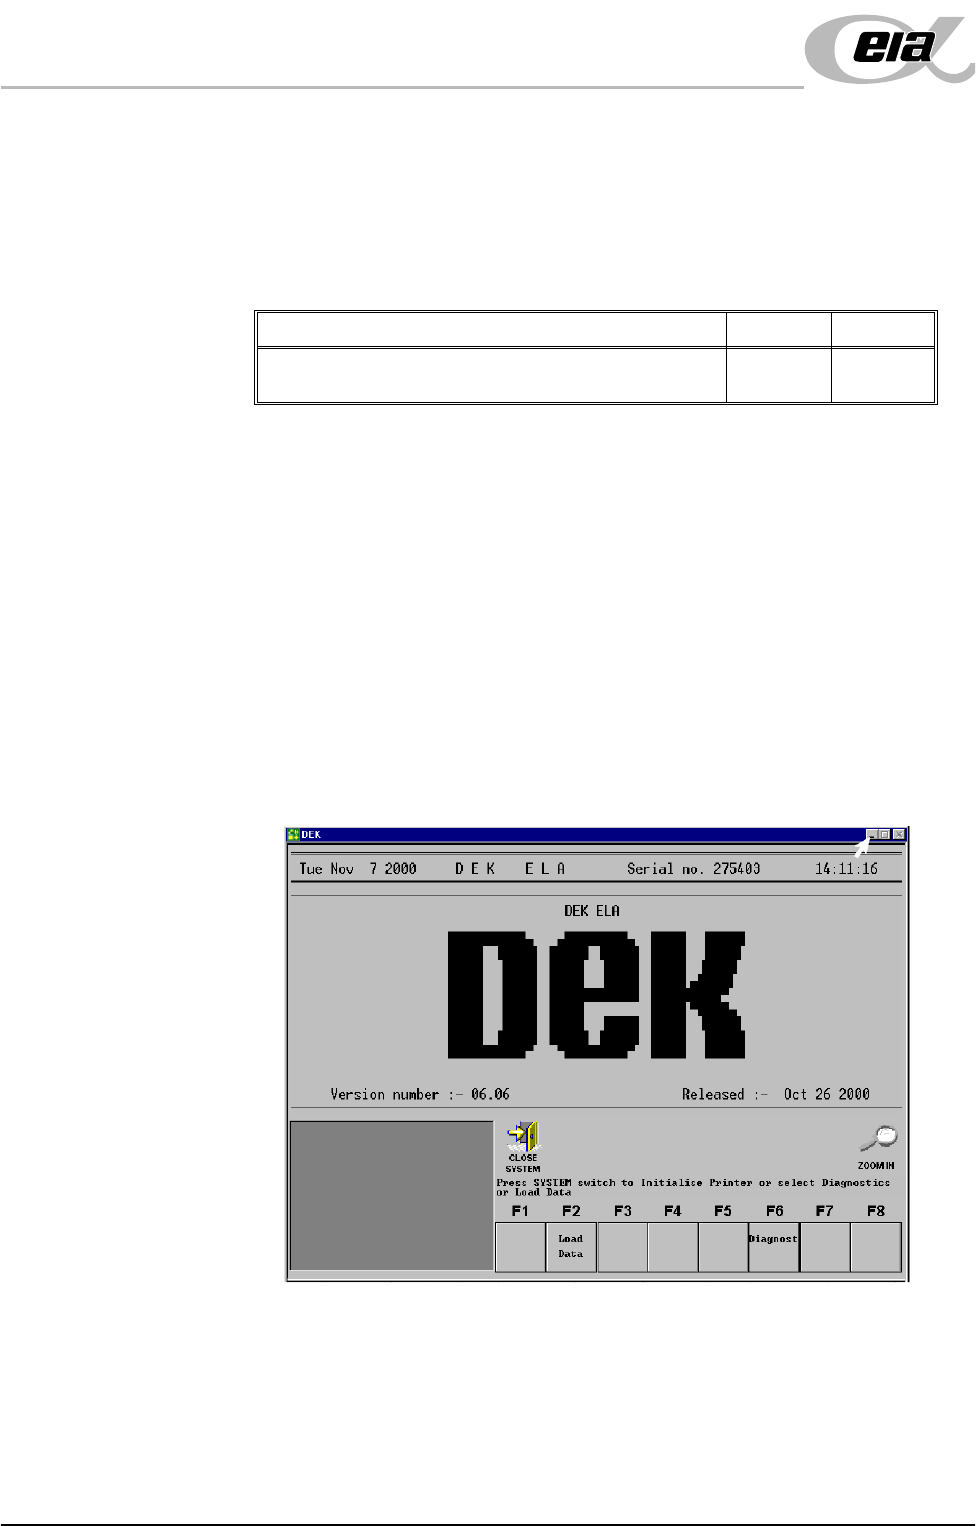
a. On completion of ‘auto login’, minimise the DEK program.
Detail Voltage Accept
Check the machine hard disk for any defects caused in
transit using Chkdsk.