3OM-1064-001.pdf - 第206页
3. Control-to-Control Communication Error Code and List of Error Messages 0005-002 4-10 Tg0248-PM-ER Error Code Display A Display B 10150000 INTERRUPTING THE IMAGE SCANNING “CAMERA NO.” EXCEEDS THE RANGE OF SETTING. (Cau…
3. Control-to-Control Communication Error Code and List of Error Messages
0005-002 4-9 Tg0248-PM-ER
Error Code Display A Display B
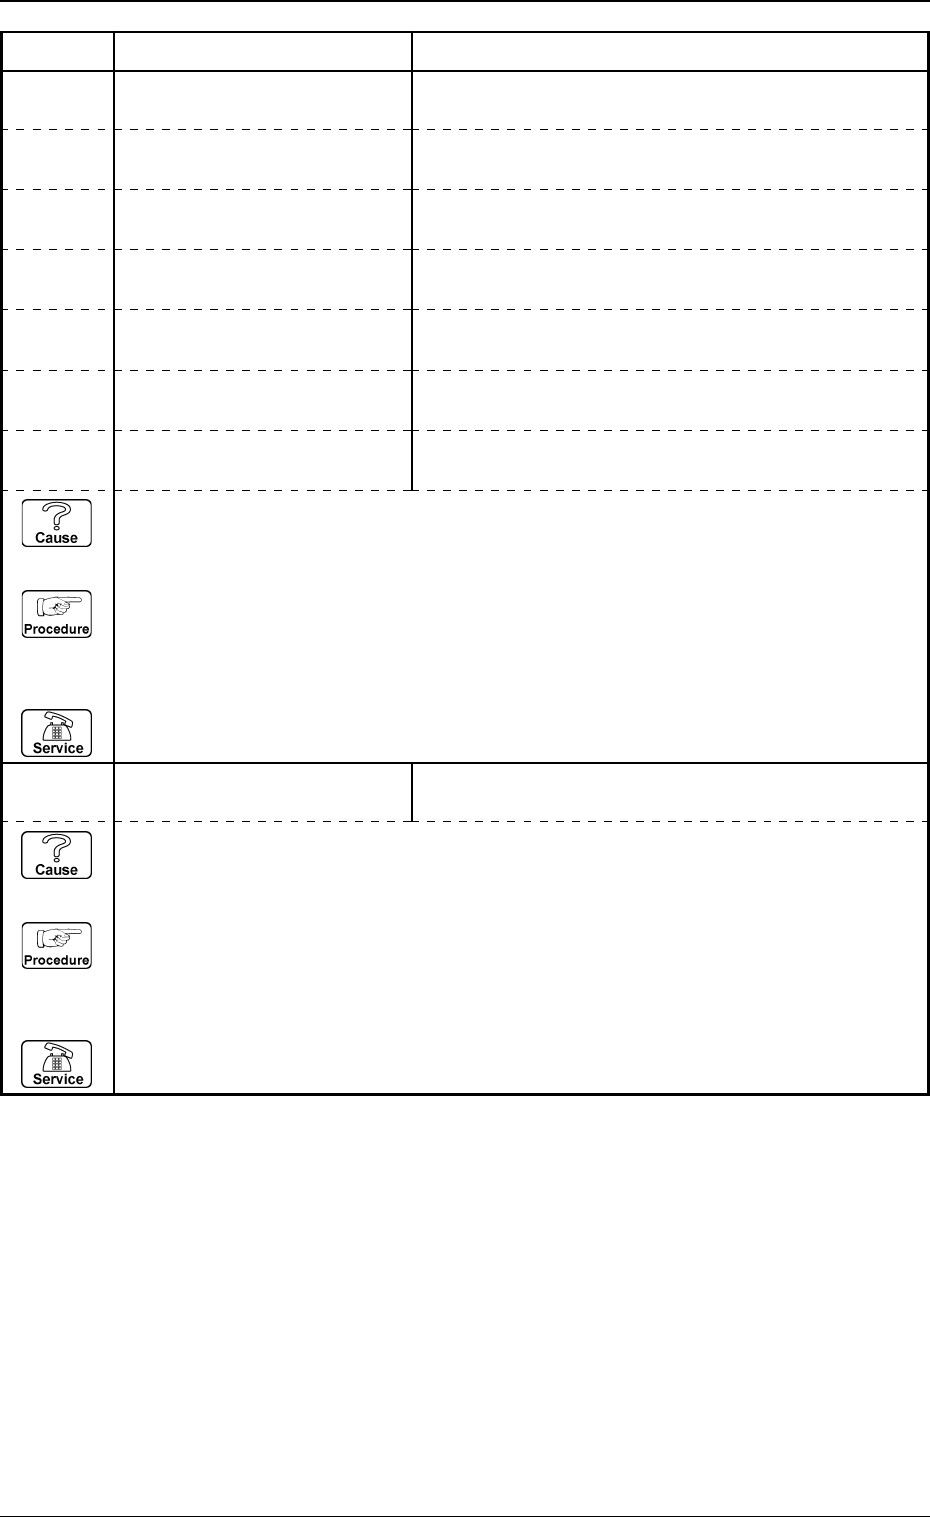
10120000 DISPALY AN OUTLINE VIEW “NOZZLE ID” EXCEEDS THE RANGE OF SETTING.
10120001 DISPALY AN OUTLINE VIEW “P.E.C. MARK NO.” EXCEEDS THE RANGE OF
SETTING.
10120002 DISPALY AN OUTLINE VIEW “COMPONENT NO.” EXCEEDS THE RANGE OF
SETTING.
10120003 DISPALY AN OUTLINE VIEW
“CAMERA NO.” EXCEEDS THE RANGE OF SETTING.
10120004 DISPALY AN OUTLINE VIEW “DISPLAY POSITION” EXCEEDS THE RANGE OF
SETTING.
10120005 DISPALY AN OUTLINE VIEW “DISPLAY ANGLE” EXCEEDS THE RANGE OF
SETTING.
10120006 DISPALY AN OUTLINE VIEW “DESTINATED TRACKBALL” EXCEEDS THE RANGE
OF SETTING.
10130000 INITIALIZING THE DISPLAY
MODE
(Cause 1) This is the device’s self-diagnostic message.
(Reset Procedure in the case of Cause 1)
Reset Procedure
(1) Press the [CLEAR ALARM] key and the buzzer stops sounding.
(2) Press the [ZERO] button to return all the axes to their original positions.
(3) Re-start.
(4) If the device can’t be re-started, contact our service personnel.
“CAMERA NO.” EXCEEDS THE RANGE OF SETTING.
(Cause 1) This is the device’s self-diagnostic message.
(Reset Procedure in the case of Cause 1)
Reset Procedure
(1) Press the [CLEAR ALARM] key and the buzzer stops sounding.
(2) Press the [ZERO] button to return all the axes to their original positions.
(3) Re-start.
(4) If the device can’t be re-started, contact our service personnel.
3. Control-to-Control Communication Error Code and List of Error Messages
0005-002 4-10 Tg0248-PM-ER
Error Code Display A Display B
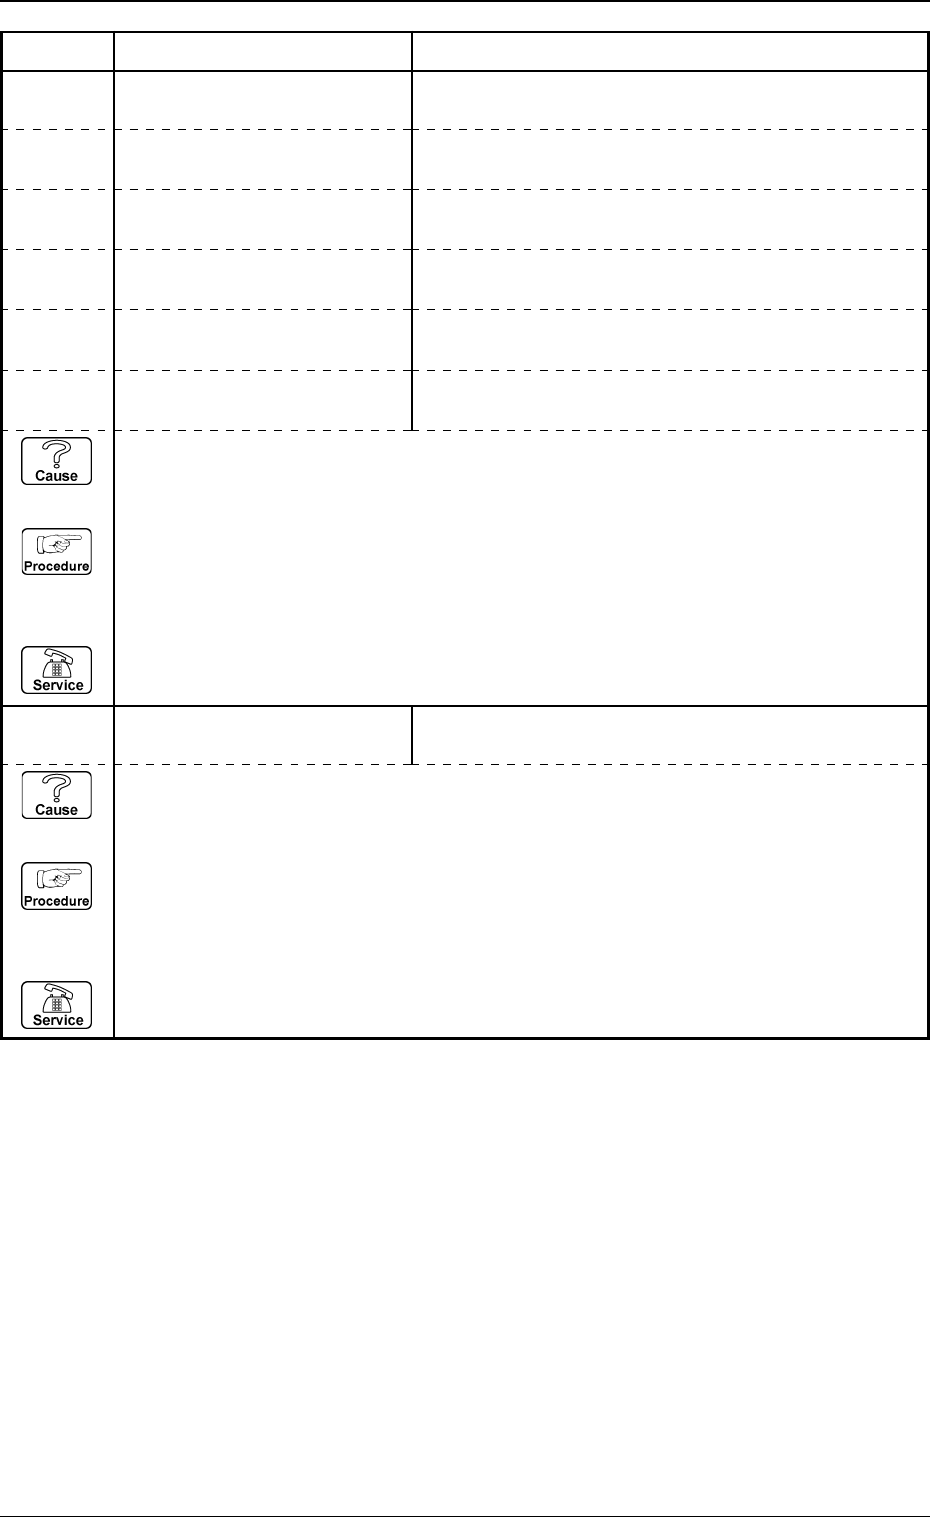
10150000 INTERRUPTING THE IMAGE
SCANNING
“CAMERA NO.” EXCEEDS THE RANGE OF SETTING.
(Cause 1) This is the device’s self-diagnostic message.
(Reset Procedure in the case of Cause 1)
Reset Procedure
(1) Press the [CLEAR ALARM] key and the buzzer stops sounding.
(2) Press the [ZERO] button to return all the axes to their original positions.
(3) Re-start.
(4) If the device can’t be re-started, contact our service personnel.
10140000 SCANNING IMAGE
“CAMERA NO.” EXCEEDS THE RANGE OF SETTING.
10140001 SCANNING IMAGE “TRIGGER CONTROL FLAG” EXCEEDS THE RANGE
OF SETTING.
10140002 SCANNING IMAGE “LIGHTING CONTROL FLAG” EXCEEDS THE RANGE
OF SETTING.
10140003 SCANNING IMAGE
“GAIN FLAG” EXCEEDS THE RANGE OF SETTING.
10140004 SCANNING IMAGE “MARK POSITION” EXCEEDS THE RANGE OF
SETTING.
10140005 SCANNING IMAGE “HEAD NO.” EXCEEDS THE RANGE OF SETTING.
(Cause 1) This is the device’s self-diagnostic message.
(Reset Procedure in the case of Cause 1)
Reset Procedure
(1) Press the [CLEAR ALARM] key and the buzzer stops sounding.
(2) Press the [ZERO] button to return all the axes to their original positions.
(3) Re-start.
(4) If the device can’t be re-started, contact our service personnel.
3. Control-to-Control Communication Error Code and List of Error Messages
0005-002 4-11 Tg0248-PM-ER
Error Code Display A Display B
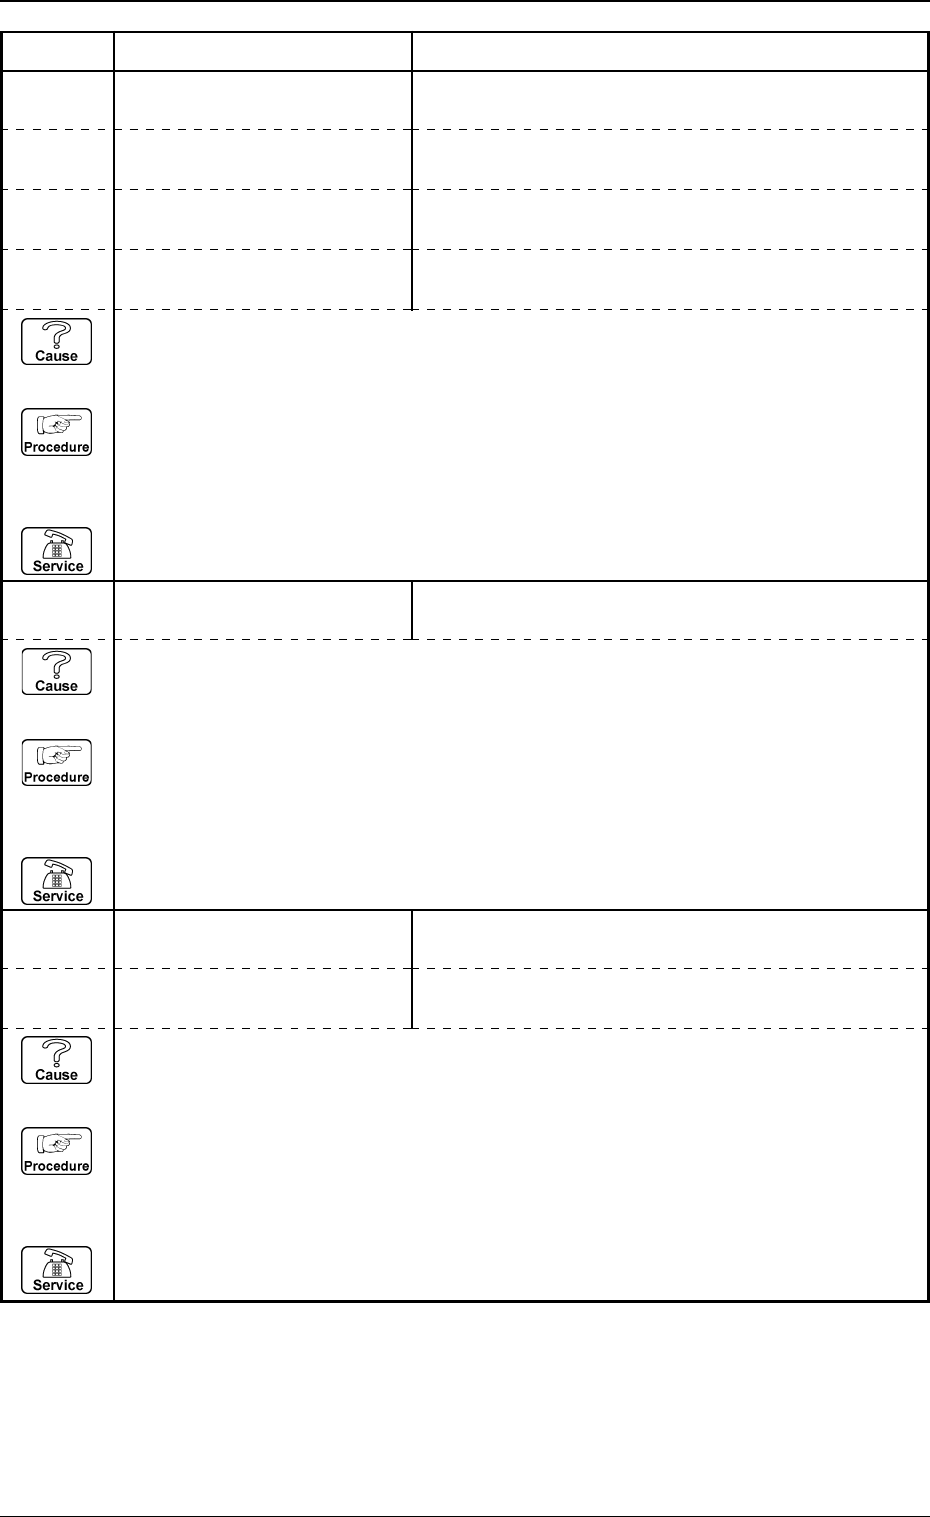
10200000 LIGHTING ON “LIGHTING UNIT NO.” EXCEEDS THE RANGE OF
SETTING.
10200001 LIGHTING ON “HEAD NO.” EXCEEDS THE RANGE OF SETTING.
10200002 LIGHTING ON “COMPONENT NO.” EXCEEDS THE RANGE OF
SETTING.
10200003 LIGHTING ON
“HEAD LIGHTING CONTROL FLAG” EXCEEDS THE
RANGE OF SETTING.
10210000 LIGHTING OFF “LIGHTING UNIT NO.” EXCEEDS THE RANGE OF
SETTING.
(Cause 1) This is the device’s self-diagnostic message.
(Reset Procedure in the case of Cause 1)
Reset Procedure
(1) Press the [CLEAR ALARM] key and the buzzer stops sounding.
(2) Press the [ZERO] button to return all the axes to their original positions.
(3) Re-start.
(4) If the device can’t be re-started, contact our service personnel.
10220000 SETTING THE LIGHTING
CONTROL BOARD
“MODE” EXCEEDS THE RANGE OF SETTING.
10220001 SETTING THE LIGHTING
CONTROL BOARD
“INITIAL TEMPERATURE” EXCEEDS THE RANGE OF
SETTING.
(Cause 1) This is the device’s self-diagnostic message.
(Reset Procedure in the case of Cause 1)
Reset Procedure
(1) Press the [CLEAR ALARM] key and the buzzer stops sounding.
(2) Press the [ZERO] button to return all the axes to their original positions.
(3) Re-start.
(4) If the device can’t be re-started, contact our service personnel.