00193687-04.pdf - 第46页
3 In stal la tio n des S IPLAC E Expl ore r Inst all atio ns - und Konfi gu rat ions anle itun g SI PLA CE Exp lor er 3. 1 E rst inst allat ion v on S IPL ACE Exp lorer 2.0 SP 1 Au sga be 12 /2 005 DE 46 → Klic ken Sie d…
Installations- und Konfigurationsanleitung SIPLACE Explorer 3 Installation des SIPLACE Explorer
Ausgabe 12/2005 DE 3.1 Erstinstallation von SIPLACE Explorer 2.0 SP1
45
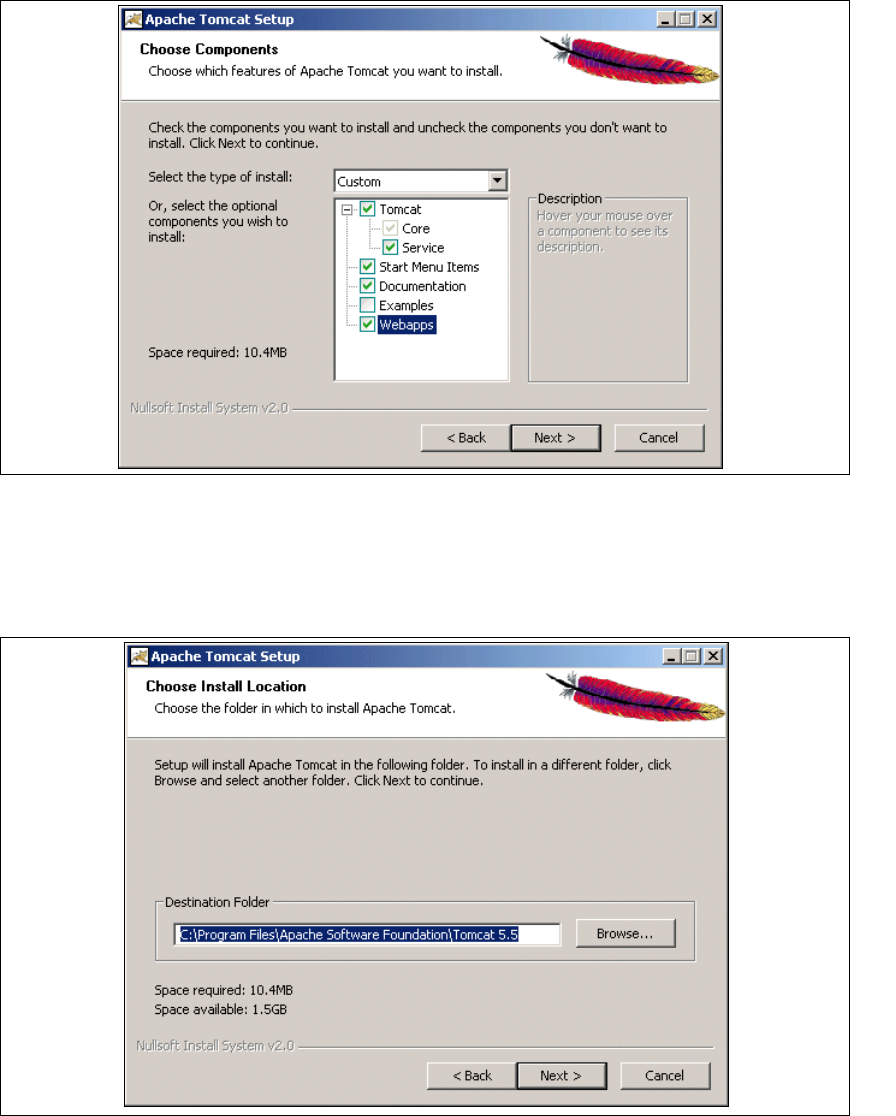
→ Wählen Sie jetzt die Komponenten aus, die Sie installieren möchten.
3
Abb. 3 - 28 Apache Tomcat Setup - Auswahl der Komponenten
→ Wählen Sie als Installationstyp Custom aus.
→ Klicken Sie unter Tomcat die Option Service an. Klicken Sie dann auf Next (Weiter).
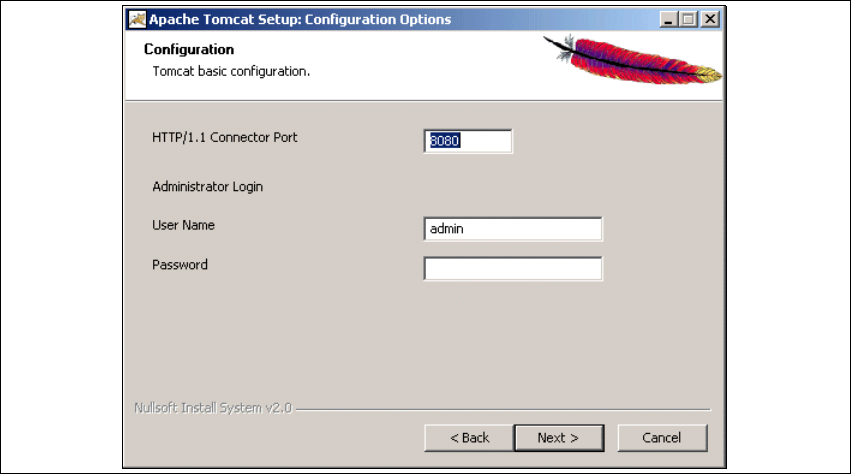
→ Geben Sie jetzt den Ordner an, in dem Sie die Anwendung installieren möchten.
3
Abb. 3 - 29 Apache Tomcat Setup - Zielordner wählen
→ Sie können die Standardeinstellung durch Betätigung der Schaltfläche Browse (Durchsuchen)
verändern.
3 Installation des SIPLACE Explorer Installations- und Konfigurationsanleitung SIPLACE Explorer
3.1 Erstinstallation von SIPLACE Explorer 2.0 SP1 Ausgabe 12/2005 DE
46
→ Klicken Sie dann auf Next (Weiter).
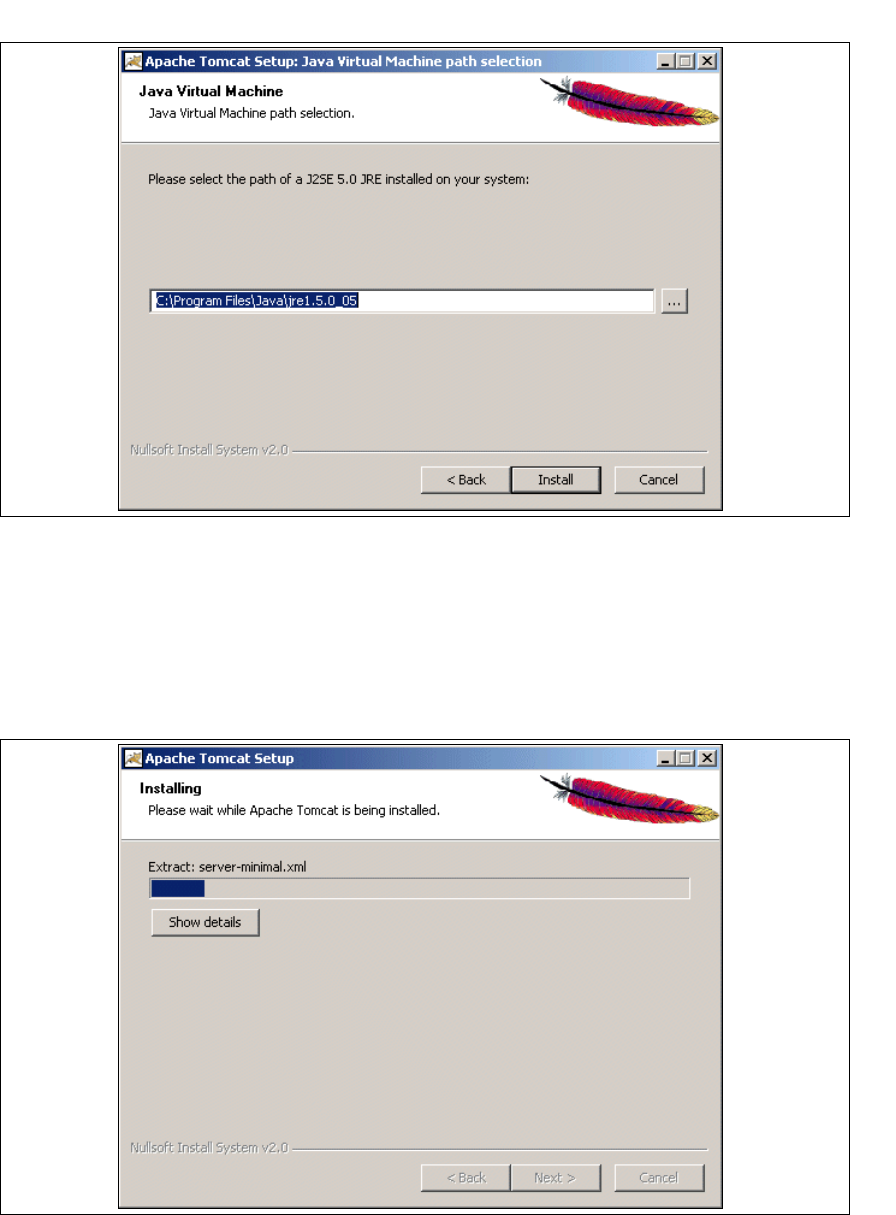
→ Geben Sie jetzt die Portnummer und die Zugangsdaten für den Administrator für Tomcat an.
3
Abb. 3 - 30 Apache Tomcat Setup - Konfiguration
→ Geben Sie im Feld HTTP/1.1 Connector Port die Portnummer für Tomcat an. Standardmäßig
wird Tomcat auf Port 8080 installiert. D.h., die Benutzer greifen über folgende Adresse auf die
Website zu: http://yourServerName:8080/yourWebsite/index.jsp.
→ Geben Sie im Feld User Name und im Feld Password die Zugangsdaten für den Tomcat-
Administrator an.
Dieser Login wird automatisch als Standardlogin bei Line Configuration - Schritt 7 "Website
Generation" verwendet. Lassen Sie bei der Tomcat-Konfiguration das Feld
Password leer,
können Sie auch diese Einstellung als Standardlogin bei Line Configuration verwenden.
3
Geben Sie hier ein Passwort an, müssen Sie dieses auch bei Line Configuration - Schritt 7
"Website Generation" verwenden.
3
→ Klicken Sie dann auf Next (Weiter).
Installations- und Konfigurationsanleitung SIPLACE Explorer 3 Installation des SIPLACE Explorer
Ausgabe 12/2005 DE 3.1 Erstinstallation von SIPLACE Explorer 2.0 SP1
47
→ Geben Sie jetzt den Pfad von Java 2 JRE 1.5 an.
3
Abb. 3 - 31 Apache Tomcat Setup - Java Virtual Machine
→ Standardmäßig wird bei der Tomcat-Installation C:\Program Files\Java\jre1.5.0_05
angegeben. Diese Angabe können Sie über die Schaltfläche ... ändern. Bei falscher
Pfadangabe können die SIPLACE Explorer Websiten nicht angezeigt werden.
→ Klicken Sie dann auf Install (Installieren).
→ Die eigentliche Installation von Tomcat beginnt.
3
Abb. 3 - 32 Apache Tomcat Setup - Installing