YSi-X_Ope_E.pdf - 第122页
A-11 Appendix 2 Check the status. 1. Check that “Status” of the “X-Ray Source” parameters indicates “4: Over”. 2. Press the [Close] button to close the “X-ray Infor mation” screen. “X-ray Information” screen Check “Statu…
A-10
Appendix
4. Precautions for X-ray generator
4.1 Warming up the X-ray generator
Even when not using this inspection equipment for long periods of time, periodically start the equipment and
warm up the X-ray generator.
For details on warming up the X-ray generator, see section 2.1, “Starting”, in Chapter 2.
c
CAUTION
If the X-ray generator is not used for long periods of time, it may malfunction. Periodically warm up the X-ray
generator (once every 3 month or so) to maintain the performance.
4.2 Protective function for the X-ray generator
If the temperature in the X-ray generator is low or the X-ray generator has not emitted X-rays for long periods of
time, the protective function may operate to protect the X-ray generator.
When the protective function is operating, the message “X-RAY ERROR” appears in the status area of the
operation screen. If this error occurs, be sure to use the following recovery procedure to prevent damage to the
X-ray generator.
c
CAUTION
If the correct recovery procedure is not used, the X-ray generator may be damaged and may not start operation, so
use caution.
1
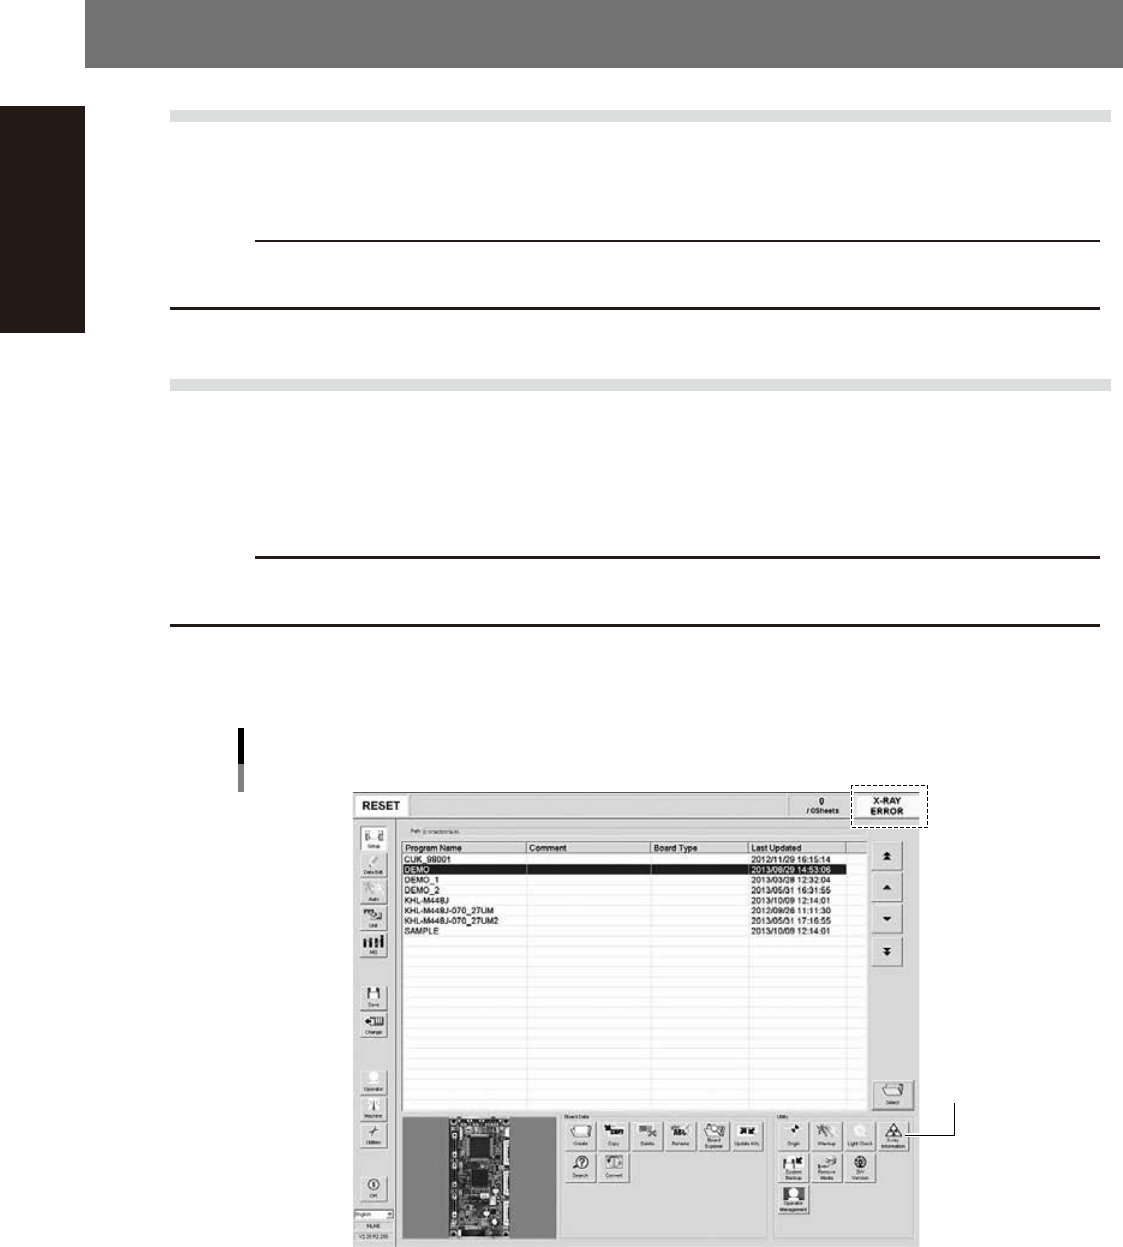
On the Setup screen, press the [X-ray Information] button to open the “X-ray
Information” screen.
Operation screen when the X-ray generator protective function is operating
[X-ray Information]
button
24A01-M6-00
A-11
Appendix
2
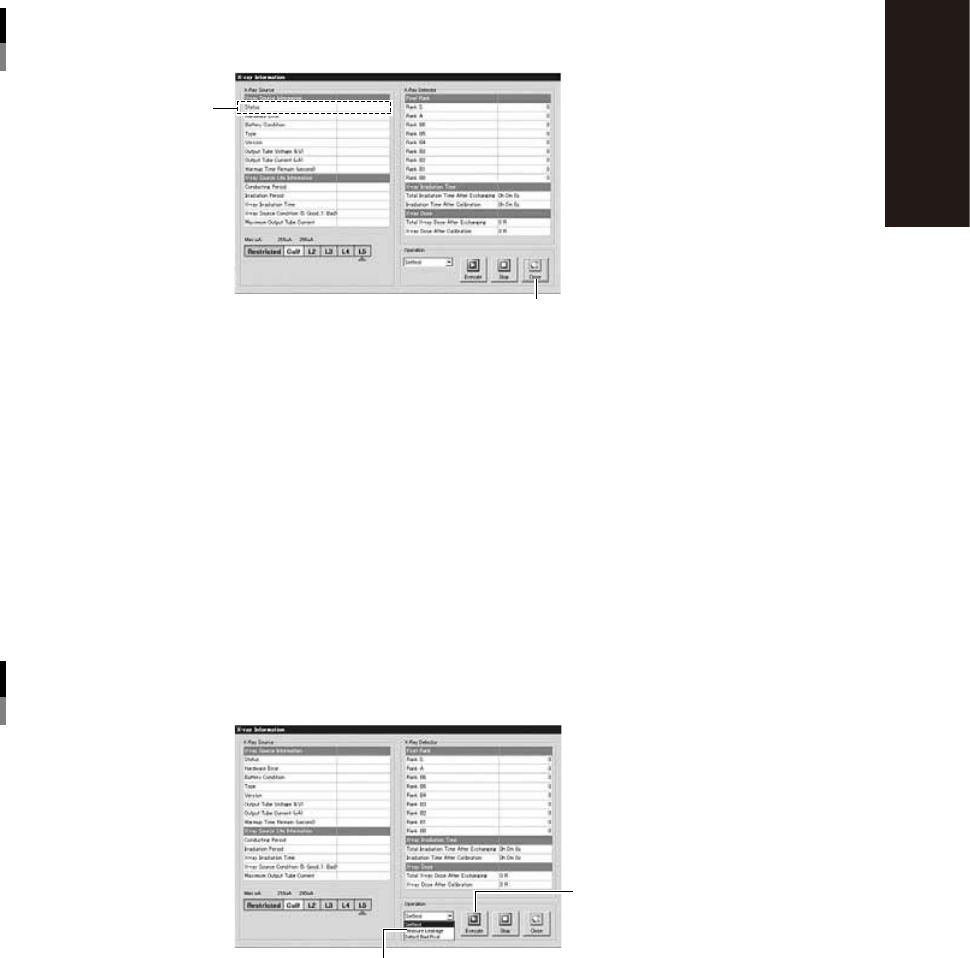
Check the status.
1. Check that “Status” of the “X-Ray Source” parameters indicates “4: Over”.
2. Press the [Close] button to close the “X-ray Information” screen.
“X-ray Information” screen
Check “Status”
[Close] button
24A02-M6-00
3
Press the [Off] button and then turn off the machine main power.
To lower the temperature in the X-ray generator to 15°C or below, open the front safety door of the
machine and leave it open for about 30 minutes with the power turned off.
4
Turn on the machine main power and perform return-to-origin.
5
Start warm-up of the X-ray generator.
1. On the Setup screen, press the press the [X-ray Information] button to open the “X-ray Information”
screen.
2. From the pull-down list in the “Operation” group box, select “Warm-up” and press the [Execute]
button.
”X-ray Information” screen
Warm-up
Select “Warm-up”
[Execute] button
24A03-M6-00

S-1
INDEX
Index
A
Alarm buzzer 1-2
Axis configuration 1-7
C
CE marking i
Checking the conveyor belt tension 4-24
Connection between machines A-2
Consumable parts 4-5
Conveyor unit 1-5
D
daily operation 3-1
E
Emergency stop button 1-2
Canceling emergency stop 2-1
Error
Clearing an error 2-1
H
Handling the X-ray unit viii
Height measurement method 1-6
L
Laser height sensor 1-6
Lubrication of each unit 5-2
M
Machine main unit 1-1
Machine-to-machine connection
connectors 1-4
Main pressure regulator 1-3
Main switch 1-2,2-2
Maintenance
Air filter 4-31
Ball screws and guides 4-14,4-28,4-33
Board sensor 4-12
Camera lighting unit 4-10
Importance of periodic inspections and
cleaning 4-2
Monthly 4-13
Weekly inspection 4-10
Maintenance list 4-3
Maintenance tools 4-6
Manual contents i
Contents of each chapter iii
Page layout iv
Using this manual i
O
Operation
Daily operation flow 3-1
Ending 2-5
Pre-operation inspection 2-2
Return-to-origin 2-2
Starting 2-2
P
Power connection terminals ,1-4
Pressure regulator for shutte 1-3
Protective function for the X-ray generator
A-10
R
[READY] button 1-2
Removing the rear center panel 4-9
Required tools 4-8
S
Safety ii
Safety cover 1-2
Safety message xi
Selecting the program 3-3
Signal light (signal tower) 1-1
U
UPS
Replacing the UPS battery 4-41
UPS (uninterruptible power supply) ,1-4
USB port 1-3
W
Warming up the X-ray generator A-10
Warm-up operation 3-2
Warning labels xv
Warranty ii
X
X-ray generator 4-26,A-10
X-ray generator warm-up 2-3
X-RAY indicator 1-2
X-RAY safety key 1-2