YSi-X_Ope_E.pdf - 第50页
2-1 2 Basic operation 1. Before operation The following explains how to cancel emergency stop and clear errors. Read before operating the machine. 1.1 Canceling emergency stop F ollow these steps to cancel emergency stop…


2-1
2
Basic operation
1. Before operation
The following explains how to cancel emergency stop and clear errors. Read before operating the machine.
1.1 Canceling emergency stop
Follow these steps to cancel emergency stop.
1
Check safety.
Before continuing the procedure, check the surrounding area for safety.
2
Release the emergency stop button.
When the emergency stop button is pressed, turn it clockwise to release it
3
Press the [READY] button.
Pressing the [READY] button on the operation panel turns on the servomotors.
[READY] button
[READY] button
23201-M6-00
1.2 Clearing an error
If an error occurs a buzzer sounds and a warning screen appears. To clear the error, use the following steps.
1
Turn off the buzzer.
Press the [BUZZER OFF] button on the warning screen to turn off the buzzer.
2
Check the cause of the error.
Possible causes are displayed on the lower part of the warning screen, so check or make a note of the
description.
Warning screen example
24201-M6-00
3
Clear the warning screen.
After removing the cause of the error, press the [OK] button on the warning screen to clear the warning
screen.
2-2
2
Basic operation
2.
Starting and ending the machine and software operation
2.1 Starting
e
Following a pre-operation inspection, use the following procedure to start up the machine and software.
w
WARNING
ALWAYS BE SURE TO PRESS THE EMERGENCY STOP BUTTON BEFORE INSPECTING THE MACHINE'S INTERIOR.
n
Pre-operation inspection
Check item Check content
Air
Check that the upper display on the machine's air pressure gauge indicates
0.55Mpa.
Power supply
Check that the specified power is connected to the power supply box located
behind the front lower right panel of the machine.
Safety cover Check that the covers are closed.
Conveyor
Check that no chips or debris are on the conveyor or in the area where the
conveyor moves.
1
Set the safety key to the “ENABLE” position.
Insert the X-RAY safety key and turn it to the “ENABLE” position.
n
NOTE
When performing X-ray inspection, always set the X-RAY safety key to the “ENABLE” position.
2
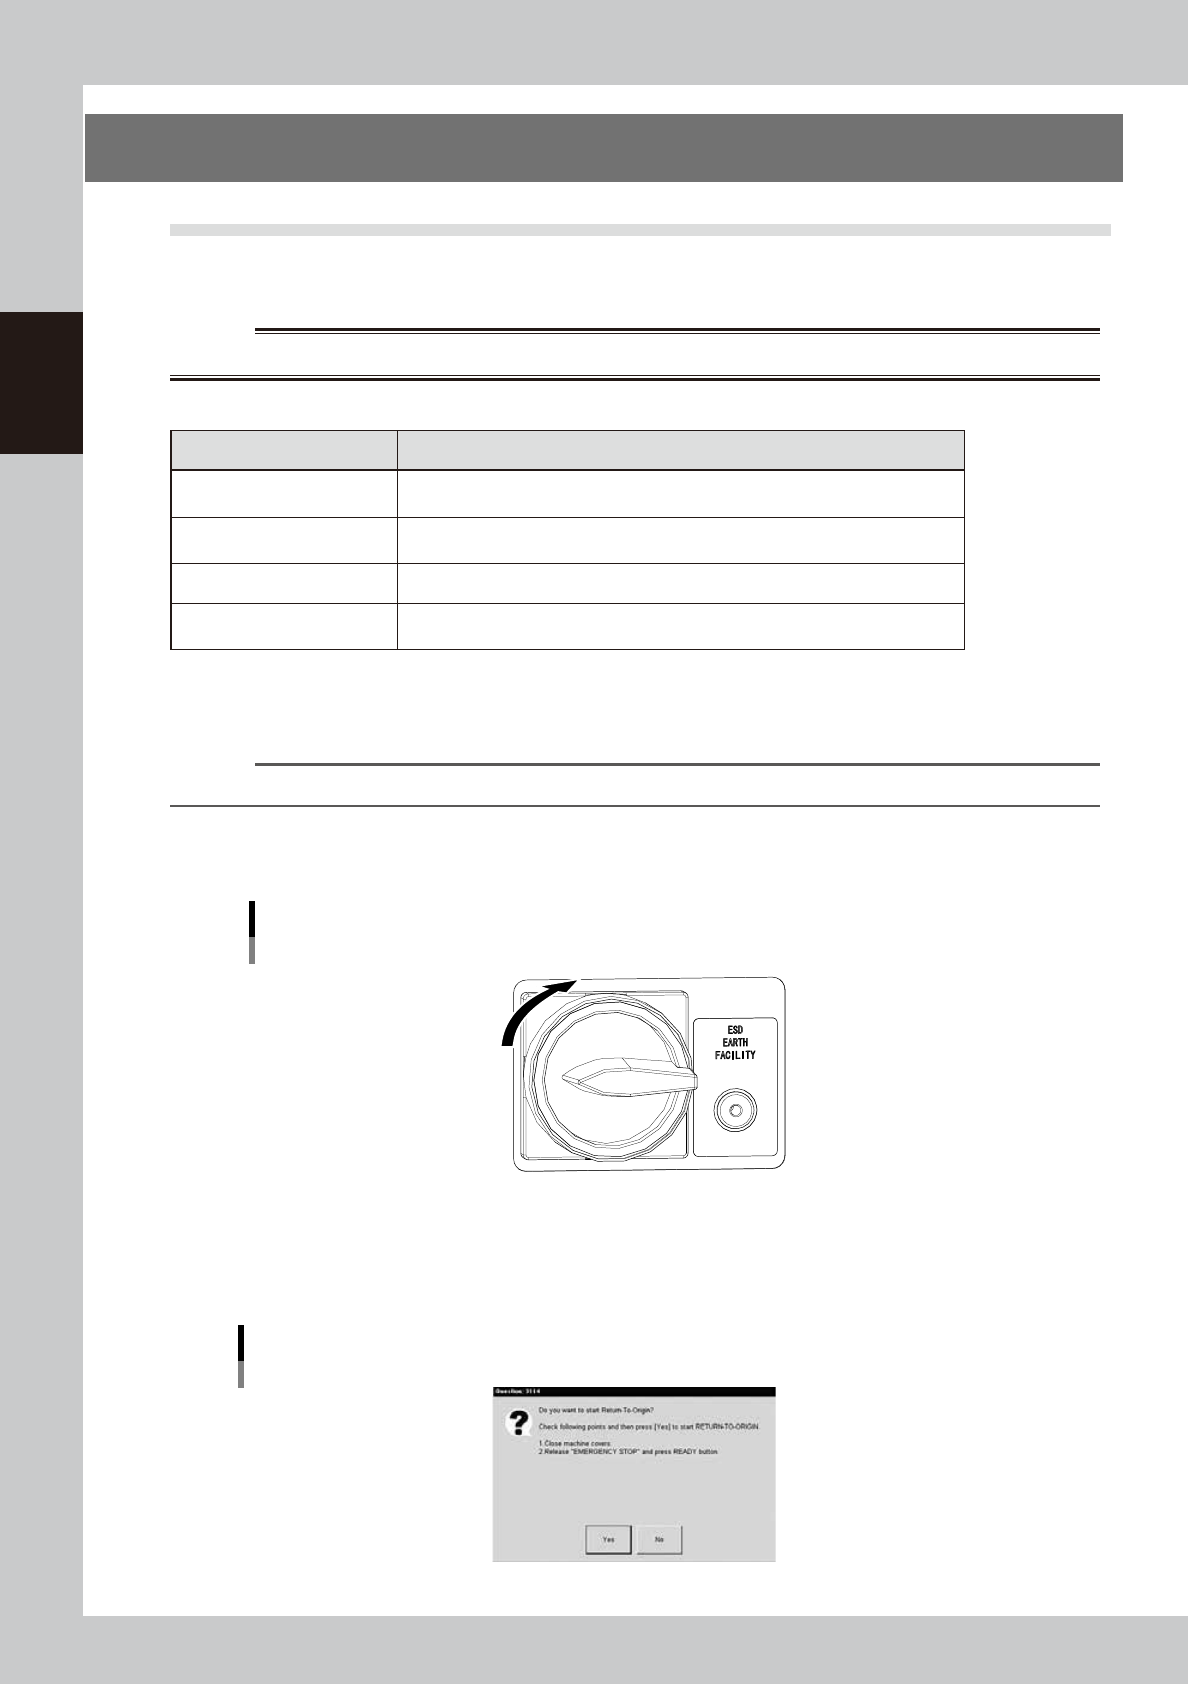
Turn the main switch ON.
Turn the main switch on the front lower right of the machine clockwise to set it in the ON position.
Main switch
OFF
ON
23202-M6-00
3
Perform return-to-origin.
A dialog box for return-to-origin operation appears. Follow the instructions and then press the [Yes]
button.
Return-to-origin
24202-M6-00