N7201A652E.pdf - 第174页
NPM- TT2 EJM1EE-MB-02 O-04 Installing suppor t pins (f or automa tic change) 3 Operating procedure 2-5-7 2-5-7 -5 Individu- al prepara- tion Installing the support pin (for automatic change) 3 ● Then, check the numb er o…
NPM-TT2 EJM1EE-MB-02O-04
2-5-7-4
10
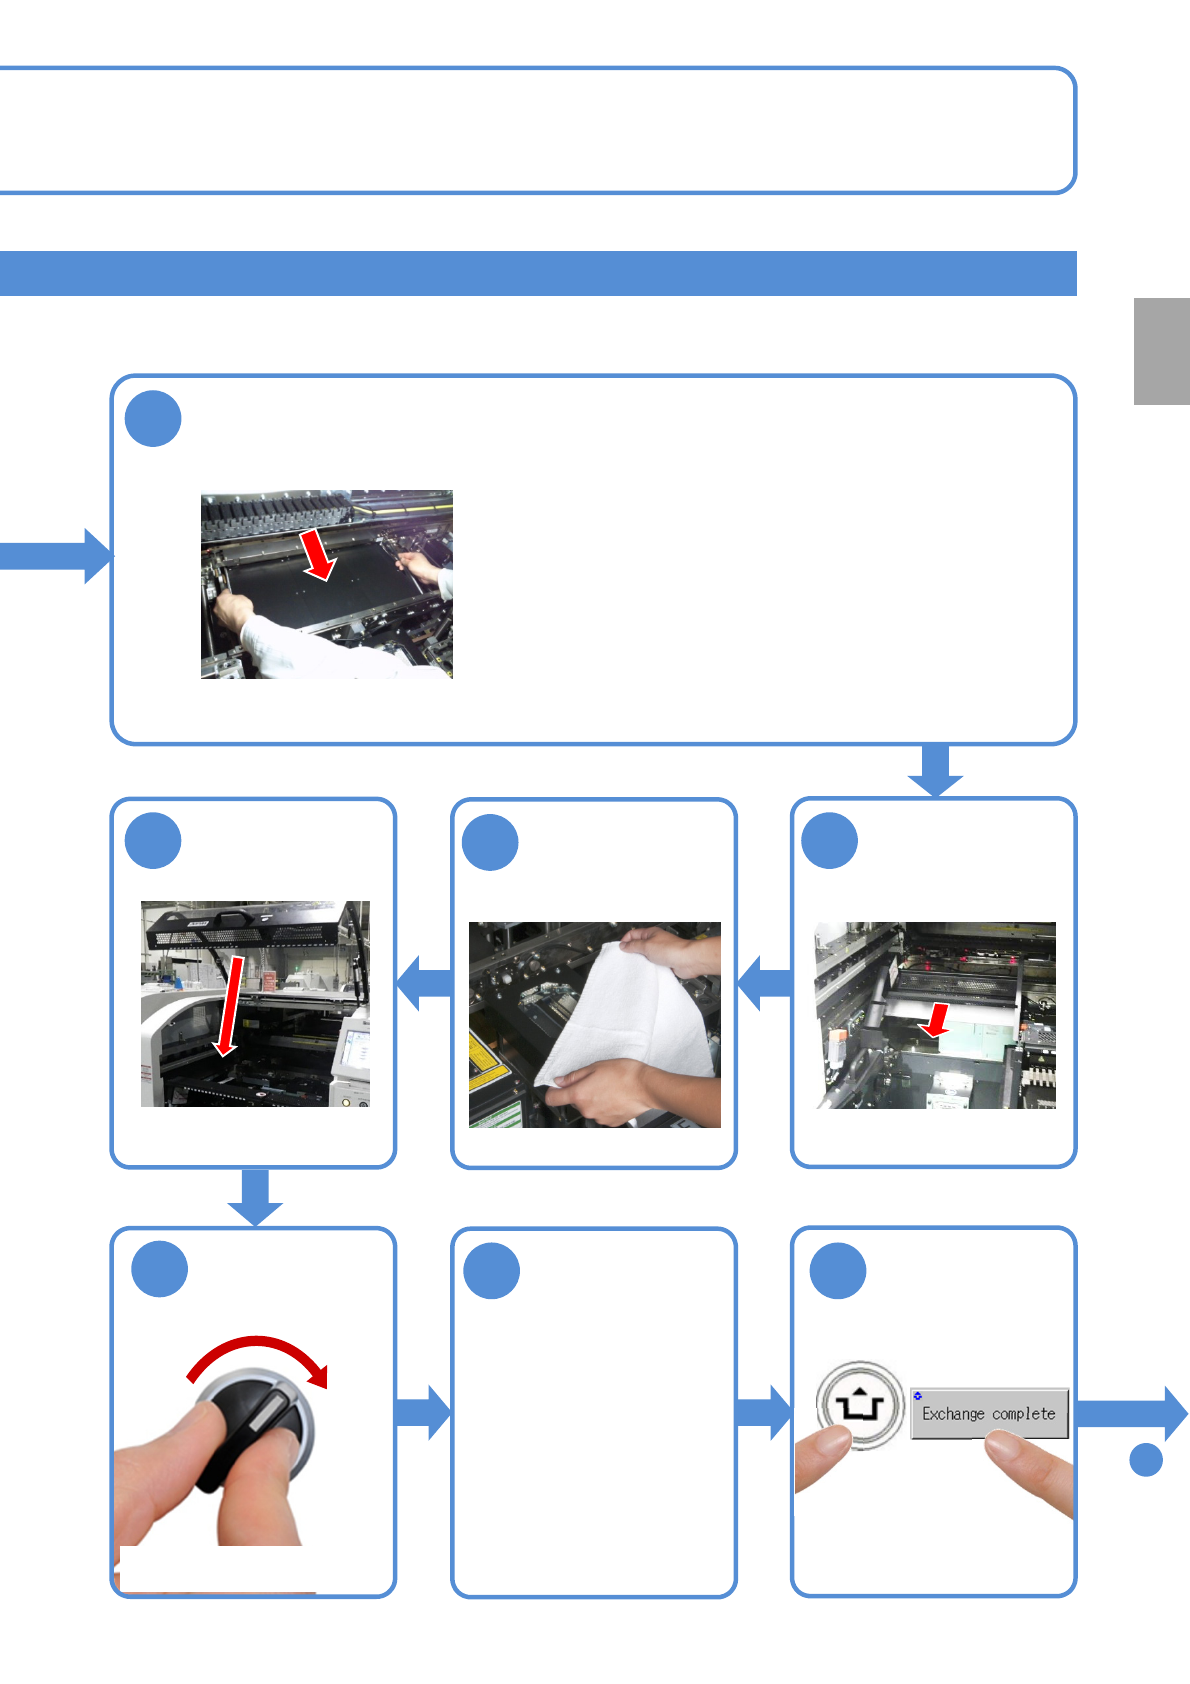
Attach the PCB support block (for automatic change) as there is no tilt
(Avoid interfering with the rail)
Remove the
cloth
●Place the PCB support block while paying attention
not to hit the support pins to the rail.
●After it is placed, push the support pins to the bolt,
and make sure that pins are pressed against the bolt.
11
12
13
Attach the tray
feeder or the feeder
cart
●For a tray feeder
(→[Maintenance] P.14-8)
●For a feeder cart
(→[Maintenance] P.3-2)
15 16
14
SERVO
ON
To
17
Put the feeder
table cover back
in its place
●Only for the exchange cart ●Only for the exchange cart
●Only for the exchange cart
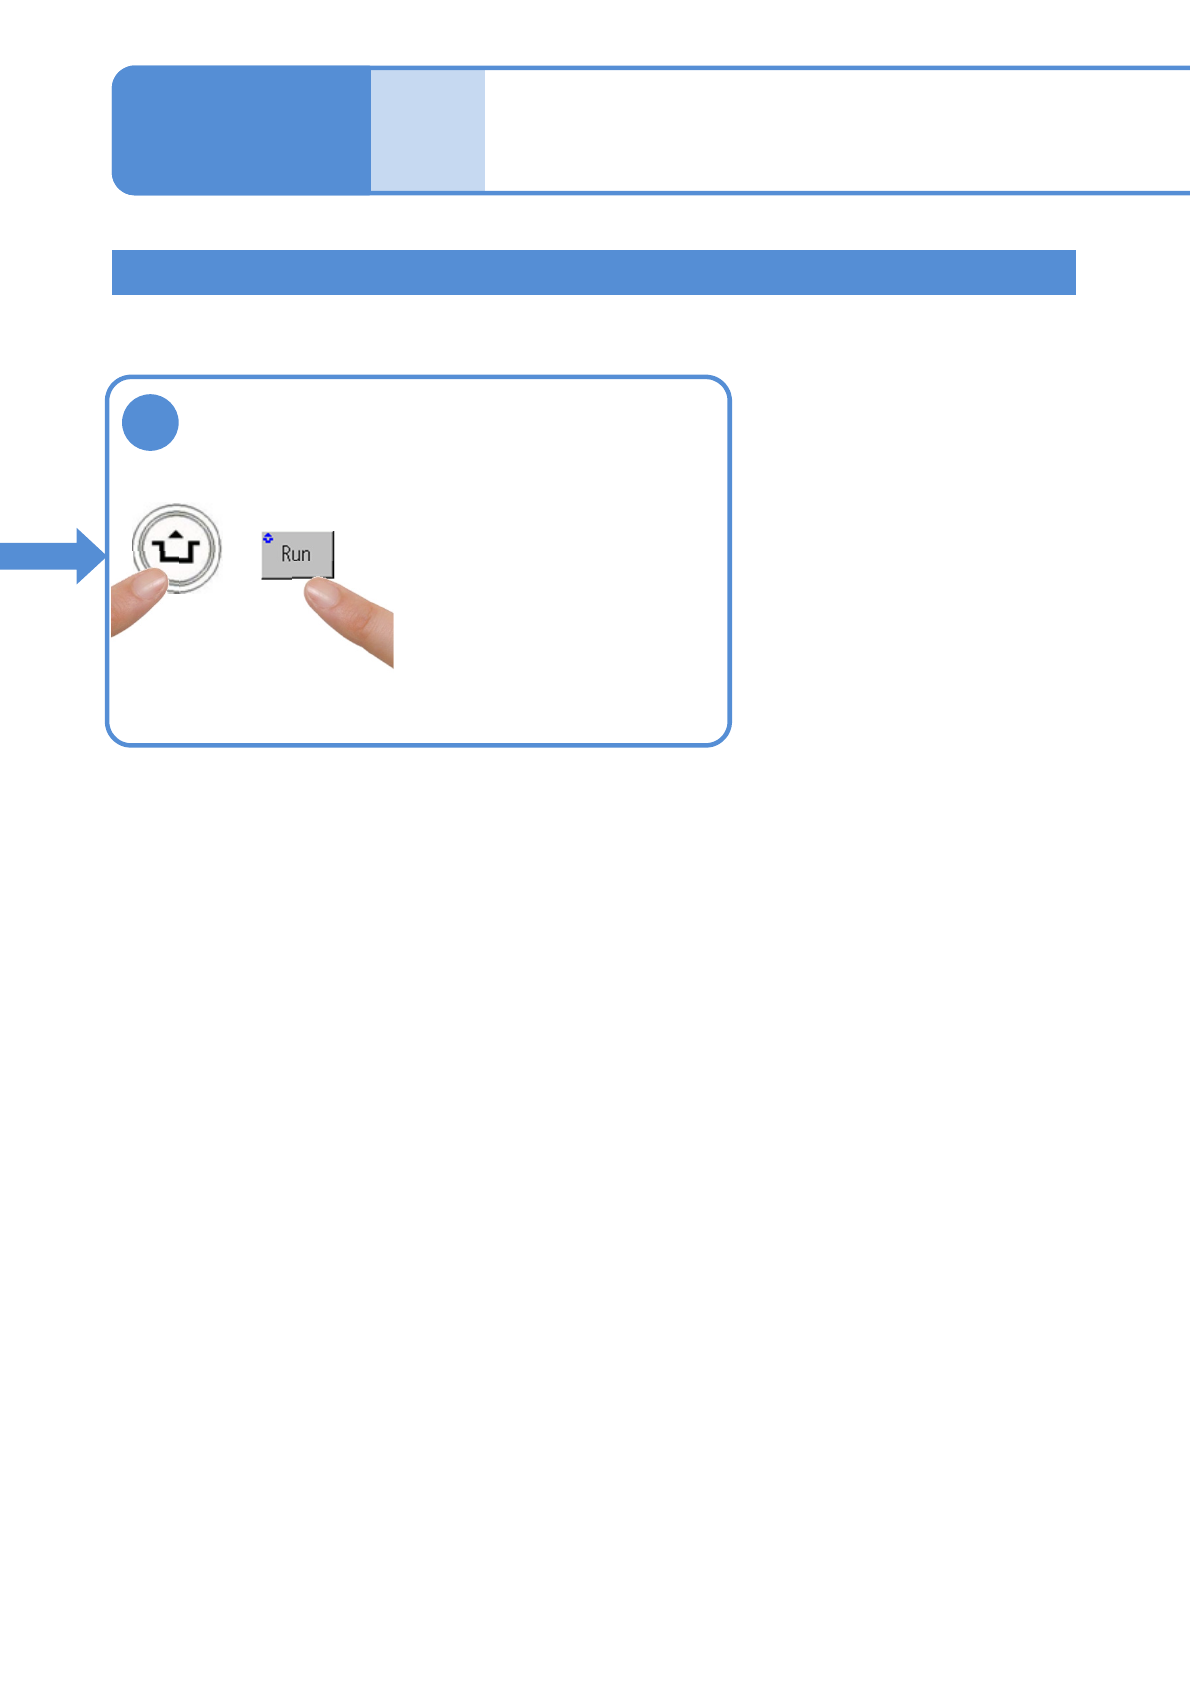
Preparation
ACTIVATION
NPM-TT2 EJM1EE-MB-02O-04
Installing support pins
(for automatic change) 3
Operating procedure
2-5-7
2-5-7-5
Individu-
al
prepara-
tion
Installing the support pin (for automatic change) 3
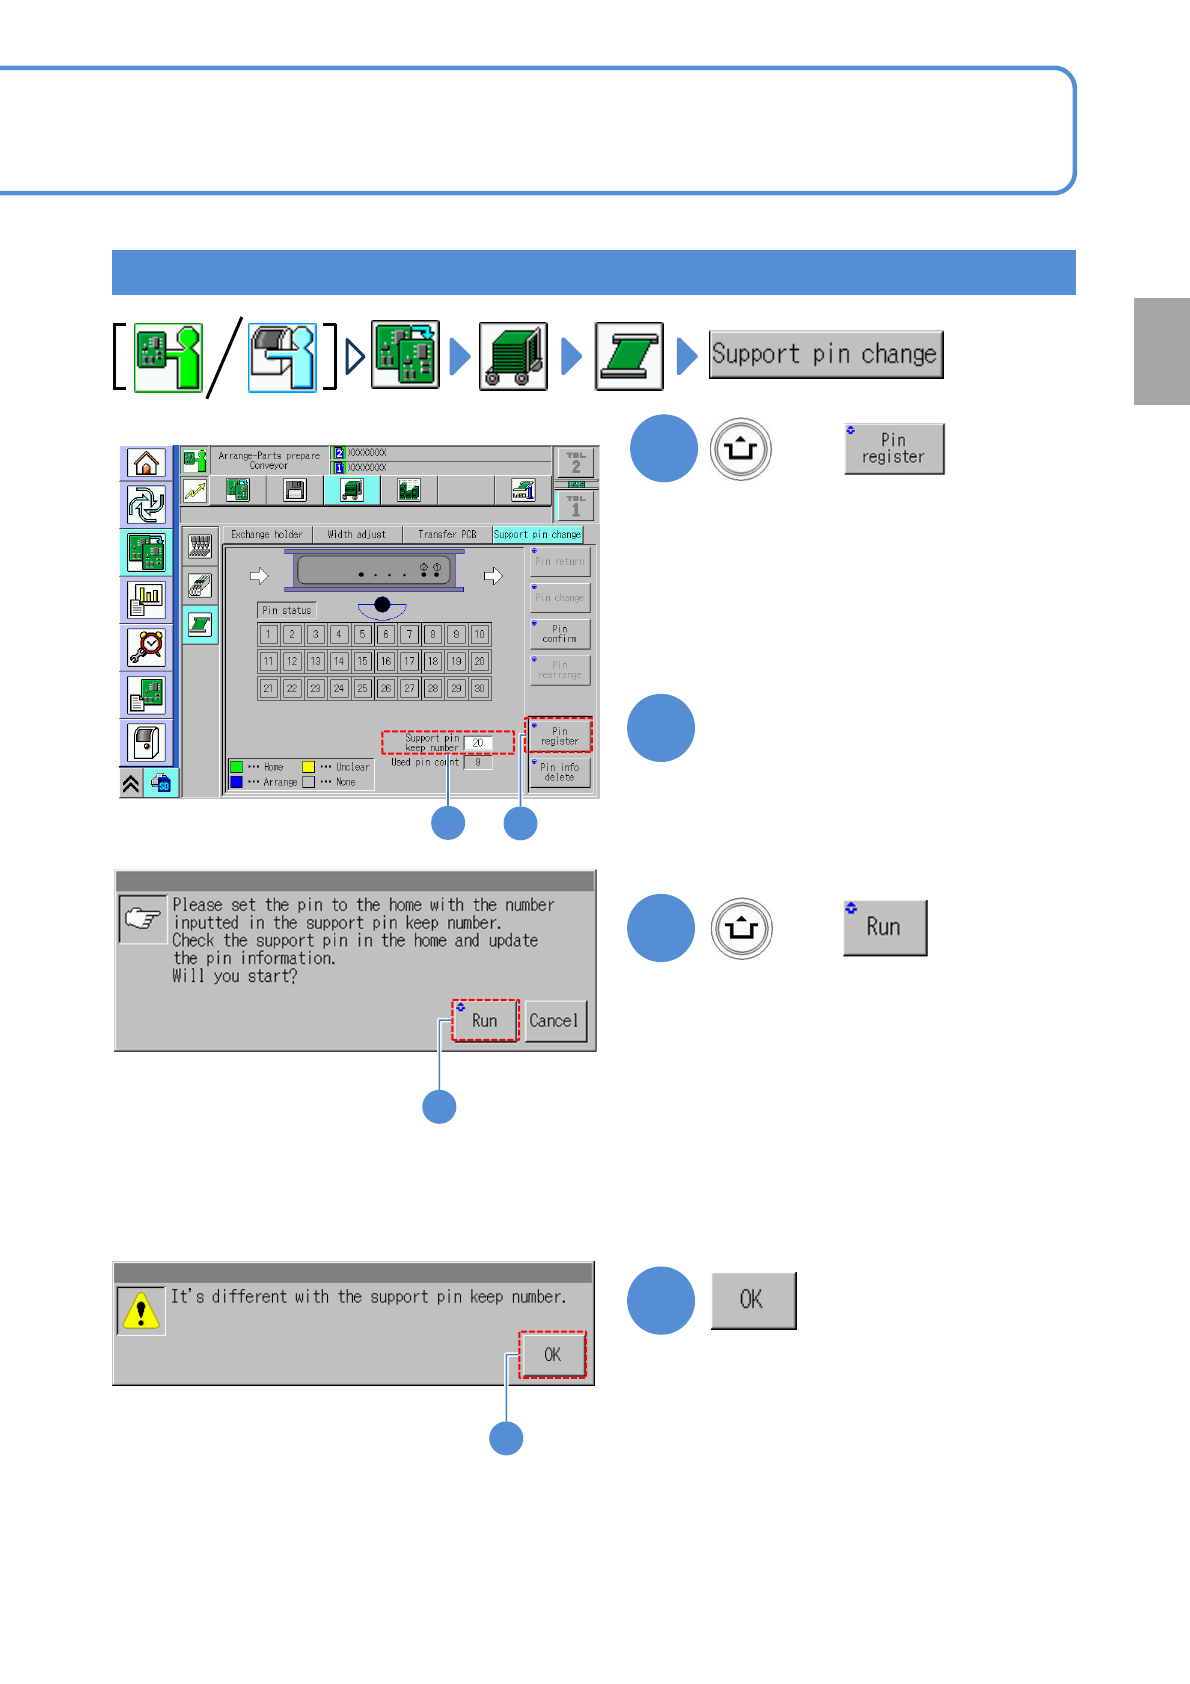
●Then, check the number of
support pins actually arranged
on the home position and the
number of support pins being
kept.
17
●The PCB support block
lowers.
ACTIVATION
NPM-TT2 EJM1EE-MB-02O-04
2-5-7-6
Checking the number of support pins
1
+
(The number of support pins can be
decreased or increased just after XY-
unit is retracted)
*For dual lane mode, switch to your
desired lane with a lane display icon to
register pins. (→P2-2-1-
2 Lane
display)
3
3
+
■When the number of the support
pins being installed to the machine is
not the same as the support pin keep
number entered
●Make an entry , or install a support
pin(s), in order to equate the number of
the set (installed) support pins with the
support pin keep number.
(Information will be updated upon
confirmation of the position and number
of the support pins)
4
4
Preparation
Enter the number of support
pins present in the machine.
2
1
2