KE-750_MS.pdf - 第203页
Do the same as with the X axis and carry out adjustment of the measured position. Once the reference is determined, select "OK". Selecting "OK" causes measurement of the di stance from sub OCC to the …
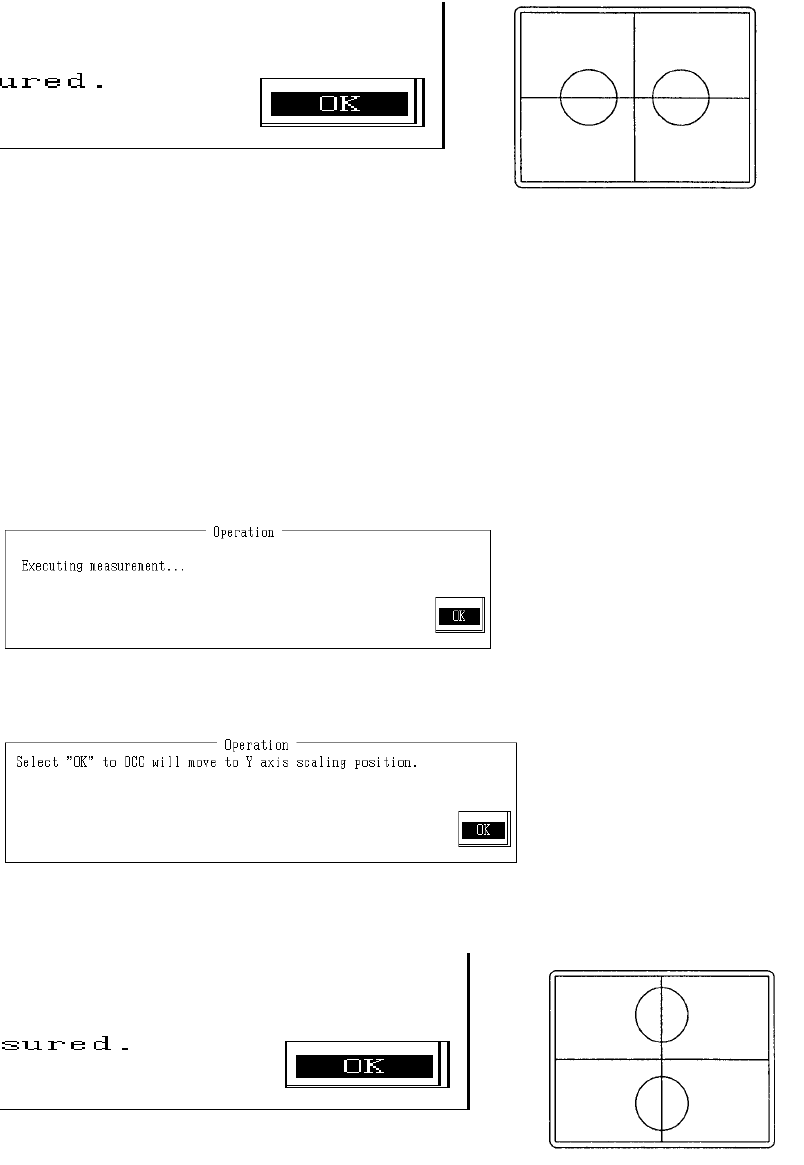
Once completed, select "OK" and sub OCC will move to X axis scaling position.
Monitor image when adjustment completed
With teaching adjust the monitor cross hair cursor so that it falls near the center of the 2 marks
and press HOD Enter key.
If no adjustment is needed, teaching is not required.
Should any dust be visible at this time, wipe the camera adjust jig thoroughly so that only the
marks are visible.
Anything visible besides the marks at time of measurement may make it impossible to take a
correct reading or may cause error.
Once completed, select "OK".
Selecting "OK" causes measurement of the distance from sub OCC to the X directional mark.
When measurement is completed, the measured value is displayed. From the input value and
measured value, X directional scaling is calculated and modified.
Once completed, select "OK".
Select "OK" and the sub OCC will move to the Y axis scaling position.
Monitor image when adjustment completed
2-35
Do the same as with the X axis and carry out adjustment of the measured position.
Once the reference is determined, select "OK".
Selecting "OK" causes measurement of the distance from sub OCC to the Y directional mark.
When measuring is completed, the measured value is displayed. From the input value and
measured value, Y directional scaling is calculated and modified.
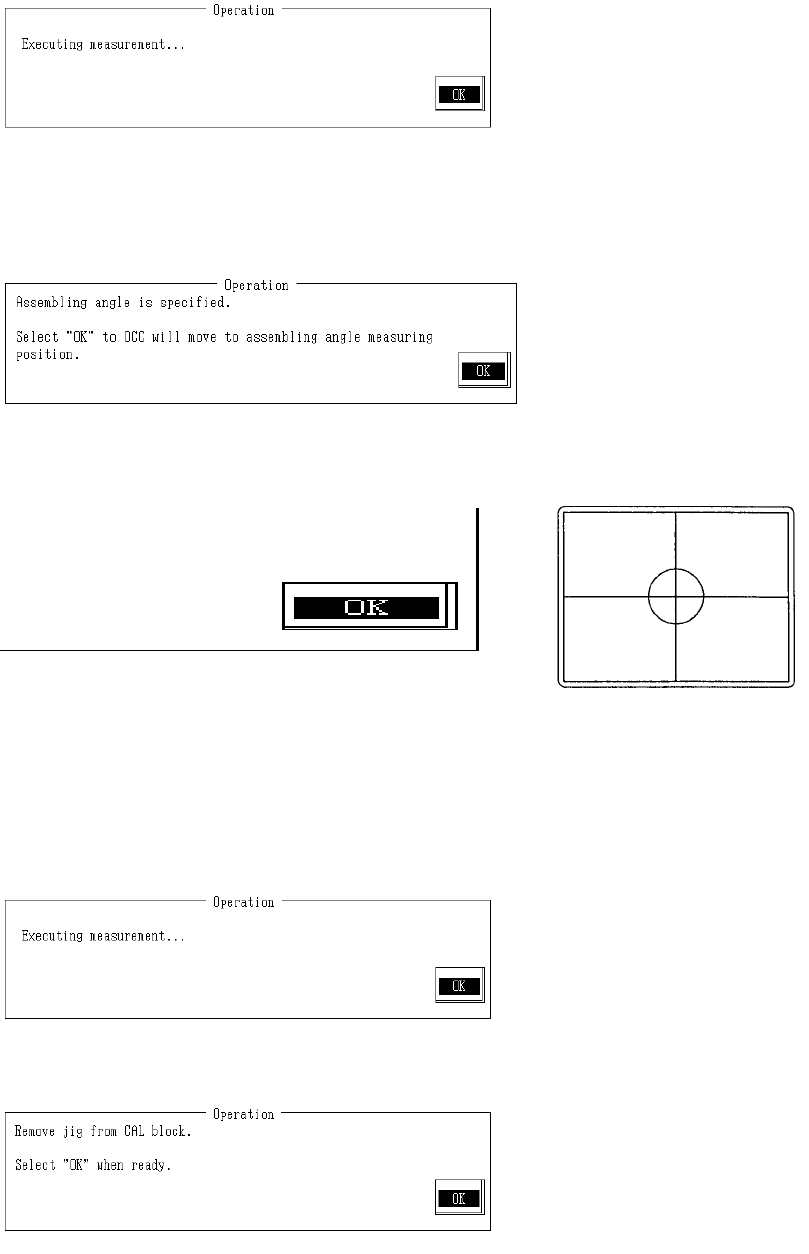
d Assembling Angle
When ready, select "OK".
Selecting "OK" causes sub OCC to move to assembling angle measurement position.
With teaching adjust the monitor cross hair cursor so that it falls near the center of the mark and
press HOD Enter key.
Anything visible besides the marks at time of measurement may make it impossible to take a
correct reading or may cause error.
Once completed, select "OK".
Selecting "OK" causes measurement of the fixing angle.
When measuring is completed, the measured value is displayed. From recognition, the
assembling angle is calculated and modified.
Remove camera adjustment stage from the CAL block.
Once completed, select "OK".
2-36
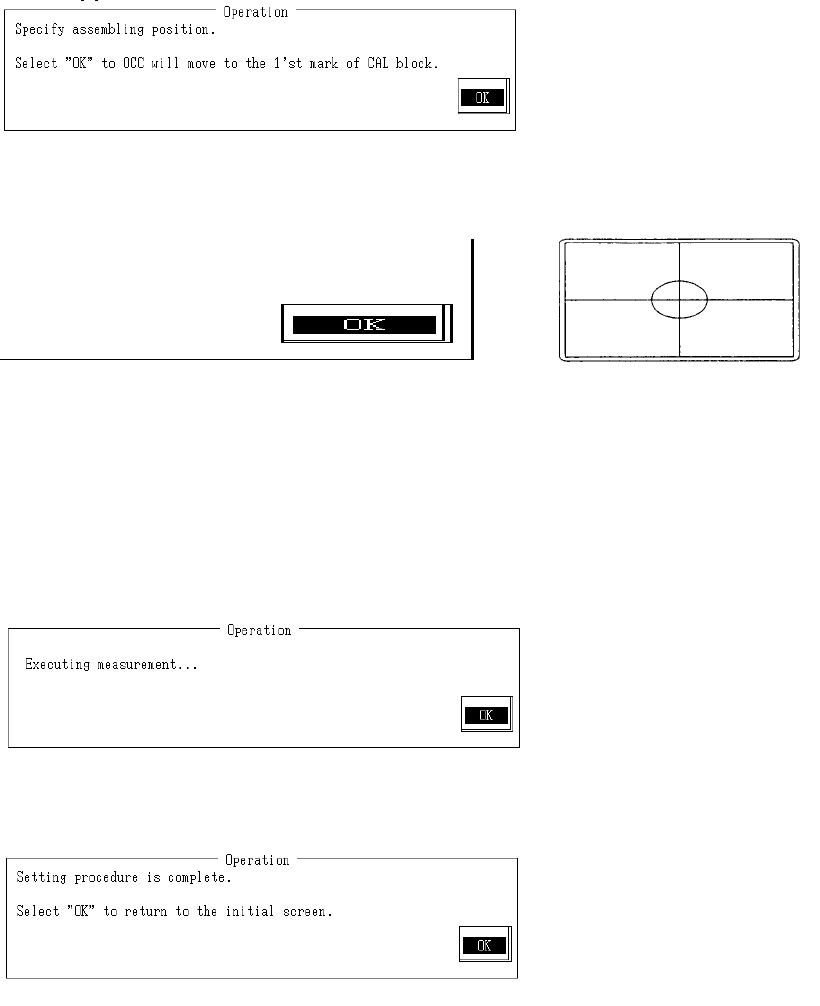
e Assembling position
When ready, select "OK".
Selecting "OK" moves the sub OCC to above CAL block No. 1 mark.
Monitor image when adjustment completed
With teaching adjust the monitor cross hair cursor so that it falls near the center of the 2 marks
and press HOD Enter key.
If no adjustment is needed, teaching is not required.
Once completed, select "OK".
Selecting "OK" measures assembling position when sub OCC recognizes CAL block No. 1
mark.
When measuring is completed, the measured value is displayed. From recognition, the
assembling position is calculated and modified.
Setting has been exited.
Select "OK" to return to default operation screen.
2-37