KE-750_MS.pdf - 第85页
Chapter 8 VCS 0.3/0.4 1. CCD Camera / Lens Replacement (1) Loosen the 6 M3 SEMS screws by turning 5 time. Slide light base and remove. (2) For lens replacement, while looking from abov e turn lens in a counterclockwise d…
2. ATC ON/OFF Verification Cable Replacement
(1) Replace either ATC OPN sensor assy (CN616) (Prod. No. E93547250A0)
or ATC OPN sensor assy (CN617) (Prod. No. E93537250A0).
(2) Refer to 7 - 1 - (5) and adjust sensor positioning.
(3) Use cable ties to bundle and fasten wires and tubes.
1-77
Chapter 8 VCS 0.3/0.4
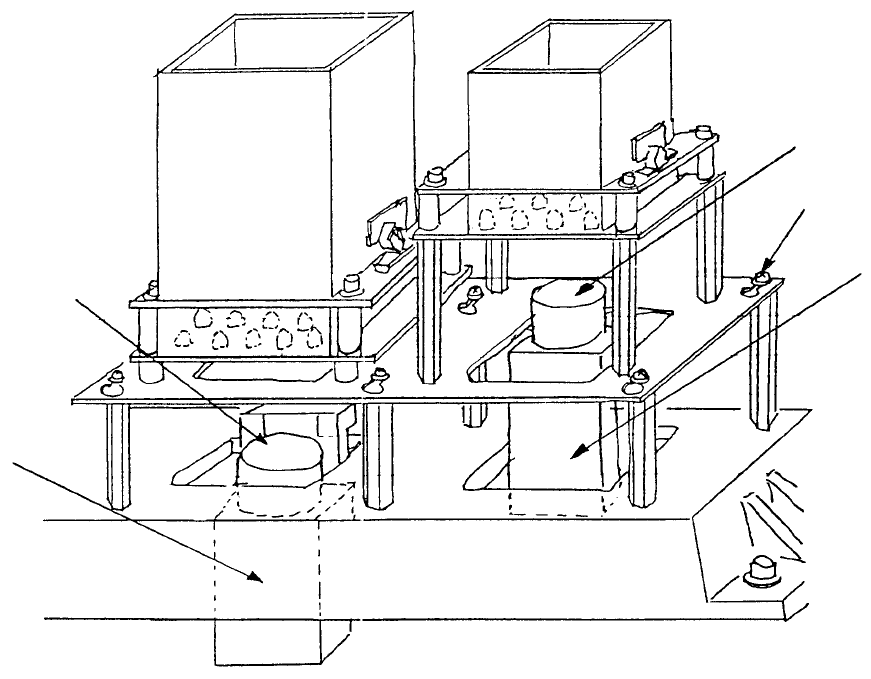
1. CCD Camera / Lens Replacement
(1) Loosen the 6 M3 SEMS screws by turning 5 time. Slide light base and remove.
(2) For lens replacement, while looking from above turn lens in a counterclockwise direction and
remove. Loosen the 4 screws used for focus adjustment in the new lens and firmly fasten it to the
camera.
CCD camera
M3 SEMS cap scre
w
CCD camera
Lens
(0.3 VCS) (Optional)(0.4 VCS)
Fig. 8-1-1
1-78
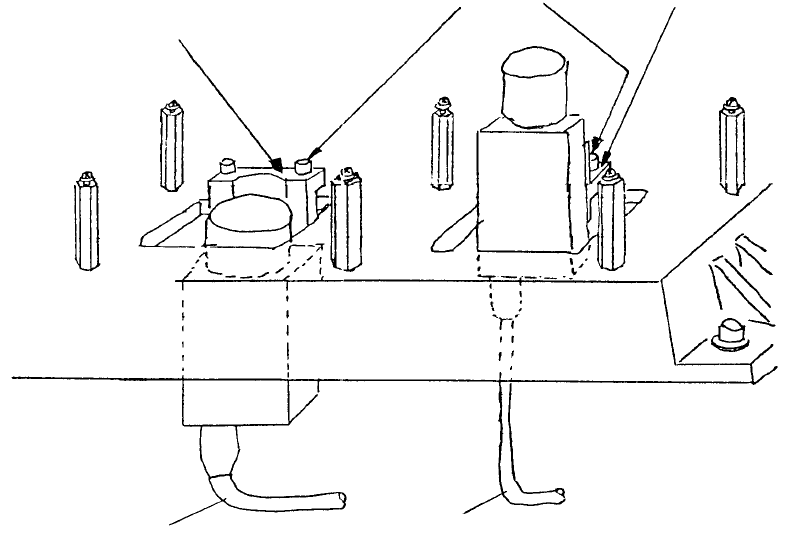
(3) Remove camera cable assemblies and M4 SEMS cap screws. Remove cameras from camera
brackets A & B.
(4) There are 4 hex screws each (M2 with spring & flat washers) holding cameras to VCS camera
brackets. Remove these screws.
(5) Turn switches on back of both cameras OFF and provisionally assemble with brackets following
step (4) in reverse sequence. (Switches are set at time of shipment, so only verification is required.)
0.3 VCS camera
bracket assy
0.4 VCS camera
bracket assy
VCS camera
bracket B
M4 SEMS cap
VCS camera bracket A
Fig. 8-1-2
1-79