00198829-01_SM_X-Series-S_Hxxxx_EN.pdf - 第103页
5 Pneumatic System 5.12 Vacuum Pump Service Manual SIPLACE X-Series S (from Hxxxx) 01/2021 103 Fig.130: Sliders ► Carefully lever the slides (1) out of the pump (7x). CAUTION! The slides are sensitive. . ► Check the c…
5 Pneumatic System
5.12 Vacuum Pump
102 Service Manual SIPLACE X-Series S (from Hxxxx) 01/2021
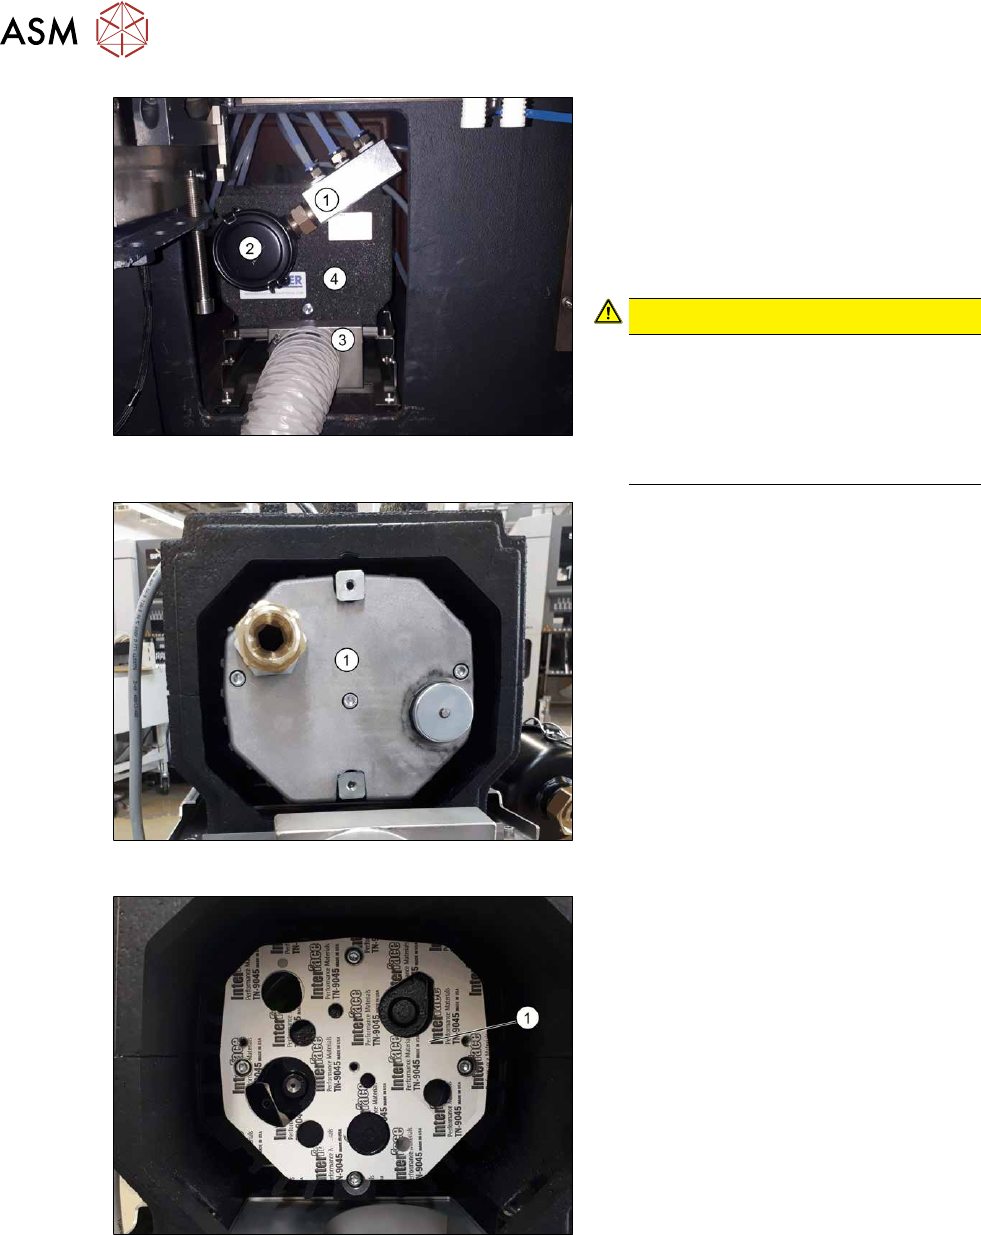
Fig.127: Preparing the vacuum pump
► Loosen the quick-release connector in-
side the filter casing (2)
and the distri-
bution block(1)
.
► Dismantle the filter casing(2).
► Dismantle the air outlet conduit(3) (see
the assembly instructions).
► Dismantle the front cover(4).
CAUTION!
The front plate of the vacuum pump is
only fixed with rubber buffers.
Take care not to damage the rubber
buffers.
Always lift the vacuum pump on its
housing or filter, not on the front plate.
.
Fig.128: Cover
► Dismantle the cover(1).
Fig.129: Housing
► Dismantle the housing(1).
► Use a vacuum to clean the housing.
5 Pneumatic System
5.12 Vacuum Pump
Service Manual SIPLACE X-Series S (from Hxxxx) 01/2021 103
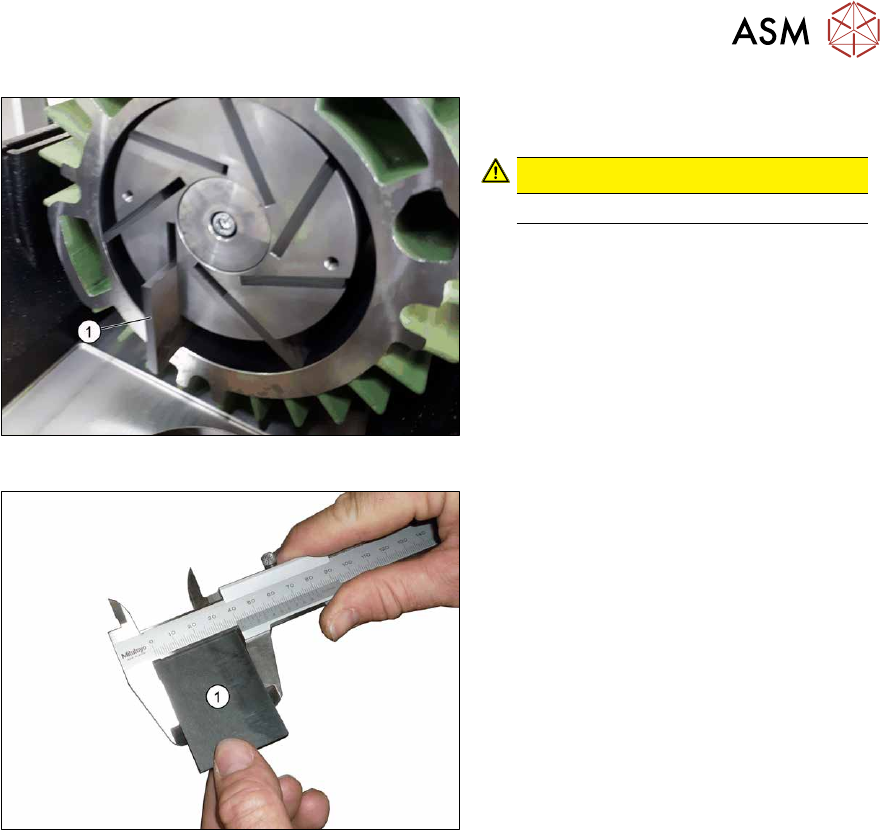
Fig.130: Sliders
► Carefully lever the slides (1) out of the
pump (7x).
CAUTION!
The slides are sensitive.
.
► Check the condition of the slides and
replace the slides, if required.
Fig.131: Measuring the width of the slides
► Measure the width of the slides. Re-
place the slide, if it does not reach the
required minimum width of 28 mm
.
Installation
► Follow the removal instructions in reverse order for installation.

5 Pneumatic System
5.12 Vacuum Pump
104 Service Manual SIPLACE X-Series S (from Hxxxx) 01/2021