00198243-01_AI_BulkFeederX_XS-SX_DE+EN.pdf - 第99页
3 Retrofit kit for SX-Series 3.2 Preparatory steps Assembly Instructions / Montageanleitung SIPLACE BulkFeeder X Retrofit Kit for SX Series and X Series S 07/2017 99 ► Fit the cover (1) back in place and screw tight. ► S…
3 Retrofit kit for SX-Series
3.2 Preparatory steps
98 Assembly Instructions / Montageanleitung SIPLACE BulkFeeder X Retrofit Kit for SX Series and X Series S 07/2017
3.2.2.2 Fitting the LAN card
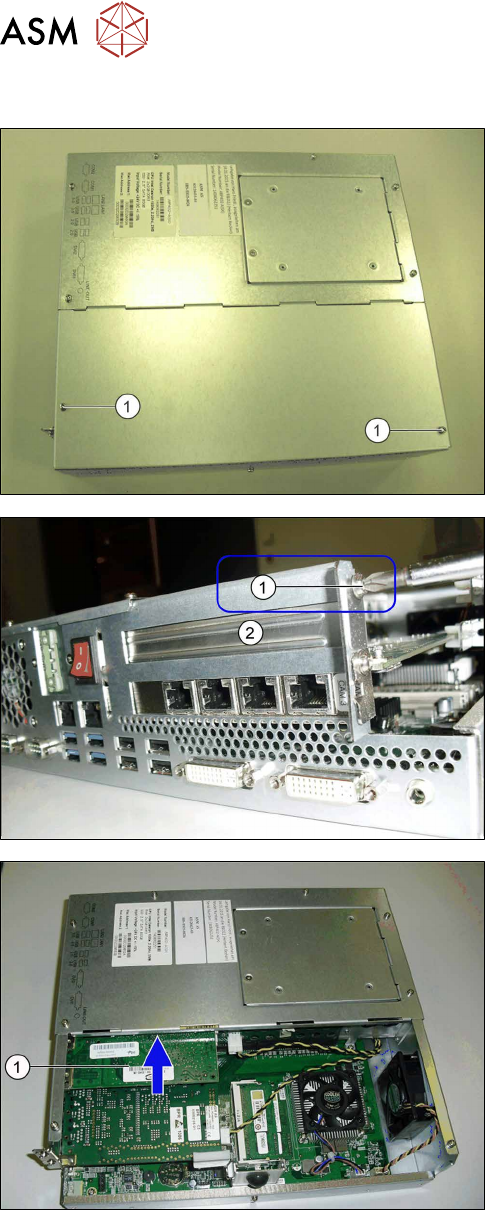
► Remove the screws (1) fastening the cover of the
station computer and remove the cover.
► Remove the holder screw (1).
► Remove the protective cover (2).
► Insert the new LAN card in this place (1).
3 Retrofit kit for SX-Series
3.2 Preparatory steps
Assembly Instructions / Montageanleitung SIPLACE BulkFeeder X Retrofit Kit for SX Series and X Series S 07/2017 99
► Fit the cover (1) back in place and screw tight.
► Screw the station computer fixture bracket (2)
tight.
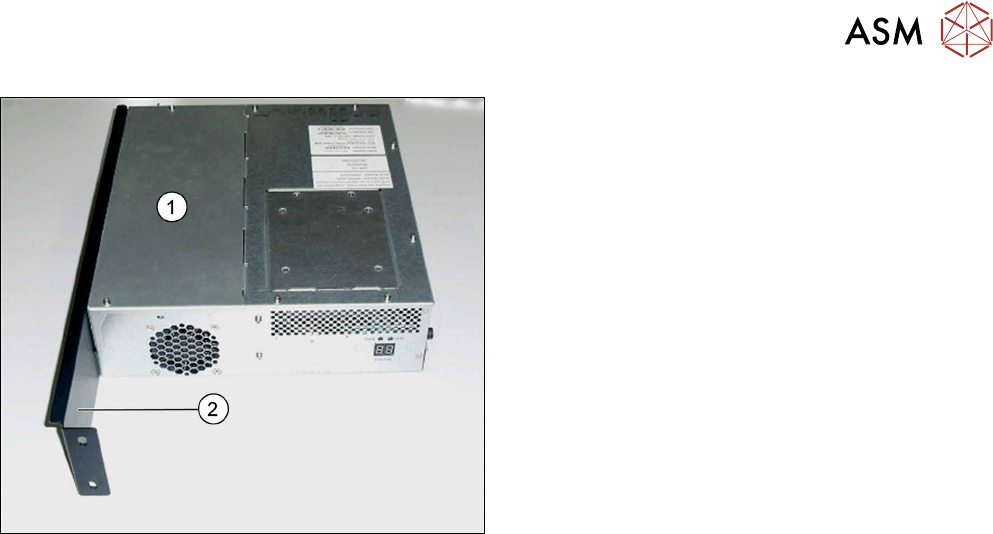
3.2.2.3 Fitting the station computer
► Follow the removal instructions in reverse order for installation.
3 Retrofit kit for SX-Series
3.3 Fitting the BulkFeeder X computer
100 Assembly Instructions / Montageanleitung SIPLACE BulkFeeder X Retrofit Kit for SX Series and X Series S 07/2017
3.3 Fitting the BulkFeeder X computer
NOTICE
Number of persons for assembly
If possible, 2 people should be available for the assembly.
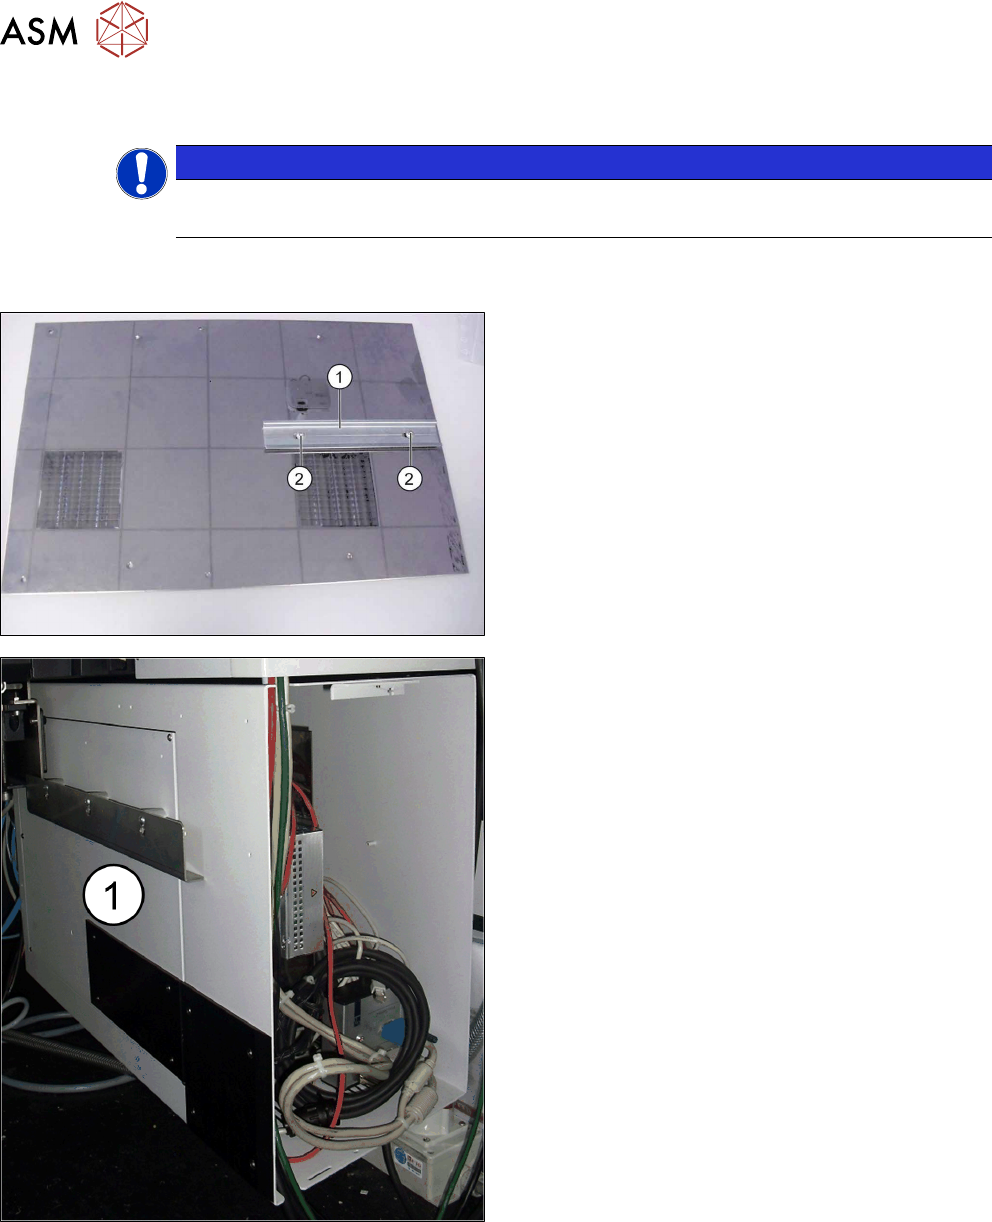
The BulkFeeder X computer is installed in the infrastructure box at location 2. An additional holder
must be fitted for this in the infrastructure box. Proceed as follows:
► Fasten the mounting rail (1) to the mounting plate
with the screws provided (2).
► Open the inner cover (1) on the infrastructure box
in sector 4.