00196098-02_IM_SIPLACE_Explorer_2.4_DE.pdf - 第36页
3 Installation des SIPLACE Explorer Installati ons- und Konfigurationsanleitung SIPLACE Explor er 3.1 Erstinstallation von SIPLACE Explorer 2.4 Ausgabe 08/2008 DE 36 → Wenn die Installation beendet ist, er scheint nachfo…
Installations- und Konfigurationsanleitung SIPLACE Explorer 3 Installation des SIPLACE Explorer
Ausgabe 08/2008 DE 3.1 Erstinstallation von SIPLACE Explorer 2.4
35
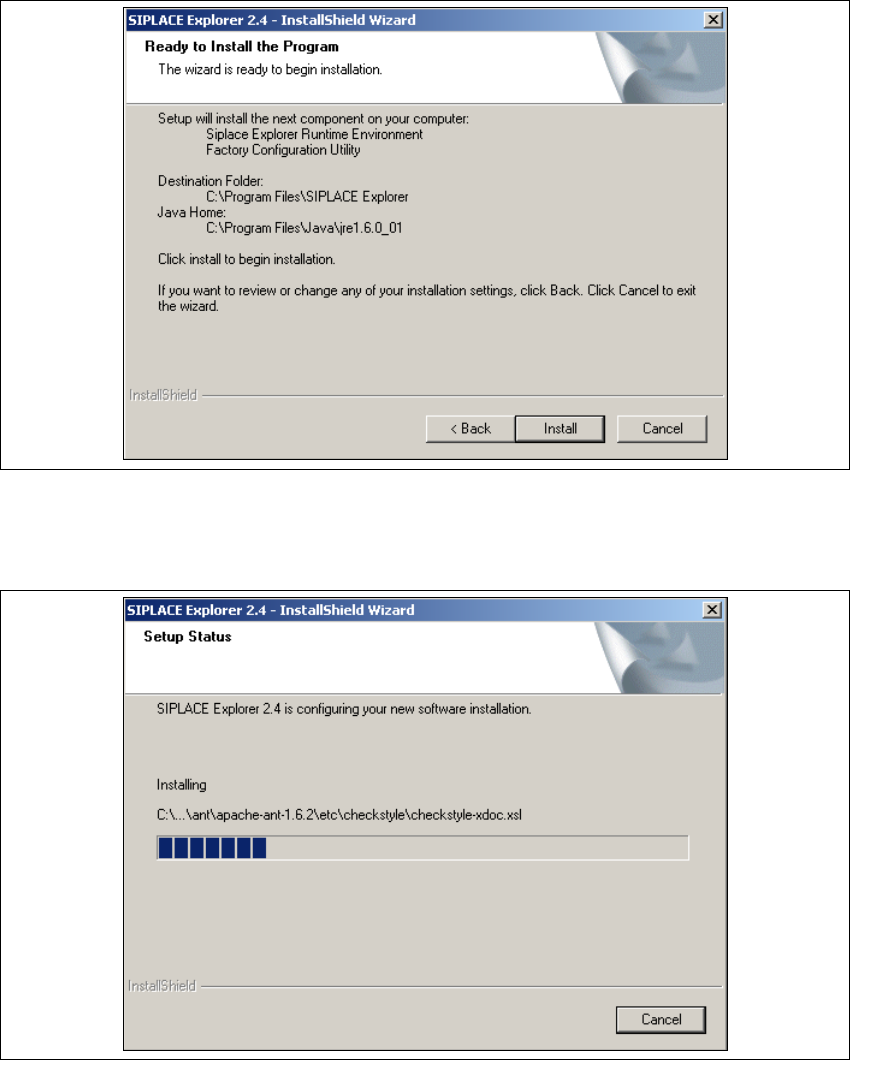
→ Das Dialogfenster Ready to Install the Program (Bereit für die Installation) wird geöffnet.
3
Abb. 3 - 14 SIPLACE Explorer Setup - Dialogfenster 'Ready to Install' (Bereit für die Installation)
→ Betätigen Sie die Sie die Schaltfläche Install, die eigentliche Installation von SIPLACE
Explorer V2.4 beginnt.
3
Abb. 3 - 15 SIPLACE Explorer Setup - Dialogfenster 'Setup Status' (Status der Installation)
3 Installation des SIPLACE Explorer Installations- und Konfigurationsanleitung SIPLACE Explorer
3.1 Erstinstallation von SIPLACE Explorer 2.4 Ausgabe 08/2008 DE
36
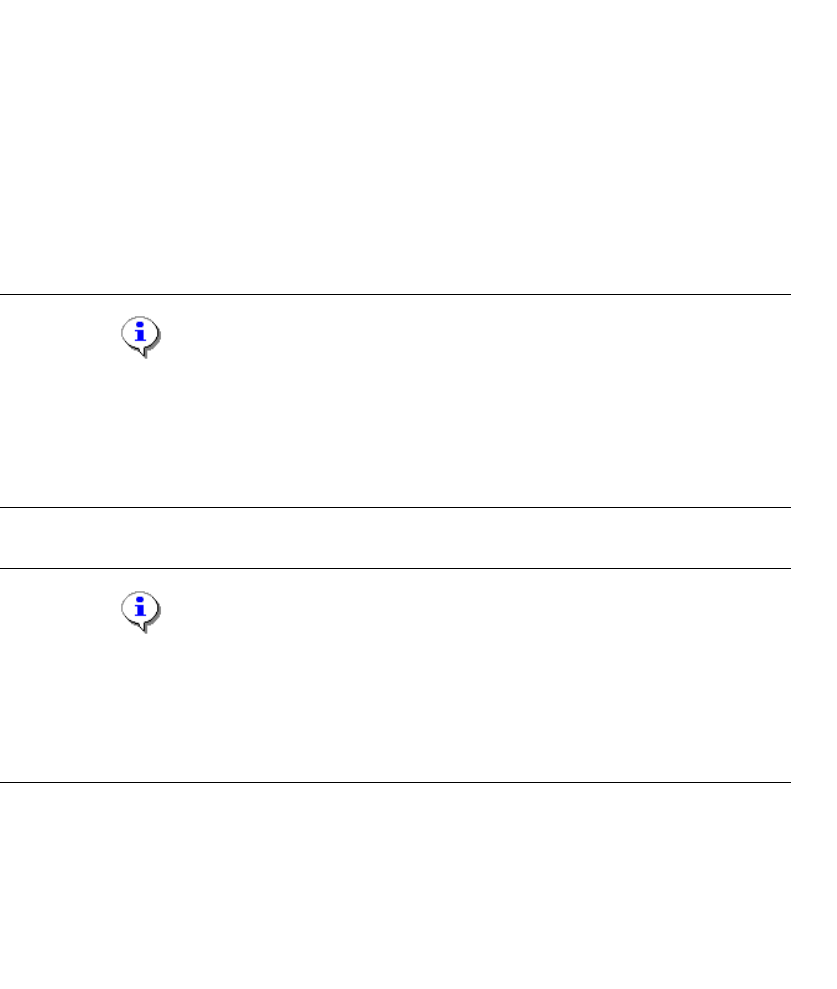
→ Wenn die Installation beendet ist, erscheint nachfolgendes Dialogfenster.
3
Abb. 3 - 16 SIPLACE Explorer Setup - Installation beendet
→ Klicken Sie auf Finish. Nach dem nächsten Start Ihres Computers können Sie SIPLACE
Explorer starten. Gehen Sie dazu vor, wie unter “SIPLACE Explorer starten” auf Seite 42
beschrieben.
HINWEIS
Nach der Installation von SIPLACE Explorer muss das System neu gestartet werden. Dies ist
notwendig, um sicherzustellen, dass der Port 1099 für die Java Runtime Environment verfügbar
ist. In seltenen Fällen wird der Port 1099 von einer anderen Applikation verwendet. Wird SIPLACE
Explorer ohne Neustart des Systems nach der Installation gestartet, so wird in solchen Fällen der
Fehler "SIPLACE Explorer 2.4 runtime not found" angezeigt. 3
Installations- und Konfigurationsanleitung SIPLACE Explorer 3 Installation des SIPLACE Explorer
Ausgabe 08/2008 DE 3.2 Update-Installation von SIPLACE Explorer 2.4
37
3.2 Update-Installation von SIPLACE Explorer 2.4
Um ein Update von einer Vorgängerversion nach SIPLACE Explorer V2.4 durchführen zu können,
muss sich auf Ihrem System schon eine entsprechende lauffähige Version von SIPLACE Explorer
befinden. 3
– Update von SIPLACE Explorer V2.0, V2.0 SP1, V2.1, V2.2 oder V2.3 nach SIPLACE
Explorer V2.4:
Deinstallieren Sie die Vorgängerversion mit deren Komponenten, dazu gehen Sie analog vor,
wie unter “Deinstallation” auf Seite 103 beschrieben. Für die Installation gehen Sie vor, wie
unter “Erstinstallation von SIPLACE Explorer 2.4” auf Seite 23 beschrieben. 3
HINWEIS
Wenn Sie die Linienkonfiguration und weitere Einstellungen übernehmen möchten,
müssen Sie den SIPLACE Explorer wieder in das gleiche Verzeichnis wie die
Vorgängerversion installieren. Siehe Abbildung 3 - 9 SIPLACE Explorer Setup -
Dialogfenster "Choose Folder" (Ordner auswählen). 3
HINWEIS
Bevor Sie Tomcat 5.5 installieren können, müssen Sie alle Versionen < 5.5 von Tomcat
unbedingt deinstallieren. Verwenden Sie dazu das Deinstallationsprogramm von Apache
Tomcat. Starten Sie dieses über das Windows-Menü
Start → Programs → Apache Tomcat 5.5 → Uninstall Tomcat. 3
Zusätzlich können Sie nach dem Update weitere Optionen zu SIPLACE Explorer installieren: 3
– Optionen zu SIPLACE Explorer V.2.4
Die Optionen SIPLACE Traceability Option 2.0 und SIPLACE Maintenance Manager V1.0
müssen Sie extra bestellen und installieren. Diese sind nicht im Leistungsumfang des
SIPLACE Explorer V2.4 enthalten. 3