00196098-02_IM_SIPLACE_Explorer_2.4_DE.pdf - 第41页
Installations- und Konfigurationsanleitung SIPLAC E Explorer 3 Installation des SIPLACE Explorer Ausgabe 08/2008 DE 3.2 Update-Installation von SIPLACE Explorer 2 .4 41 → Die eigentliche Update-Installation von SIPLACE E…
3 Installation des SIPLACE Explorer Installations- und Konfigurationsanleitung SIPLACE Explorer
3.2 Update-Installation von SIPLACE Explorer 2.4 Ausgabe 08/2008 DE
40
→ In diesem Fall können Sie entweder den Pfad des Ordners J2SE Runtime Environment 6
Update 1 direkt im Textfeld eingeben oder die Schaltfläche Browse (Durchsuchen) anklicken
und mit Hilfe des Dialogfensters Open File (Datei öffnen) den Ordner J2SE Runtime
Environment 6 Update 1 suchen.
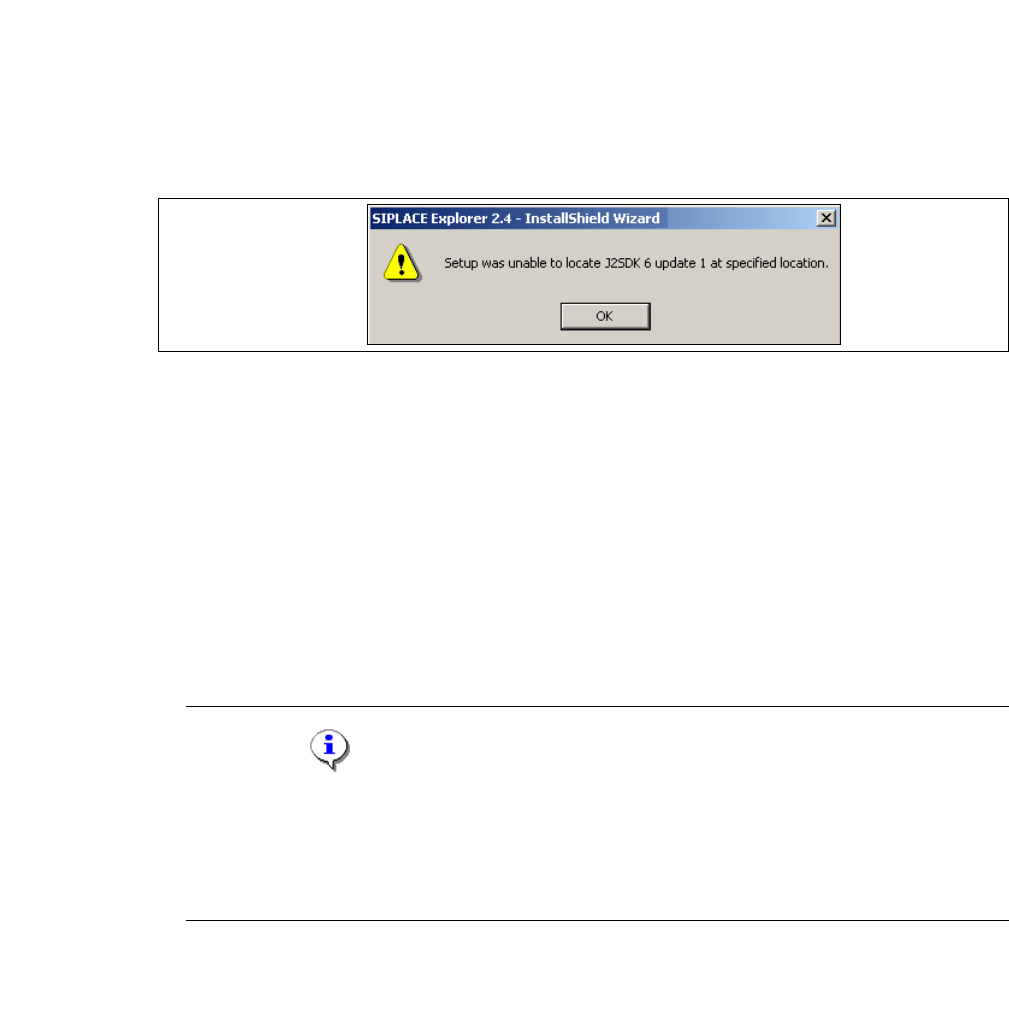
→ Wenn Sie den Ordner nicht korrekt angegeben haben, in dem J2SE Runtime Environment 6
Update 1 installiert ist, erhalten Sie nachfolgende Meldung.
3
Abb. 3 - 20 SIPLACE Explorer Setup - J2SE kann nicht gefunden werden
→ Klicken Sie OK, um zum vorangegangenen Dialogfenster zurückzukehren. SIPLACE Explorer
erfordert vor der Installation von SIPLACE Explorer, dass J2SE Runtime Environment 6
Update 1 installiert wurde.
→ An dieser Stelle können Sie entweder den J2SE Runtime Environment 6 Update 1 Ordner
nochmals eingeben oder Cancel (Abbrechen) anklicken, um die Installation des SIPLACE
Explorer abzubrechen.
→ Haben Sie Cancel (Abbrechen) gewählt, installieren Sie die auf der Support Media DVD
enthaltene Version von J2SE Runtime Environment 6 Update 1. Beginnen Sie anschließend
die Installation des SIPLACE Explorer erneut.
HINWEIS
Wenn auf Ihrem System die von Sun Microsystems unter http://java.sun.com/j2se erhältliche
J2 Runtime Umgebung (und nicht J2SE Runtime Environment 6 Update 1) installiert ist,
funktioniert die von SIPLACE Explorer Website Builder erstellte Website nicht einwandfrei,
da diese auf JSP basiert, was wiederum J2SE Runtime Environment 6 Update 1 voraussetzt.3
→ Die Installation von SIPLACE Explorer 2.4 wird nach Lokalisierung von J2SE Runtime
Environment 6 Update 1 fortgesetzt. Das Dialogfenster Setup Status wird geöffnet.
Installations- und Konfigurationsanleitung SIPLACE Explorer 3 Installation des SIPLACE Explorer
Ausgabe 08/2008 DE 3.2 Update-Installation von SIPLACE Explorer 2.4
41
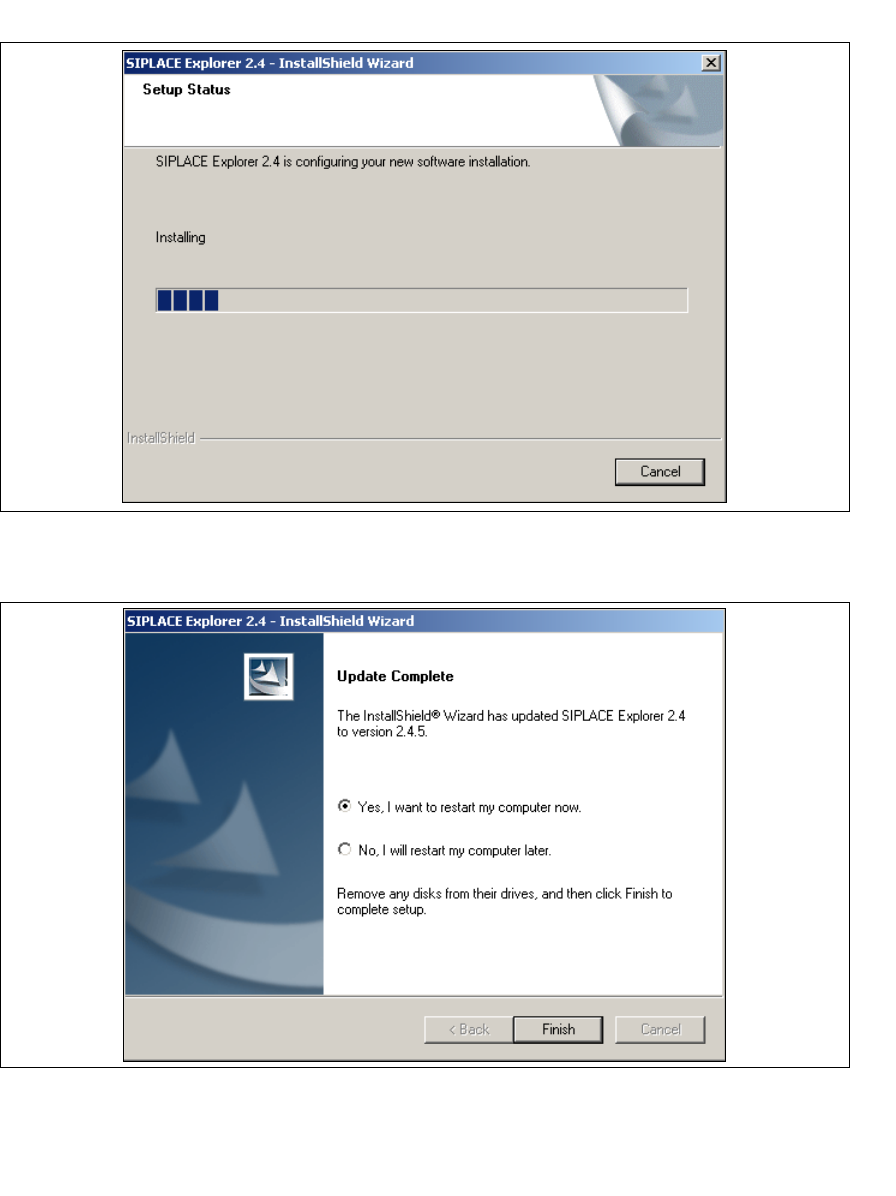
→ Die eigentliche Update-Installation von SIPLACE Explorer V2.4 beginnt.
3
Abb. 3 - 21 SIPLACE Explorer Setup - Dialogfenster 'Setup Status' (Status der Installation)
→ Wenn die Installation beendet ist, erscheint nachfolgendes Dialogfenster.
3
Abb. 3 - 22 SIPLACE Explorer Setup - Installation beendet
→ Klicken Sie auf Finish. Nach dem nächsten Start Ihres Computers steht Ihnen die Update-
Version SIPLACE Explorer V2.4 zur Verfügung. Zum Starten von SIPLACE Explorer gehen Sie
vor, wie unter “SIPLACE Explorer starten” auf Seite 42 beschrieben.
3 Installation des SIPLACE Explorer Installations- und Konfigurationsanleitung SIPLACE Explorer
3.3 SIPLACE Explorer starten Ausgabe 08/2008 DE
42
HINWEIS
Nach der Installation von SIPLACE Explorer muss das System neu gebootet werden. Dies ist
notwendig, um sicherzustellen, dass der Port 1099 für die Java Runtime Environment verfügbar
ist. In seltenen Fällen wird der Port 1099 von einer anderen Applikation verwendet. Wird SIPLACE
Explorer ohne Neustart des Systems nach der Installation gestartet, so wird in solchen Fällen der
Fehler "SIPLACE Explorer 2.4 runtime not found" angezeigt. 3
3.3 SIPLACE Explorer starten
→ In Abhängigkeit der ausgewählten Installationsoptionen können Sie SIPLACE Explorer aus
dem Menü Programme → SIPLACE Explorer 2.4 in Windows starten.
→ SIPLACE Explorer V.2.4 Runtime Environment:
Runtime Environment wird bei jedem Neustart des Computers als Windows Service
automatisch gestartet. Sie sehen das Symbol in der Konsole. Mit dem rechten Mausklick
können Sie weitere Applikationen und Tools starten. Sie haben folgende
Auswahlmöglichkeiten: 3
– SE Manager
– Line Configuration
–Console
– Performance Analyzer
– SE Security Manager
– Language
– Exit