00193688-04.pdf - 第103页
Ins t a llat ion and Con figu rat i on Guid e S IPLA CE Ex plo rer 4 Co nfig ura t i on Edi tio n 12/200 5 EN 4.1 St an dar d Mo ni to rin g A pp lica tio n (SM A) 103 – Step 3- Configure Database → S t ep 3 t a kes your…
4 Configuration Installation and Configuration Guide SIPLACE Explorer
4.1 Standard Monitoring Application (SMA) Edition 12/2005 EN
102
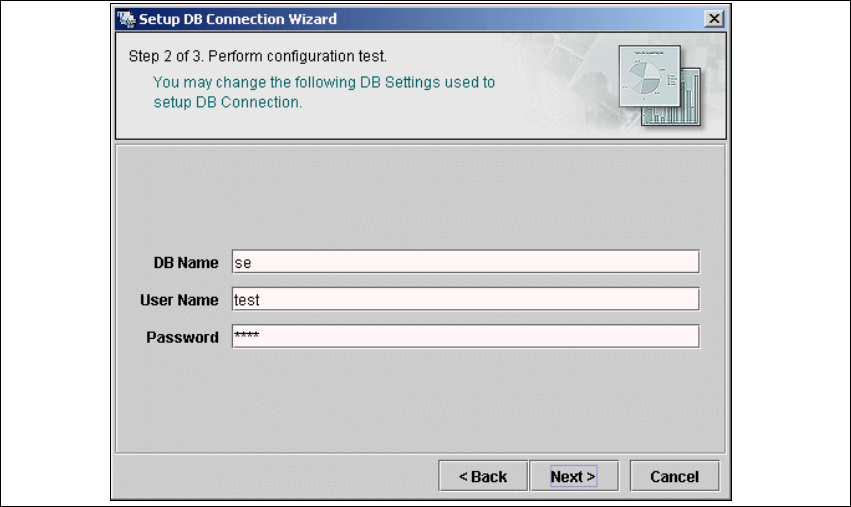
– Step 2 - Perform Configuration Test
→ At Step 2 you may change your settings. This is also where you define the name of the SE
system database for the line and where you specify the user (and password) who is to have
access to this database.
4
Fig. 4 - 35 Step 2- database connection wizard
→ Once you have made and checked all entries, click on Next to continue.
Installation and Configuration Guide SIPLACE Explorer 4 Configuration
Edition 12/2005 EN 4.1 Standard Monitoring Application (SMA)
103
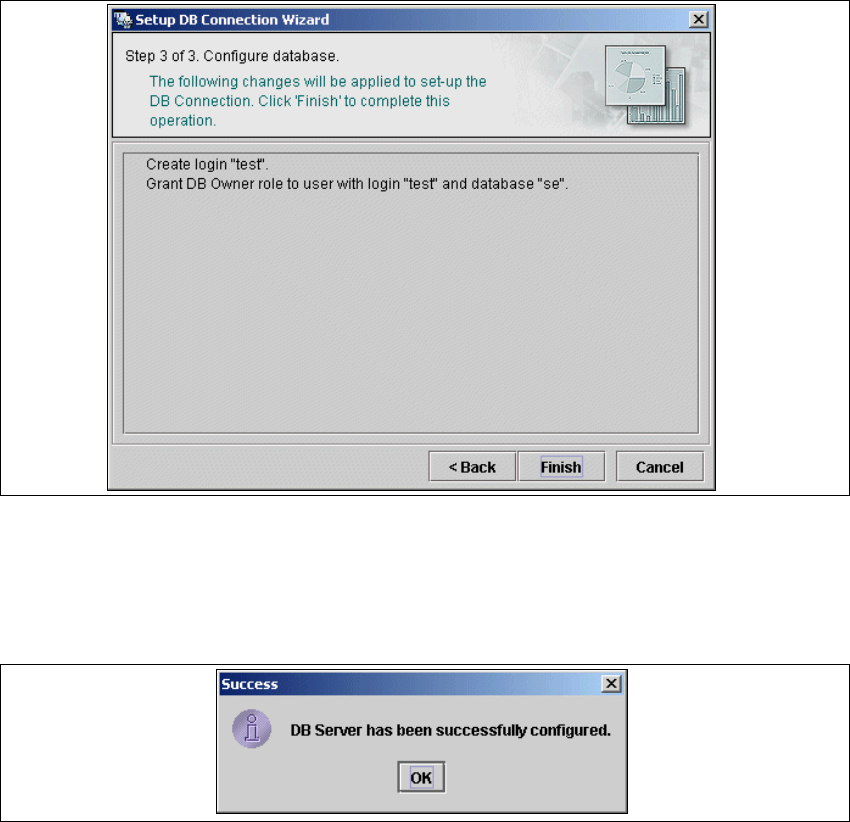
– Step 3- Configure Database
→ Step 3 takes your modifications from Step 2 and uses them to configure the database
connection.
4
Fig. 4 - 36 Step 3- database connection wizard
→ Click on Finish and the wizard will carry out the required configuration. The DB settings are
now correctly specified for your project. and the database and set user will be created.
→ You will receive a success message.
4
Fig. 4 - 37 Step 3- database connection wizard
→ Click OK. You can then continue with Step 7 - Configure System Database.
→ When the system database has been configured, click on Next to continue with the next step.
4
4 Configuration Installation and Configuration Guide SIPLACE Explorer
4.1 Standard Monitoring Application (SMA) Edition 12/2005 EN
104
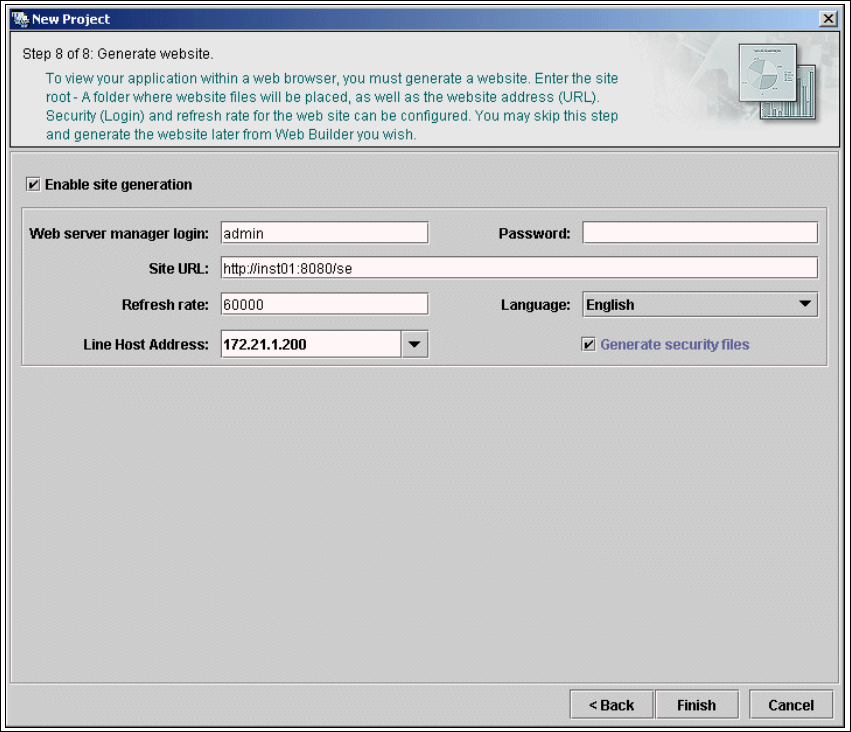
4.1.2.9 Step 8 - Generate Website
→ In order to monitor your production line in the web browser, you will need to generate a website.
For this purpose, you require web server manager privileges (Tomcat administrator) and the
corresponding password.
4
Fig. 4 - 38 Step 8: generate website
→ Specify the access data for the Tomcat administrator. If you entered admin and an empty
password during Tomcat configuration, this data will be automatically used as a default login.
If this is not the case, use the data you specified during Tomcat configuration.