Nordson_EFD_Automated_Dispensing_Systems_Maintenance_Guide.pdf - 第17页
17 www.nordsonefd.com info@nordsonefd.com +1-401-431-7000 Sales and service of Nordson EFD dispensing systems are available worldwide. Automated Dispensing Systems Maintenance & Parts Guide Timing Belt and Motor Repl…
Automated Dispensing Systems Maintenance & Parts Guide
16 www.nordsonefd.com info@nordsonefd.com +1-401-431-7000 Sales and service of Nordson EFD dispensing systems are available worldwide.
Timing Belt Tension Adjustment (continued)
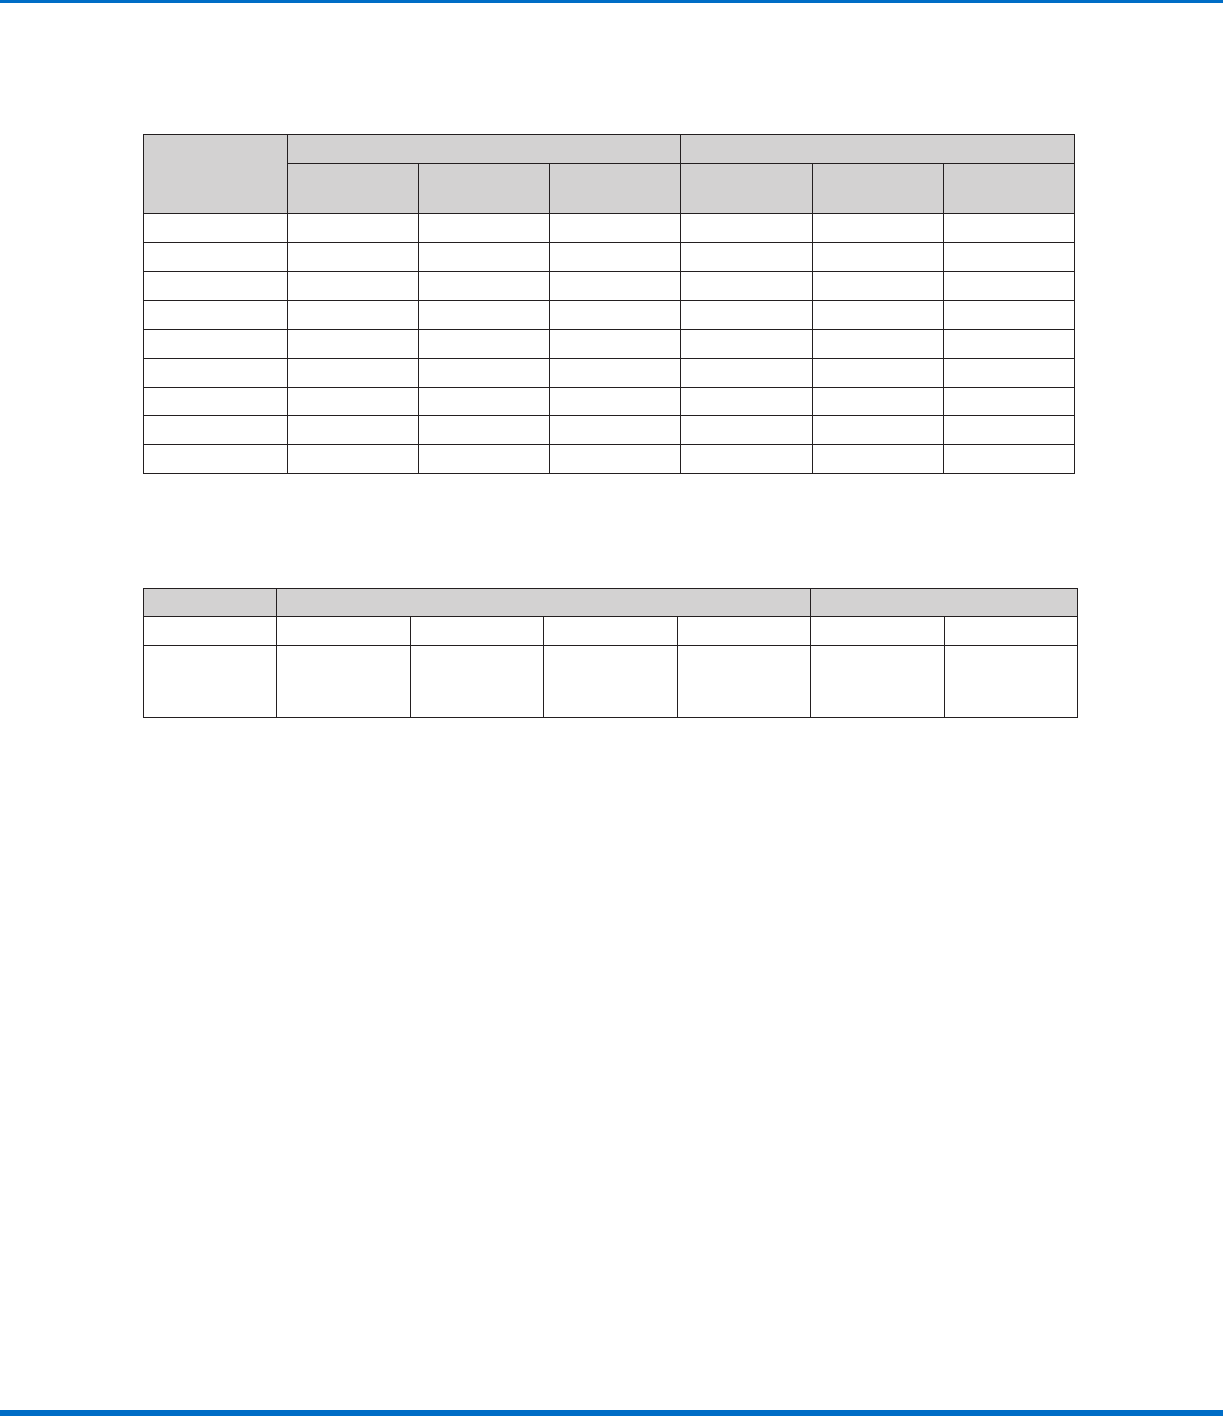
Timing Belt Mass, Width, and Span Data
Model
X Axis Y Axis
Mass
(g/m)
Width
(mm/R)
Span
(mm)
Mass
(g/m)
Width
(mm/R)
Span
(mm)
E2 1.3 9 289 1.3 9 289
E3 1.3 9 405 1.3 9 405
E4 1.3 9 502 1.3 9 502
E6 1.3 12 605 1.3 12 605
E6 1.3 12 722 1.3 12 605
R3 / R3V 1.3 9 405 1.3 9 405
R4 / R4V 1.3 9 502 1.3 9 502
R6 / R6V 1.3 12 722 1.3 12 605
PROPlus / PRO 1.3 12 533 1.3 12 514
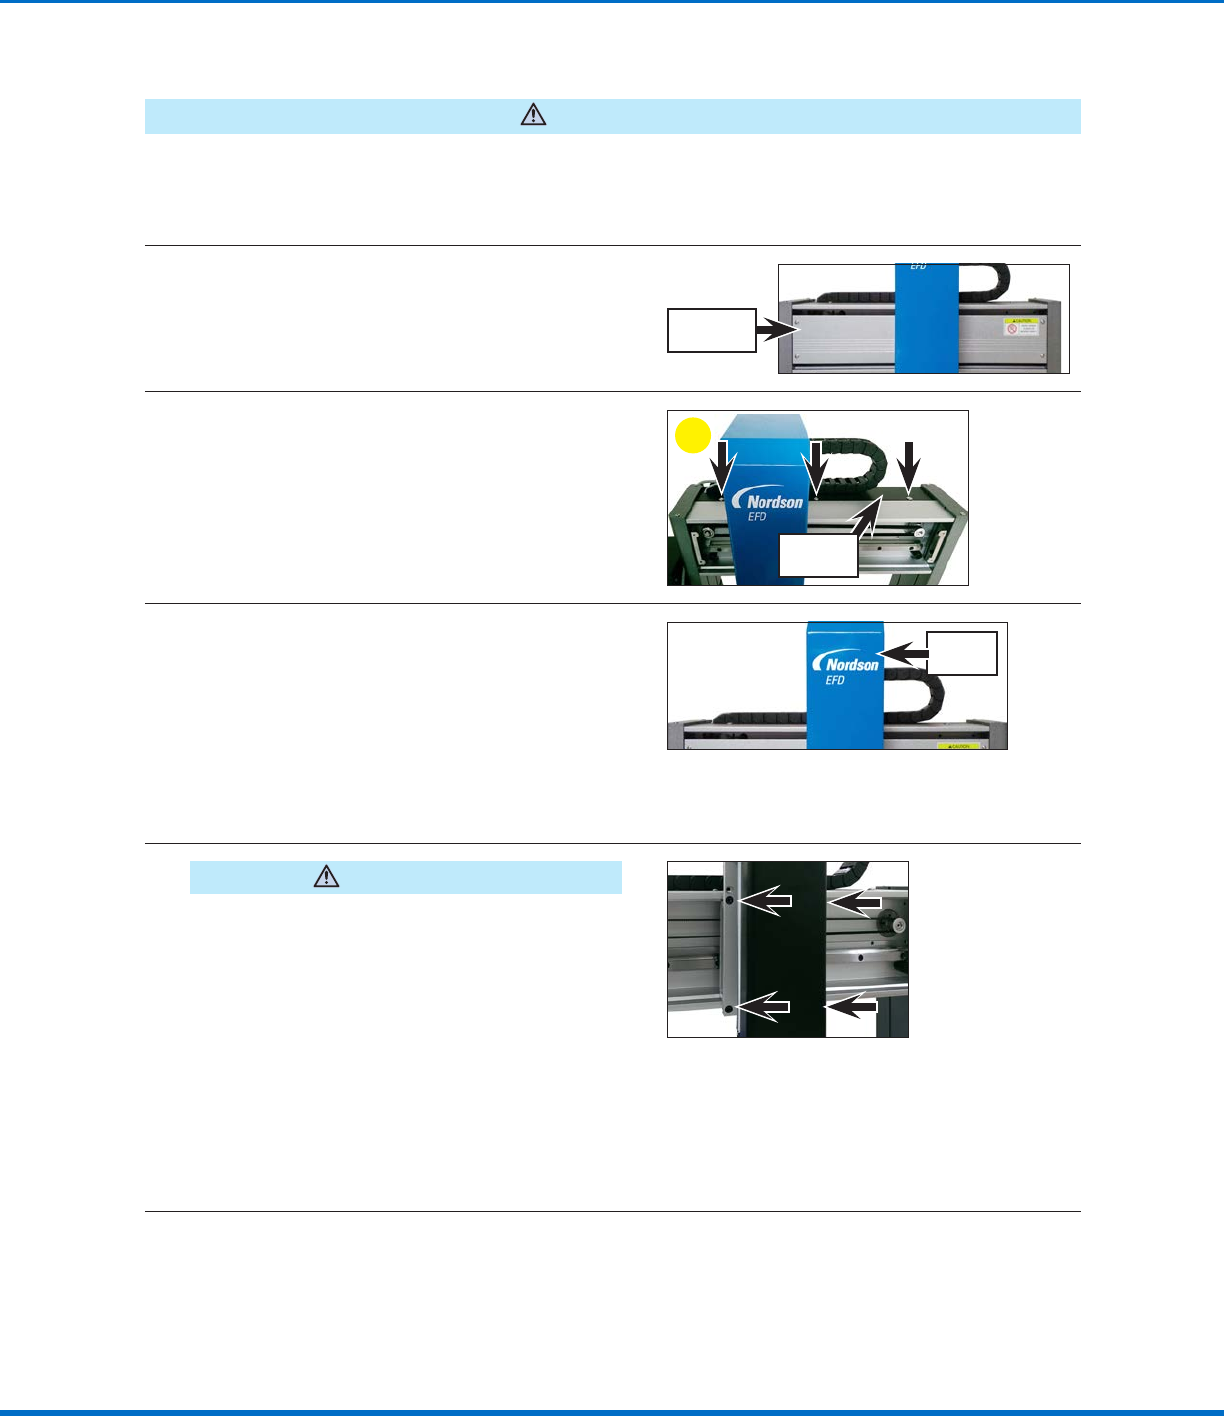
Screw Torque Specifications
Refer to these torque specifications as needed.
Screw Type Hex Cross‑Truss
Size M3 M4 M5 M6 M3 M4
Torque
3.9 N•m
(40 kgf/cm)
(34.5 in.‑lb)
5.9 N•m
(60 kgf/cm)
(52.2 in.‑lb)
7.8 N•m
(80 kgf/cm)
(69.0 in.‑lb)
11.8 N•m
(120 kgf/cm)
(104.4 in.‑lb)
1.2 N•m
(12 kgf/cm)
(10.6 in.‑lb)
1.6 N•m
(16 kgf/cm)
(12.2 in.‑lb)
17www.nordsonefd.com info@nordsonefd.com +1-401-431-7000 Sales and service of Nordson EFD dispensing systems are available worldwide.
Automated Dispensing Systems Maintenance & Parts Guide
Timing Belt and Motor Replacement: XAxis
CAUTION
Risk of injury or equipment damage. Before performing any service procedure, complete the steps under
“Preparation for all Service Procedures” on page3.
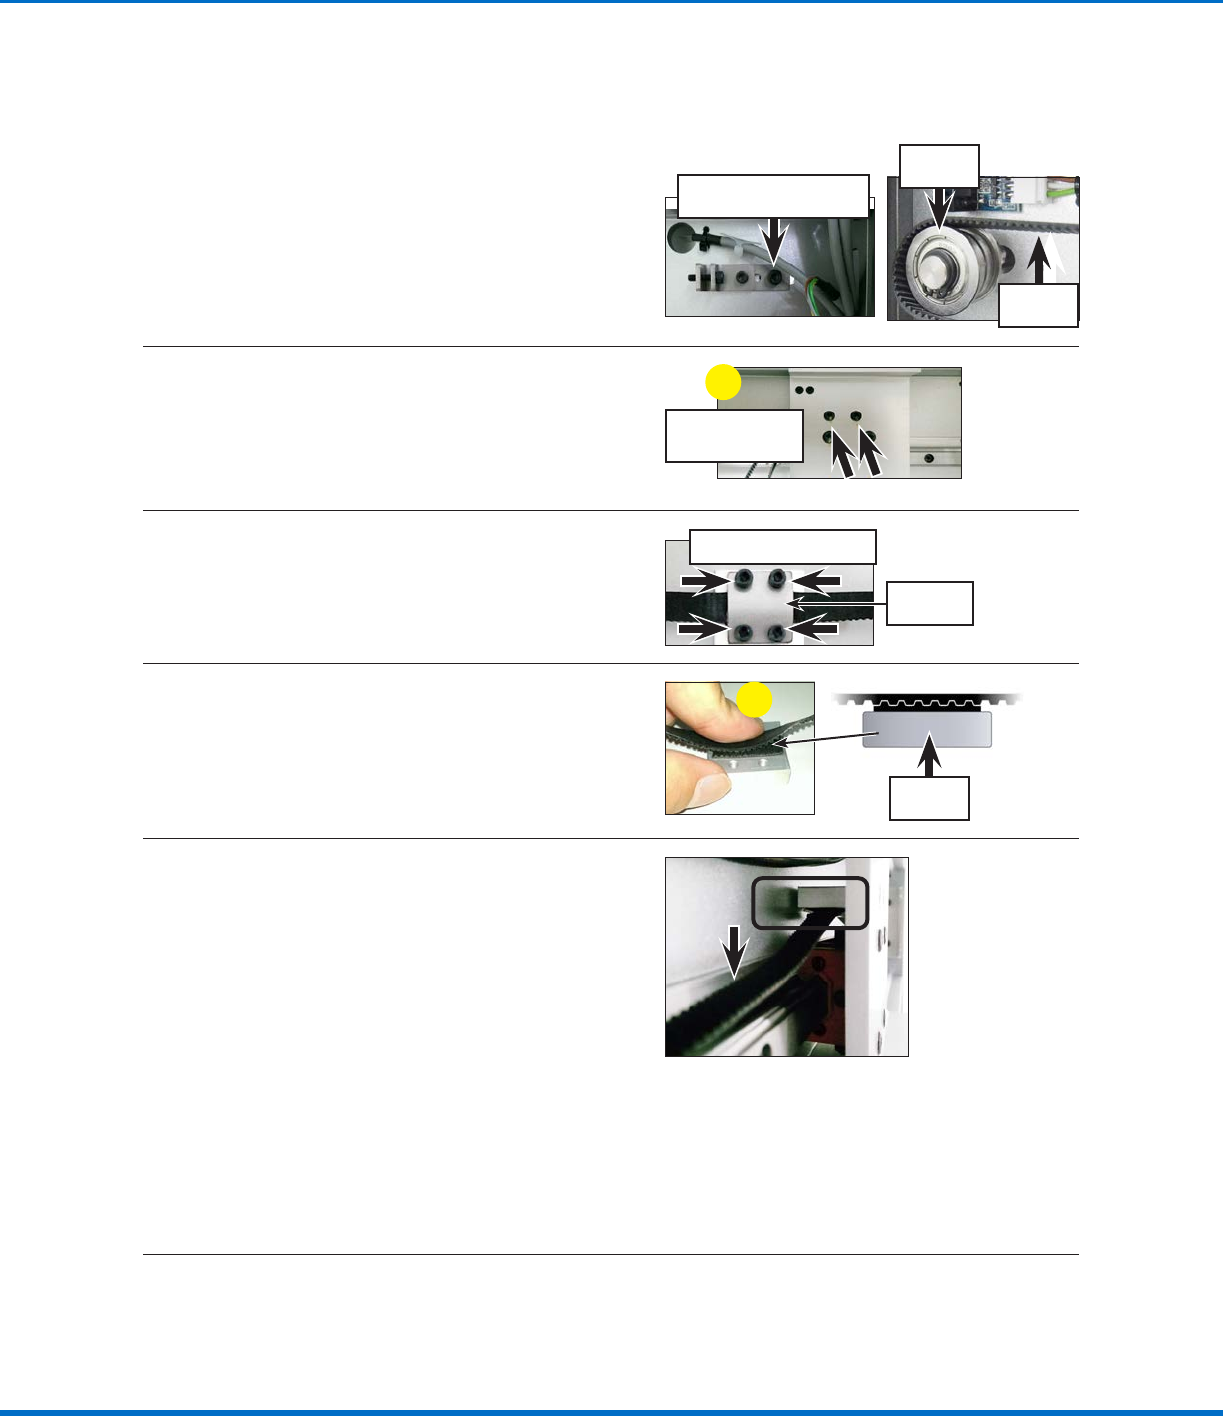
Remove the X and ZAxis Covers
1
Remove the Xaxis front cover. Refer to
“Remove the XAxis Front Cover” on page4
as needed for detailed instructions.
Xaxis front
cover
2
a. Remove the six (6) screws that secure the
black Xaxis rear cover: three (3) on the top
and three (3) on the bottom.
b. Remove the Xaxis rear cover by pulling in
the Ydirection away from the back of the
robot.
a
Xaxis rear
cover
3
Remove the Zaxis cover. Refer to the following
procedures as needed for detailed instructions:
• “Remove the ZAxis Cover (All Units Except
R / RV Series)” on page8
• “Remove the ZAxis Cover (R / RV Series
Only)” on page10
Zaxis
cover
Replace the XAxis Timing Belt
4
CAUTION
Risk of equipment damage or personal injury. The
Zaxis module is heavy and will fall if not held.
Nordson EFD recommends that the Zaxis module be
held by an assistant during disassembly.
Tightly grasp the Zaxis module and then
remove the four (4) screws on the left and right
sides of the Zaxis module that fasten it to the
Xaxis linear guideway.
NOTE: Nordson EFD recommends that
the Zaxis module be held by an assistant;
alternatively, you can carefully place the Zaxis
module on the top the robot in a position that
will not strain any connections.
Continued on next page
Automated Dispensing Systems Maintenance & Parts Guide
18 www.nordsonefd.com info@nordsonefd.com +1-401-431-7000 Sales and service of Nordson EFD dispensing systems are available worldwide.
Timing Belt and Motor Replacement: XAxis (continued)
5
Release the timing belt adjusting kit base screw
located on the rear of the Xaxis to loosen the
timing belt from the idler pulley. This loosens
the timing belt enough to remove it from the
idler and timing pulleys.
NOTE: The screw only needs to be loosened,
not completely removed.
Timing belt
Idler pulley
Timing belt adjusting kit
base screw
6
a. Remove the two (2) screws that fasten the
timing belt fixing base and then detach the
fixing base from the Xaxis linear guideway
plate.
b. Move the timing belt and timing belt fixing
base to a work space away from the robot.
Timing belt fixing
base screws
a
7
Remove the four (4) screws that fasten the
timing belt cover to the timing belt fixing base
and then remove the old timing belt from the
assembly.
Timing belt fixing base
Timing belt
cover
8
a. Match the sawtooth pattern of the new
timing belt to the sawtooth pattern on the
timing belt fixing base.
b. Secure the timing belt cover to the timing
belt fixing base with the four (4) screws
removed previously.
a
Timing belt
fixing base
9
a. Move the timing belt and timing belt fixing
base behind the Xaxis linear guideway
plate. Ensure that:
• The sawtooth pattern on the insides of the
timing belt loop are facing each other.
• The timing belt cover faces the ground.
• The section of the timing belt attached
to the timing belt fixing base is the lower
level of the belt.
b. Place the timing belt around the idler and
timing pulleys, then secure the timing belt
fixing base to the Xaxis linear guideway
plate with the two (2) screws removed
previously.
NOTE: The timing belt should be loose and
drooping below the timing belt fixing base.
Continued on next page
Replace the XAxis Timing Belt (continued)