ASM_Guide To Adhesive Dot Dispensing_Stinger_en_0321_online.pdf - 第32页
2 STINGER, A GUIDE TO ADHESIVE DOT DISPENSING 2.3 SOFTWARE INTERFACE 32 GUIDE TO ADHESIVE DOT DISPENSING STINGER 03/2021 5. Using the camera controls (camera up, down, left and right) align the crosshair with the dot (1)…
2 STINGER, A GUIDE TO ADHESIVE DOT DISPENSING
2.3 SOFTWARE INTERFACE
GUIDE TO ADHESIVE DOT DISPENSING STINGER 03/2021 31
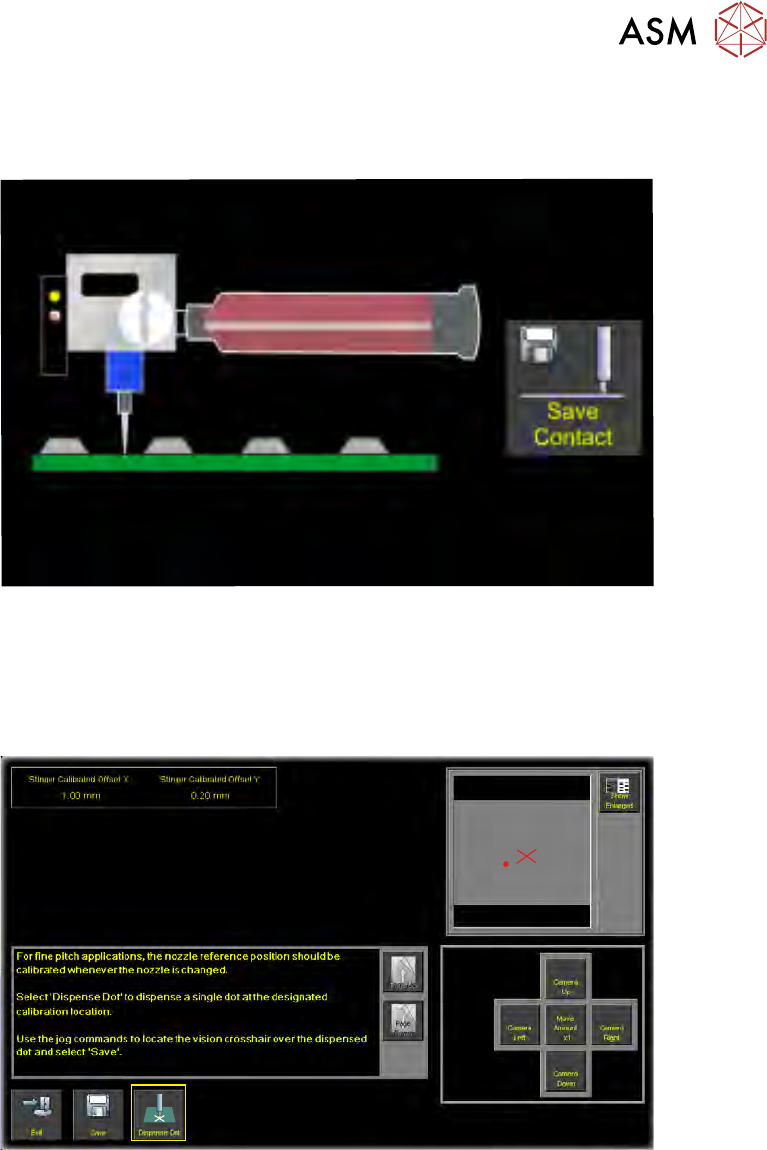
Manual Calibrate is used in conjunction with the step buttons to manually set heights for idle and
contact positions. A jog mode can be selected to control the step size; coarse is used to get the
needle into the general location, fine can be used to set the finite position.
When the contact position has been reached, select Save Contact before exiting the page.
Auto Calibrate employs the laser to provide automatic height calibration references. A board is
loaded into the printer and the height reference is made automatically.
Calibrate Nozzle Offset allows the user to program Stinger to dispense a single dot at a specified
calibration location; the location is displayed in the vision window.
1. The Stinger unit and the rising table are driven home.
2. The camera moves to the calibration location.
3. The rising table moves to vision height.
4. Select Dispense Dot. This places an adhesive dot in the field of view.
2 STINGER, A GUIDE TO ADHESIVE DOT DISPENSING
2.3 SOFTWARE INTERFACE
32 GUIDE TO ADHESIVE DOT DISPENSING STINGER 03/2021
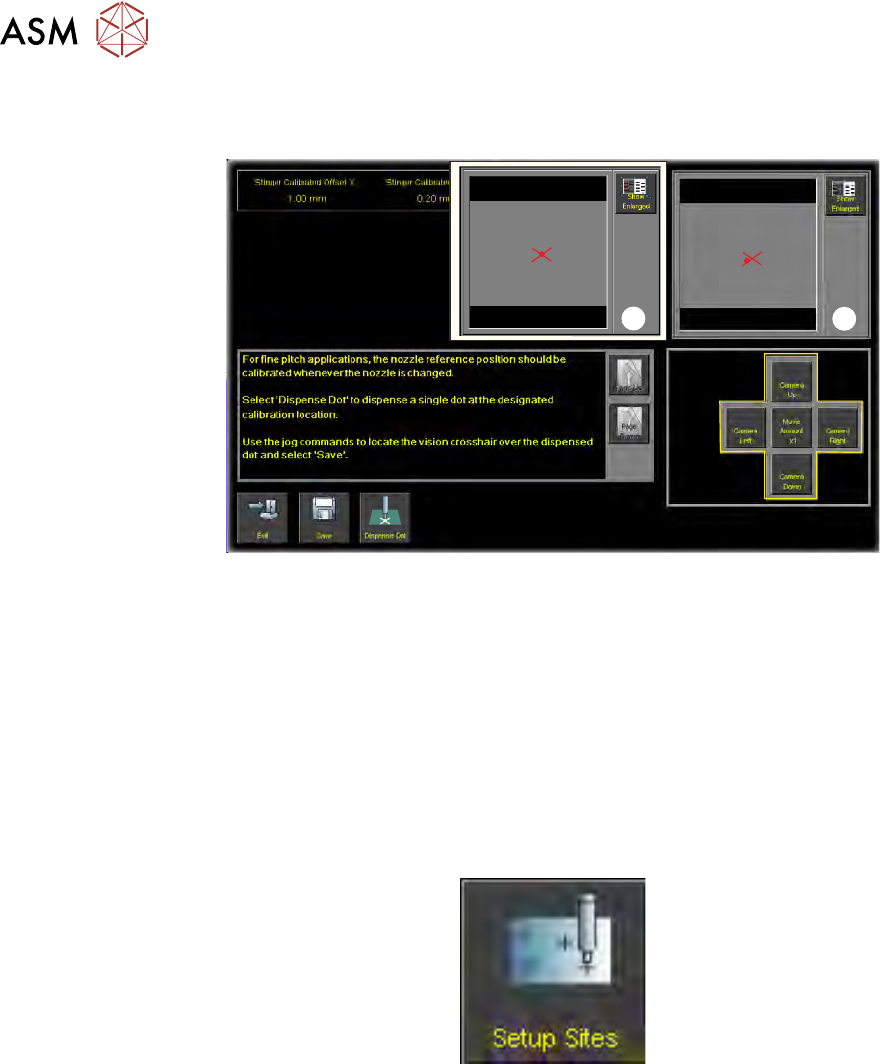
5. Using the camera controls (camera up, down, left and right) align the crosshair with the dot
(1).
1
2
6. The offset is calculated as a result of movements made by the user to align a crosshair over a
dispensed dot, which is viewed in the vision window. For fine pitch prints, ensure that the dot
is placed precisely in the centre of the crosshair as shown (2).
NOTE
Save the data before exiting.
For fine pitch printing, the nozzle reference position should be calibrated whenever the nozzle is
changed.
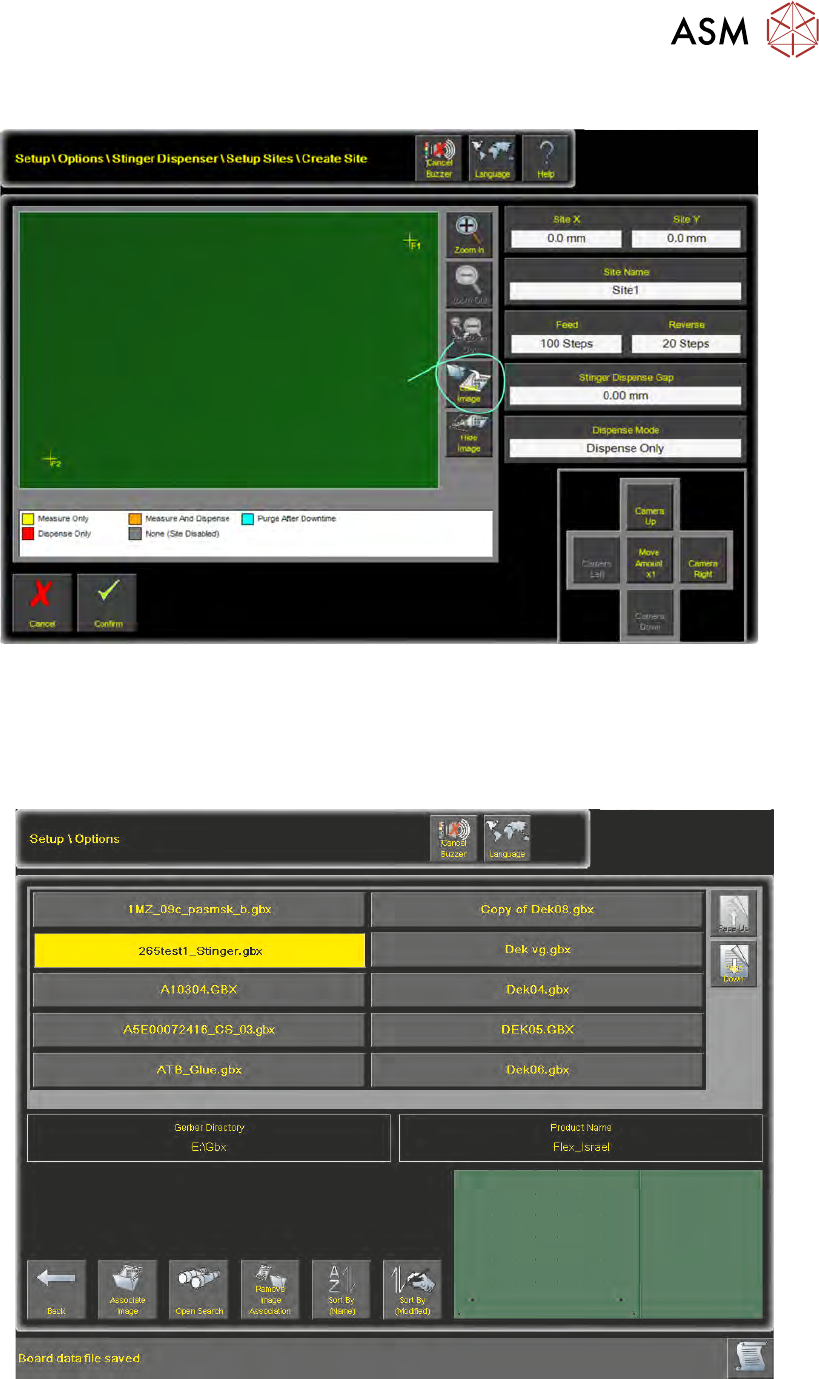
2.3.4 Adding Sites
1. Navigate to Setup Product\Options\Stinger Dispenser.
2. Select Setup Sites.
2 STINGER, A GUIDE TO ADHESIVE DOT DISPENSING
2.3 SOFTWARE INTERFACE
GUIDE TO ADHESIVE DOT DISPENSING STINGER 03/2021 33
3. Select Create Site.
4. Select Load Image.
2.3.5 Load a Product Image
Loading an image loads a product representation onto the interface. Sites where adhesive dots are
to be deposited can be easily targeted, avoiding on-board features such as pads or tracks.
Select the required product from the table, the Gerber Data is replicated in the product image win-
dow at the bottom right of the page.