00198260-01_IM_SQL_Server_2016_EN.pdf - 第37页
SQL Server 2016 / I nstallation Manual 12/2016 Edition 37 ► Right - click the Microsoft SQL Server 2016 Managem ent Studio . Figure 5-11: Starting SQL Server 2016 Management Studio ► Select Run as administrator . ► Accep…
SQL Server 2016 / Installation Manual 12/2016 Edition
36
5.2.2 Proxy Account Setting
After installation you may enable the proxy server account option, required for some ASM products,
like SIPLACE Explorer.
This setting is required if you have to use an account with permissions other than the configured
SQL service account for executing specific tasks. A more detailed description can be found in the
Microsoft Knowledge Base: http://support.microsoft.com/?id=kb;en-us;890775
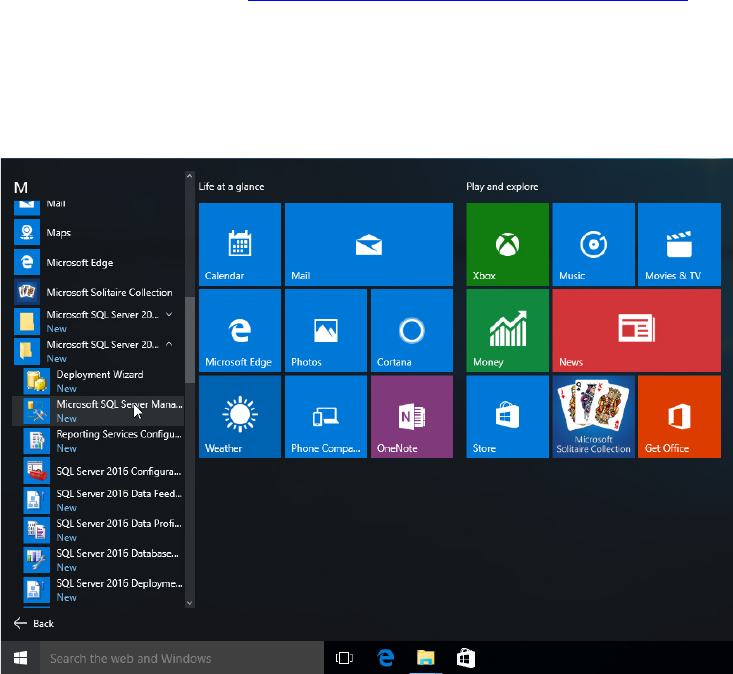
► Click the Start/Windows button.
► Expand the All apps group.
► Expand Microsoft SQL Server 2016
► Select Microsoft SQL Server 2016 Management Studio.
Figure 5-10: Selecting SQL Server 2016 Management Studio
SQL Server 2016 / Installation Manual 12/2016 Edition
37
► Right- click the Microsoft SQL Server 2016 Management Studio.
Figure 5-11: Starting SQL Server 2016 Management Studio
► Select Run as administrator.
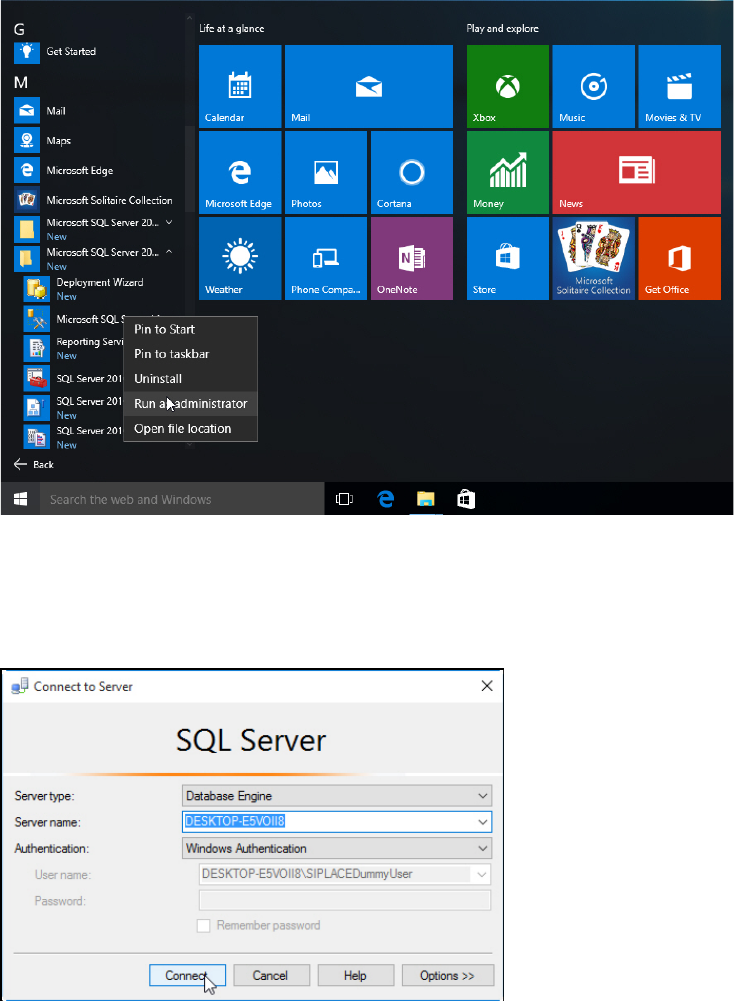
► Accept any possibly appearing User Account Control message by clicking its Yes button.
SQL Server 2016 Management Studio starts and the Connect to Server window is displayed.
Figure 5-12: Connecting to the SQL instance
► Ensure that the correct SQL instance is entered as Server name:.
The correct naming is <ComputerName>\<InstanceName> for user defined instances. If you
installed a default SQL instance (internal name MSSQLSERVER), you only have to enter the
computer name instead.
► Select the appropriate authentication method. If you have installed SQL correctly giving the
administrators group full permissions, you may use Windows Authentication.
► If you select SQL Authentication, enter the sa user name and the appropriate password.
► Click Connect to connect to the SQL instance.
SQL Server 2016 / Installation Manual 12/2016 Edition
38
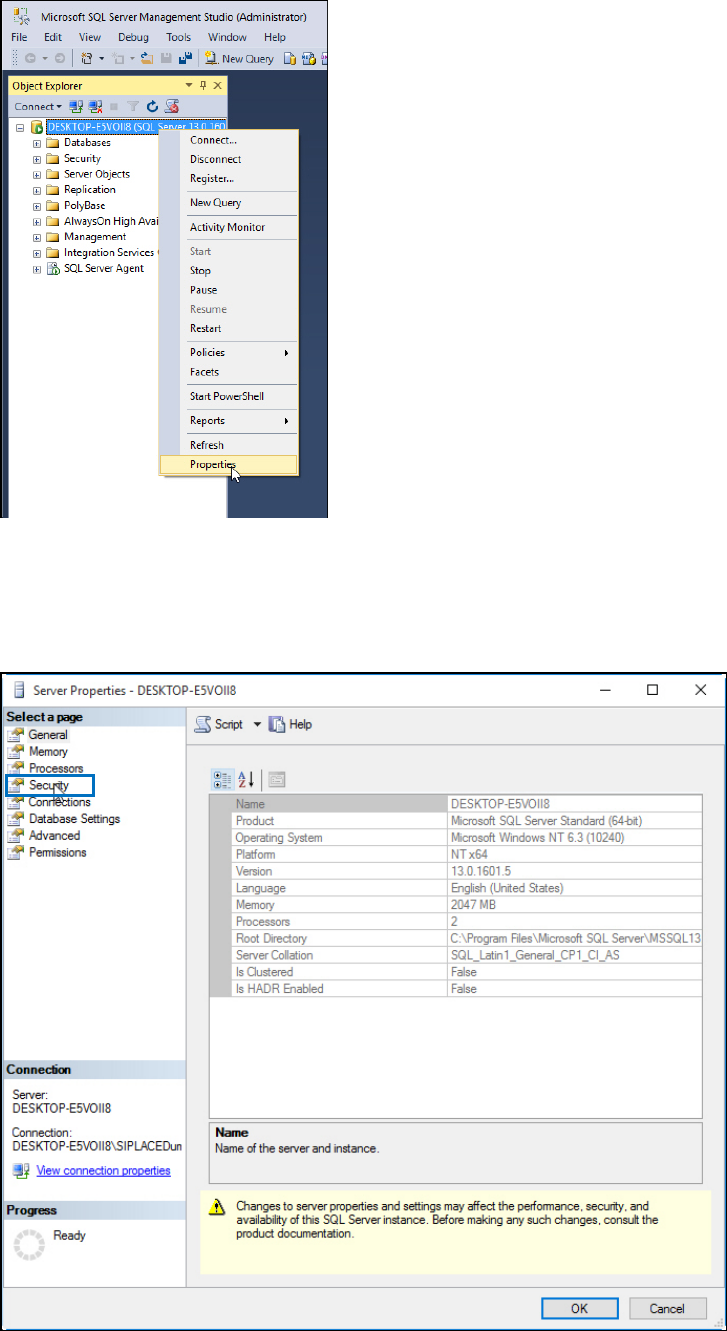
SQL Server 2016 Management Studio connects to the SQL instance.
Figure 5-13: Selecting Properties of the SQL instance
► On the left side of the window, click the SQL instance you have connected to select it.
► Right- click and select Properties.
The Server Properties window is displayed.
Figure 5-14: Server Properties
► Click Security in the Select a page section.