00193756-03.pdf - 第24页
Retrofit instructions Nozz le changer SIPLAC E HF-series C &P head 24 : Put a Y connec tor onto th e discon nected ho se. Use the Y connec tor to c onnect the compr essed air hos es of b oth nozzl e change rs. 2 2 : …
Retrofit instructions Nozzle changer SIPLACE HF-series C&P head
12/2004 Edition
23
Installing the second row of nozzle changers 2
2
The second row of a 12-nozzle changer can be installed wrongly.
This must not be mounted in the direction of PCB transport. 2
2
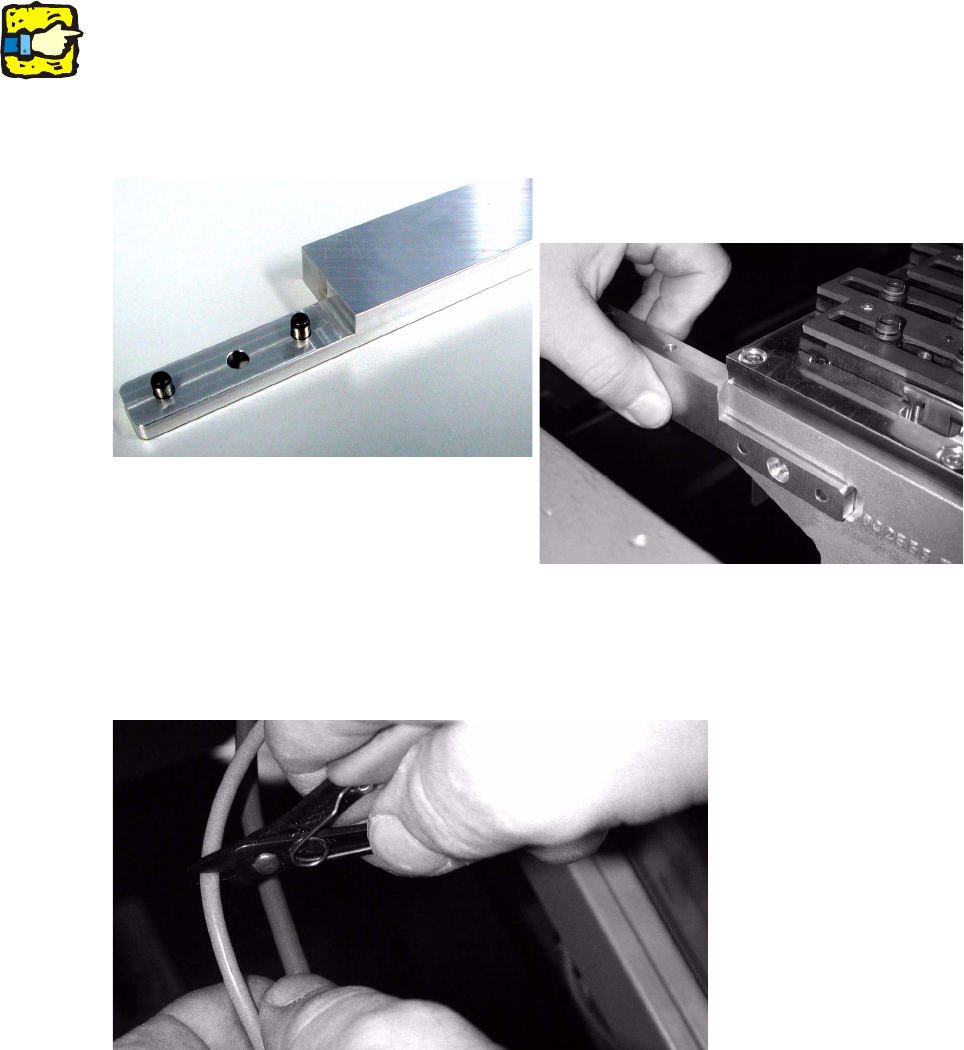
: Knock the dowel pins into the relevant holes in the bracket and screw the bracket on as shown.
2
2
: Disconnect the compressed air hose of the existing nozzle changer at the height of the used
tape cutter
2
2
2
2
2

Retrofit instructions Nozzle changer SIPLACE HF-series C&P head
24
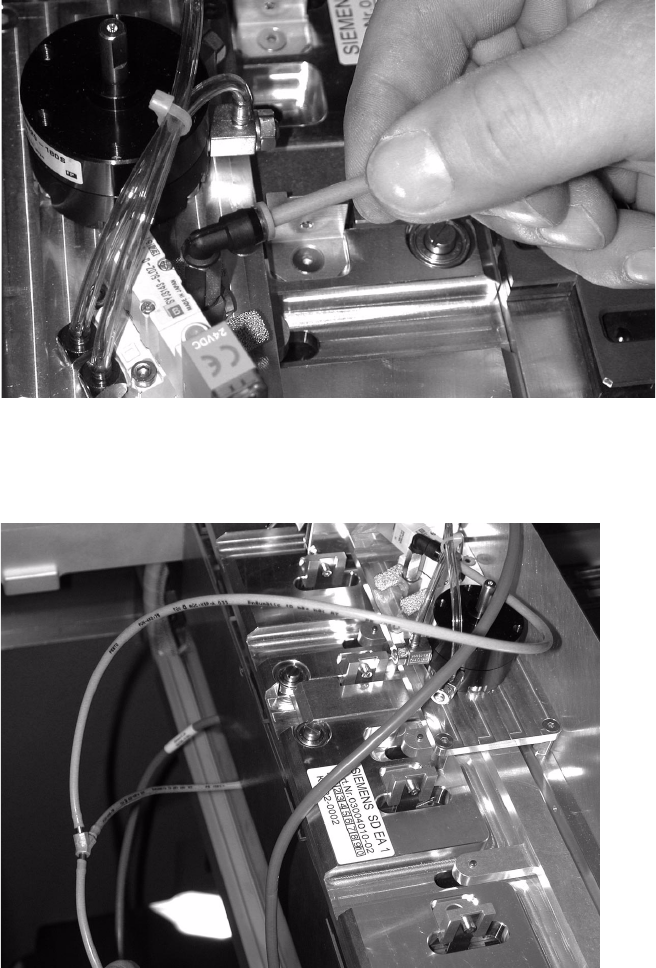
: Put a Y connector onto the disconnected hose.
Use the Y connector to connect the compressed air hoses of both nozzle changers.
2
2
: Plug the cables and the compressed air hose into the C&P head nozzle changer.
The cable for row 2 is marked "b".
2
2
: Only SIPLACE HF-series from serial number A-001:
Connect the second nozzle changer with the One-Wire-HUB.
2
2
2
2
2
2
Cable
Compressed
air connector
Retrofit instructions Nozzle changer SIPLACE HF-series C&P head
12/2004 Edition
25
: Place the nozzle changer onto the newly fitted carrier with the top facing downwards.
: Connect the compressed air hose to the new nozzle changer.
2
2
The wiring should look like this: 2
2
2
2
2
2