202110281046314780.pdf - 第8页
14 51086C 15 V_SC_51086C_202105 Machine part: 1. Chuck 2. Work light 3. Start/stop switch 4. Battery level display 5. Battery pack lock button 6. Reversing yok e 7 . Battery pack Accompanied accessories: Model Content Qu…
12
51086C
13
V_SC_51086C_202105
9) Replace the damaged power cord timely.
10) Be sure to pull the plug off before removing the
battery pack.
11) During the charging, it is normal for the charger
and battery pack to heat up.
12) When the machine is not in use, do not insert
the charged battery pack into the charger.
13) After the charging is over, please pull the
battery pack off the charger immediately.
14) During the operation, it is normal for the body
and battery pack to heat up.
15) Do not put the discarded battery pack in fire
or dispose it with domestic garbage, and be
sure to send it to the local collection station or
recycling point.
16) Carefully check for the cable, natural gas or
water pipes before driving the screw or drilling
the hole in the wall, floor and ceiling.
17) Wear the earmuffs when operating the
machine. Otherwise the hearing may be
damaged.
18) During the operation, it is normal for the
accessories and metal parts to heat up.
19) The operating machine may come into contact
with the hidden wires. Therefore, be sure to
hold the insulating surface of machine. Contact
with the live wires may electrify the metal on
the surface of machine and cause an electric
shock of user.
WARNING
Battery pack leakage may occur if the operating
temperature is too high or the pack is excessively
used. If the liquid leaking from the battery gets on
the skin, wash it with soap first, then rinse it with
lemon juice or vinegar. In case of contact with the
eyes, rinse the eyes with clean water immediately
and go to the hospital for treatment.
Safety warning of charger:
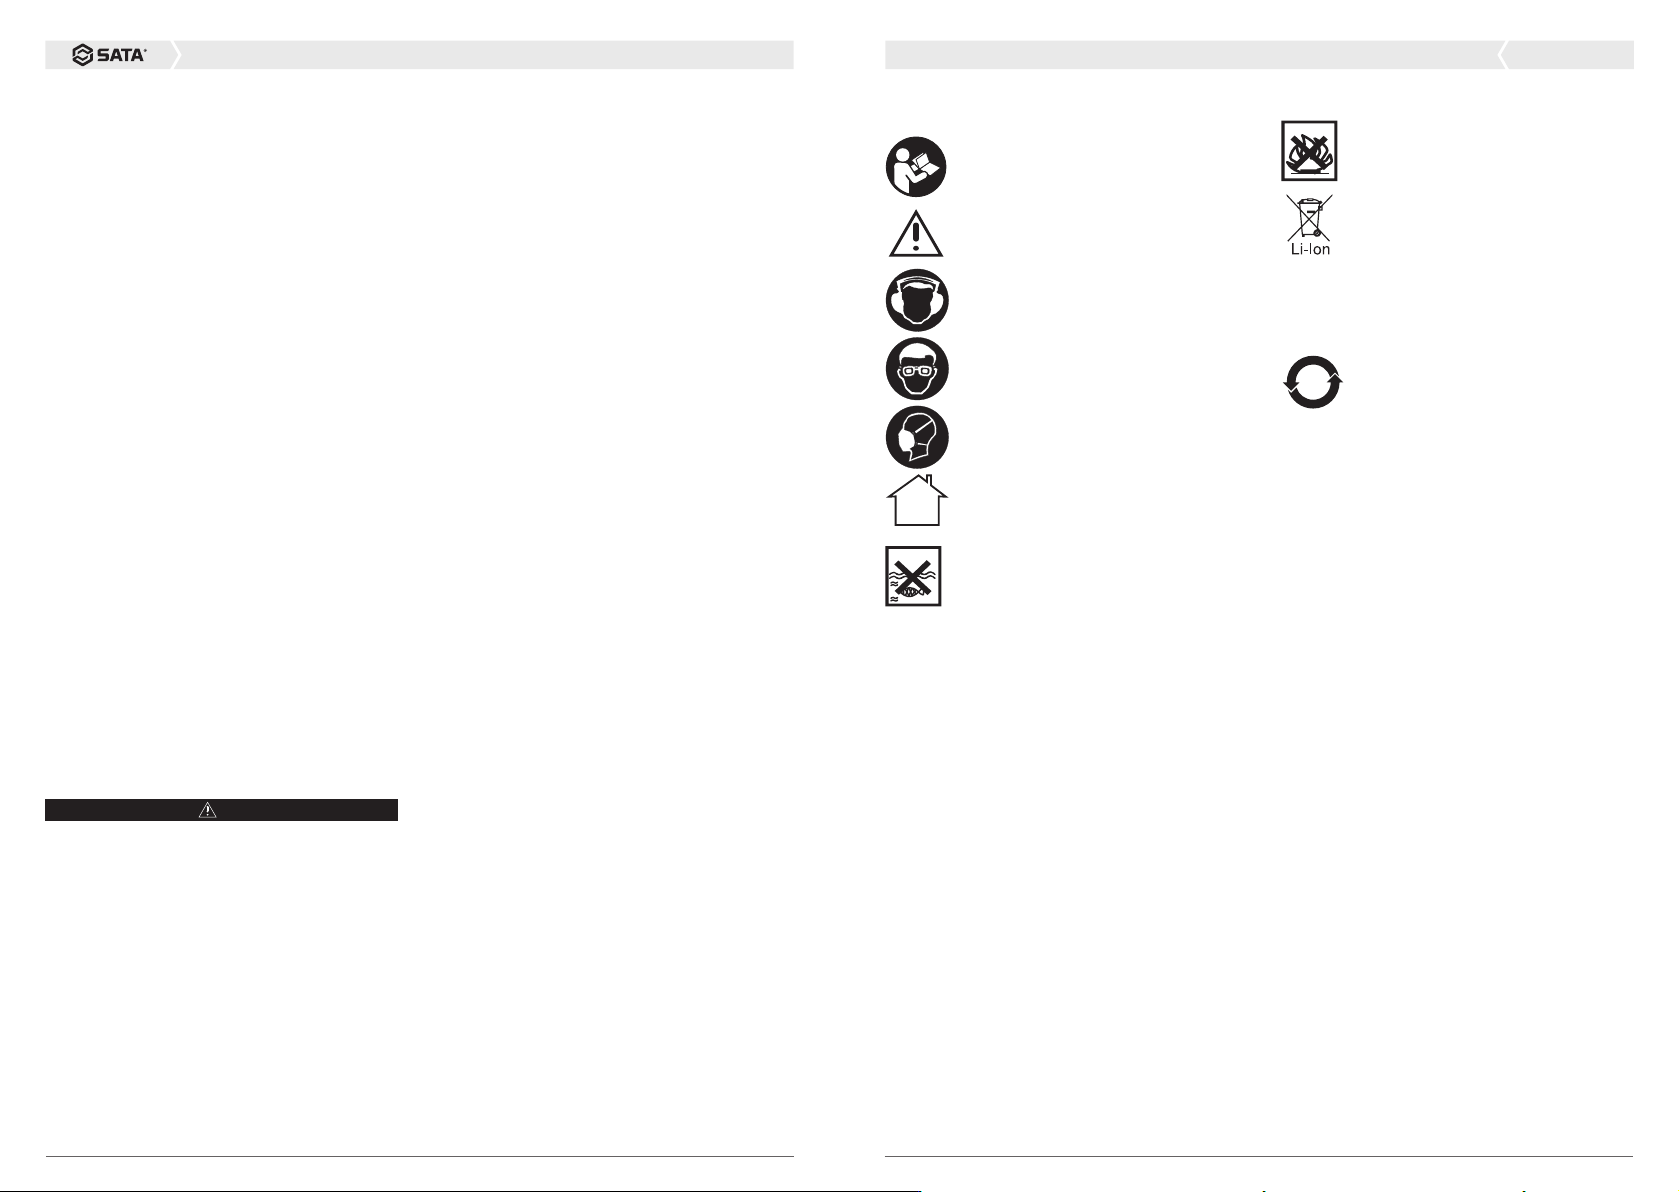
1. Please read the instruction before use.
2. Only for indoors, no rain or water
3. Do not charge the non-rechargeable battery.
4. The damaged power cord shall be replaced
by the professional technician from the
manufacturer, its service department or similar
department.
Safety warning of rechargeable impact
screwdriver
1. The fasteners may come into contact with
the hidden wires. Therefore, be sure to hold
the insulating surface of machine. Contact
with the live wires may electrify the metal on
the surface of machine and cause an electric
shock of user.
2. Be sure to stand firmly. Make sure that no one
is underneath when using the tool at height
3. Please hold this tool firmly
4. Wear earmuffs.
5. Do not touch the screwdriver bit or workpiece
immediately after operation. They can be very
hot and cause burns to the skin.
6. Keep hands away from rotating parts.
MARK
2
To reduce the damage, the user shall
read the warning marks in instructions
carefully
Do not place the machine in the rain or
water
Do not discard the battery and return
the used battery to the local collection
or recycling point.
It may be recycled and shall not be
discarded at will. The battery pack
contains certain toxic and harmful
substances, and may be used safely
during the environment-friendly
use period. After the above period
is expired, it shall be put into the
recycling system.
Do not place it in the fire
Please wear the earmuffs
Warning marks
Please wear the protective glasses
Please wear the dust mask
Only for indoors
14
51086C
15
V_SC_51086C_202105
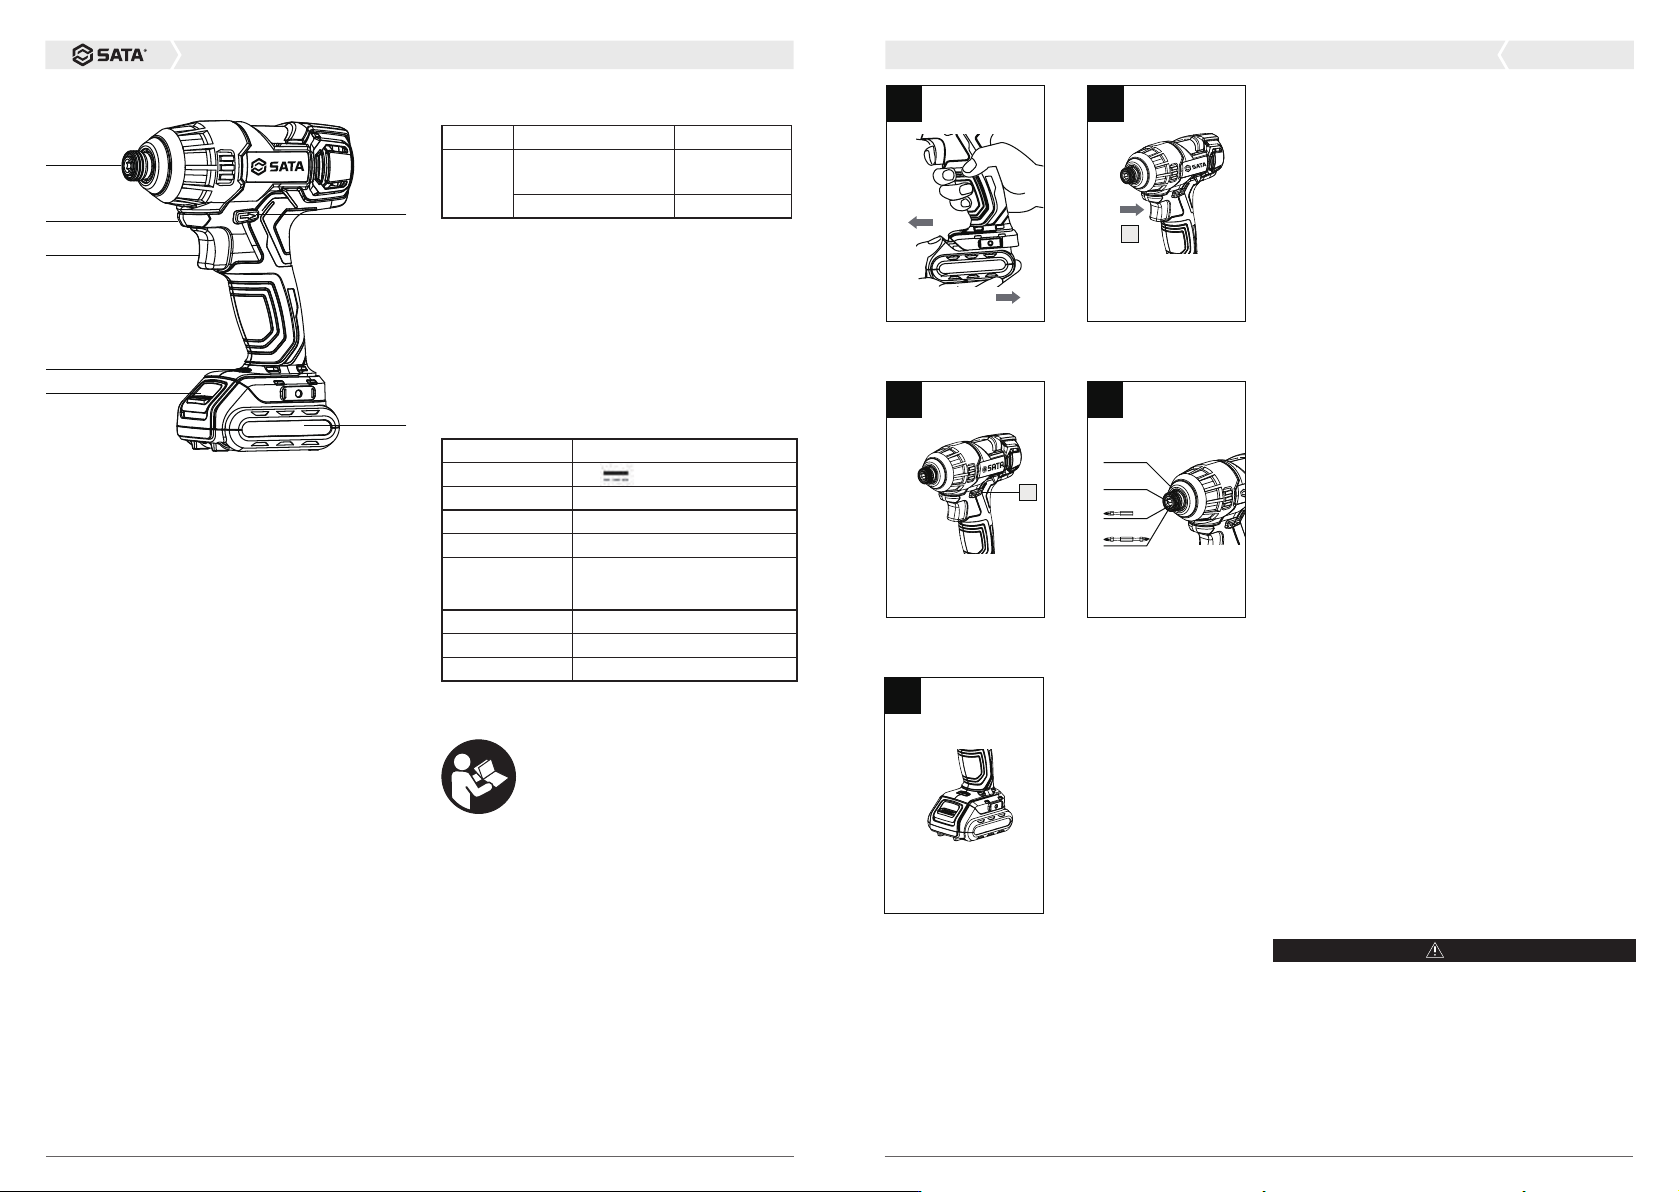
Machine part:
1. Chuck
2. Work light
3. Start/stop switch
4. Battery level display
5. Battery pack lock button
6. Reversing yoke
7. Battery pack
Accompanied accessories:
Model Content Quantity
51086C 2.0 Ah Li-ion battery
pack
1
30min charger 1
We recommend that you choose the accessories
from the store where you purchased the electric
tool. Please use the high-quality accessories from
the well-known brands. Please choose the right
accessory for your job. Please refer to the accessory
package and you will get more methods and help for
using the accessory.
Specification
Model 51086C
Voltage 12V
No-loading speed 0-2300/rev/min
Frequency 0-3000 impacts/min
Max. torque 100 N•m
Maximum
diameter of chuck
6.35mm
Machine weight 1.1kg
Battery capacity 2000mAh
Recharge time 30min
OPERATION GUIDELINE
Before the use
1) Charging
This charger and machine shall be used together. Do
not use other chargers.
The machine has a protection circuit. When the
battery is low, the protection circuit is turned on and
the machine stops rotating.
The machine may become hot under the high
temperatures or after a long period of operation. At
this time, do not charge immediately but wait until
the battery is cooled. Otherwise, the service life of
battery will be shortened or the charging failure may
be caused due to overheating.
For the first charging or after a long period of storage,
the efficiency of first charging may only reach about
60%. After 2-3 charging and discharging cycles, the
battery efficiency may reach 100%.
2) Installation and removal of battery pack (see
Figure A)
Press the lock buttons on both sides of battery pack
and pull it out. To insert the battery pack, simply push
it into the machine. Avoid the excessive force
OPERATION
1. Start/stop (see Figure B)
Press and hold the switch (1) to start the machine,
and release it to stop the machine.
2. Speed regulation
Change the force applied to the switch to regulate the
rotating speed. The range of adjustment is between
0 and the maximum rotating speed. The smaller the
force is, the lower the rotating speed is. The drilling
starts slowly and stably. After the stable and reliable
start, press the switch fully for higher speed.
WARNING
Do not operate at low speed for a long time by
pressing the switch. Otherwise the machine will be
overheating inside. Change the rotating speed after
stop.
3. Switch lock (see Figure C)
The switch has the lock protection function which
Caution: Please read the instruction
carefully before operating the machine.
A
3
C
E
D
Sleeve
Chuck
1
2
3
4
7
6
5
1
B
16
51086C
17
V_SC_51086C_202105
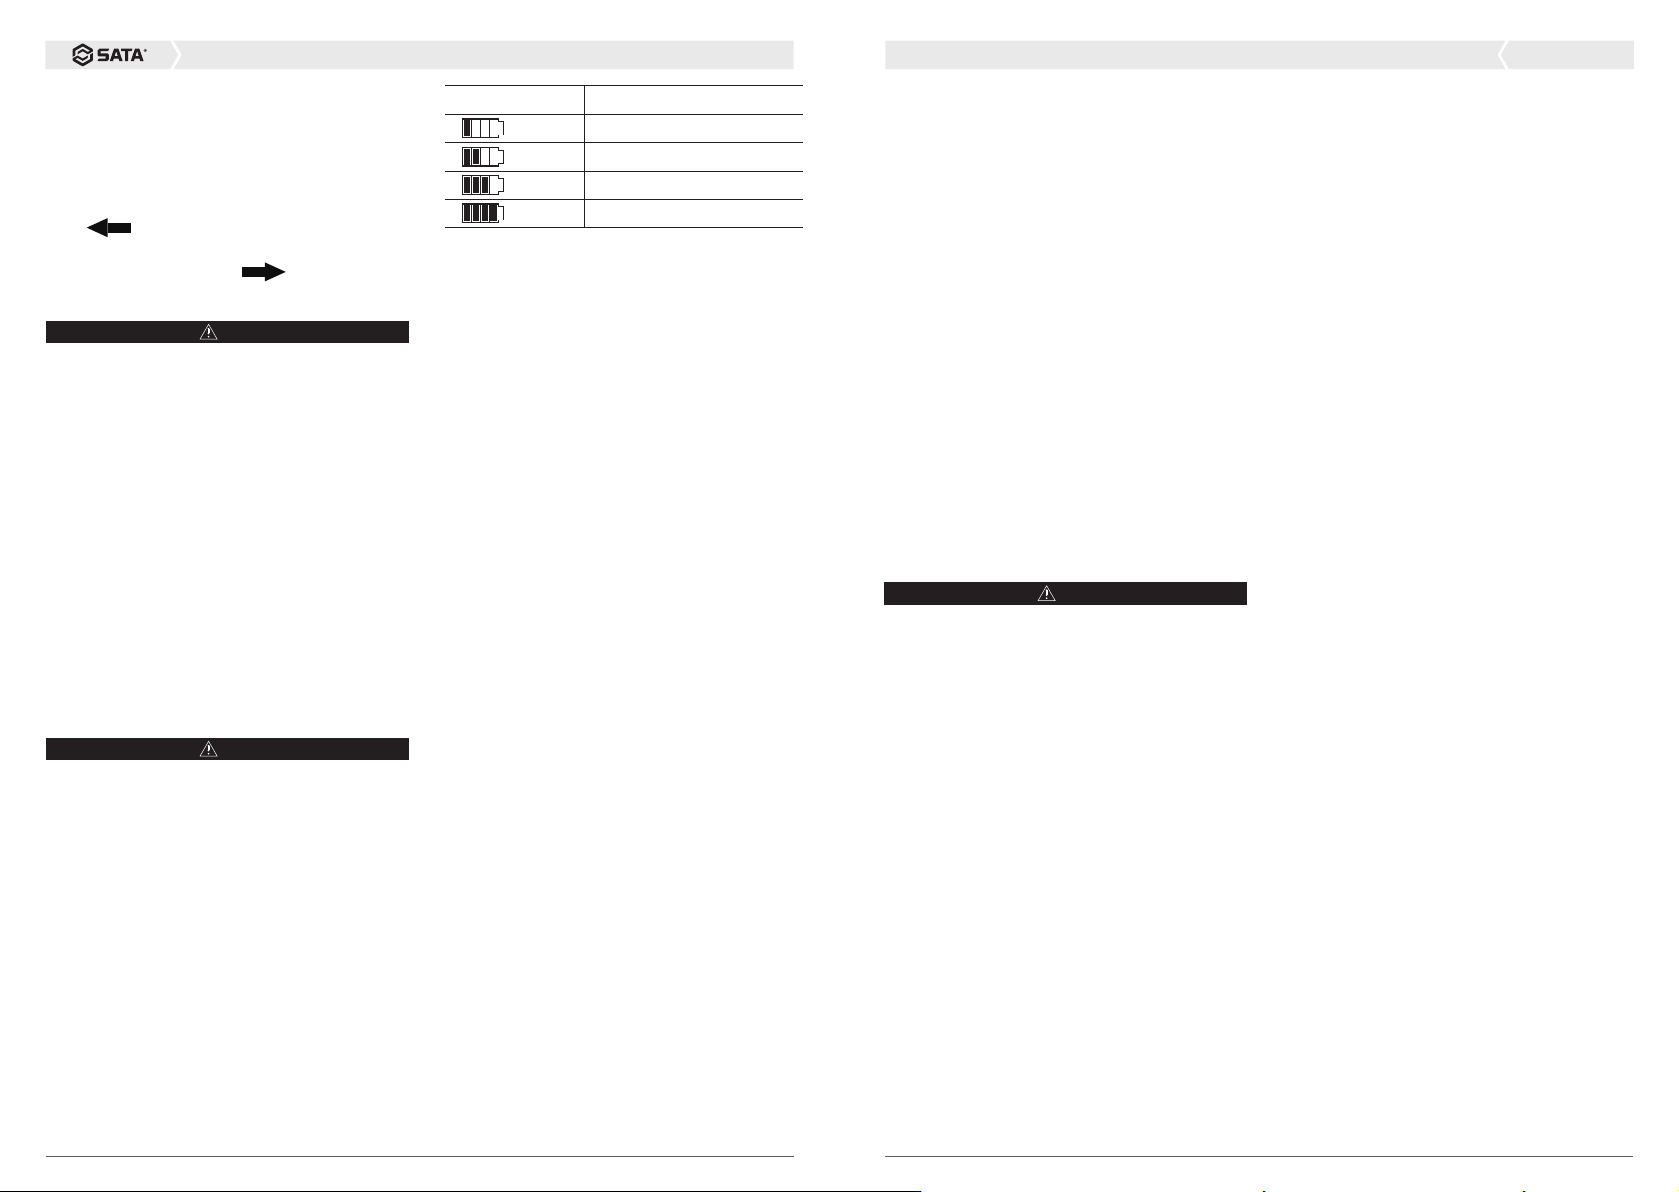
0-25%
25-50%
50-75%
75-100%
LED display Remaining battery
8. Operation
The proper tightening torque may vary depending
on the type or size of screw/bolt and the material of
workpiece to be fastened.
Hold the tool and place the tip of bit on the head of
screw. Apply a forward pressure to the tool to make
the screwdriver bit not slip off the screw, and start the
tool to begin the operation.
1) The longer the impact lasts, the greater the
torque is. The maximum value is achieved at
about 6-10 s.
2) The higher the speed is, the greater the torque
is.
3) The harder the workpiece to be fastened is, the
greater the torque is.
4) Be sure to tighten the small screw slowly for a
short time. Otherwise the screw will be damaged.
Note:
1) Use a screwdriver bit that fits the screw /bolt
head.
2) When tightening the screw, it is best to pre-drill
a pilot hole.
3) When tightening the M8 or smaller screw, select
the appropriate impact force and take care to
adjust the pressure applied to the switch trigger
to avoid damage to the screw.
4) Hold the tool and align it with the screw.
5) If the impact force for fastening the screw is
too strong or the fastening time is too long, the
screw or screwdriver bit tip may be subjected
to excessive pulling, squeezing, pressure and
even be damaged. Be sure to perform a test
to determine the proper tightening time of the
screw before starting the job.
helps to avoid the accidental activation of the hand
drill. Lock the machine by adjusting the reversing yoke
(2) to the center position.
4. Rotation reversing (see Figure C)
Forward: Push the side of reversing yoke (3) marked
with “
" to the end (left side) for drilling a
hole and driving the screw. Reverse: Push the side of
reversing yoke marked with “
" to the end (right
side) for releasing or unscrewing the screw.
WARNING
The rotating speed can only be changed after the
machine is completely still.
5. Installation or removal of screwdriver bit
(see Figure D)
Caution: When installing or removing the bit, be sure
to confirm that the machine has been turned off and
that the battery pack has been removed.
The machine is designed with a quick-loading chuck
system;
When installing the screwdriver bit, pull the sleeve
forward and insert the screwdriver bit into the chuck.
Loosen the sleeve to fix the screwdriver bit.
When removing the screwdriver bit, pull the sleeve
forward and pull the bit out, and then release the
sleeve to reset it.
WARNING
Before starting the machine, make sure that the
screwdriver bit is fully fixed by the chuck.
6. Work light
Machine is equipped with the work light: when the
switch is pressed, the light will come on; when it is
released, light will go out.
7. Battery level display (Figure E)
When the machine switch is pressed, the battery
indicator will come on. The remaining capacity of
battery pack may be determined according to the
following table, and when the switch is released, the
indicator will go out.
Tightening torque is affected by many factors as
described below. After tightening, be sure to confirm
the torque with the torque wrench.
1) When the battery pack is about to run out
completely, the voltage will drop and the
tightening torque will also decrease.
2) The improperly sized screwdriver bit or sleeve
screwdriver bit may reduce the tightening
torque.
3) Bolt
Even if the torque coefficient and the bolt level are
the same, the tightening torque is different because
of the different diameters.
Even if the diameter of bolt is the same, the required
tightening torque is different depending on its toque
coefficient and its length.
4) The way the tool is held or the material on the
bolt will also affect the torque.
5) Operating at low speed will also reduce the
tightening torque.
WARNING
For the short screwdriver bit, use a magnetic
connecting rod (not included). When tightening the
screw, apply a little soap or other lubricant to the
thread to facilitate the operation.
QUESTION AND ANSWER:
1. Why does the machine not operate after the
switch is pressed?
A reversing yoke is located on the upper part of
switch. It is locked. Turn it to the position where the
rotation is in need, and then press the button to
rotate the machine.
2. Why does the hand drill stop when the screw has
not been tightened?
The machine has low-voltage protection. When the
level of battery pack is too low, the machine will not
work. Please confirm the level of battery pack.
The machine has temperature protection. When
the battery is working at full load for a long time,
the battery pack will overheat and the temperature
protection system will start to stop the machine.
Cool the machine to normal temperature before
resumption.
3. Why is the service life of same kind of battery pack
is different?
If a battery pack is left unused for a long time, its
service life may be shortened. This is the matter
of charging frequency. Repeated charging and
application may improve the situation. In case of
heavy work, the battery pack will run out soon. Do not
charge in a temperature below 0 °C or above 35 °C.
Otherwise, the performance of battery pack will be
affected.
MAINTENANCE
Be sure to pull off the plug before repairing or
replacing the machine.
The electric tool does not require additional
lubrication or other maintenance. Do not wash the
electric tool with the water or chemical cleaner. Wipe
it off with a dry cloth. Tool shall be stored under the
dry condit
ions and kept clean at the vent of motor. Try
not to use it in a dusty environment.
To prolong the service life of battery pack:
1) Store the battery pack below 26 °C after
charging it to 30%-50%.
2) Charge the battery pack fully once in less than 6
months.