00194703_Setup Selection Assistant Setup Center RF.pdf - 第14页
SIPLACE Setup Center RF 2.1 - Tools Installation Manual - Setup Selection Assistant Step 2: Select Job It all starts with the selection of a job – the job is used as a container aro und the board sides to be produced and…
Installation Manual - Setup Selection Assistant SIPLACE Setup Center RF 2.1 - Tools
Modified SIPLACE Pro Data are:
• Setups / Tables / Jobs (only copied)
• Production Schedule (modified)
As a part of the concept Setup Selection Assistant creates copies of the data to be modified into own
SIPLACE Pro folder starting with “Setup Center”. Customers with safety awareness can modify the
access rights for these folders to make sure no original data is modified / destroyed by the setup
operators.
3.2 The Assistant Steps in Detail
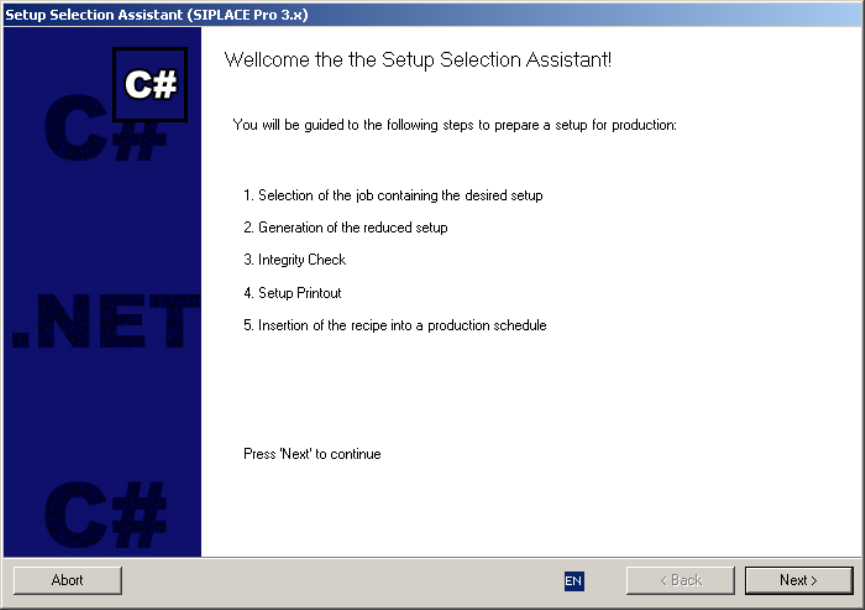
Step 1: Welcome
The assistant gives you a warm welcome and informs about the following steps:
Figure 6 "Welcome" page
Click the “EN” symbol left from the back button to select another language.
13 of 20
-
SIPLACE Setup Center RF 2.1 - Tools Installation Manual - Setup Selection Assistant
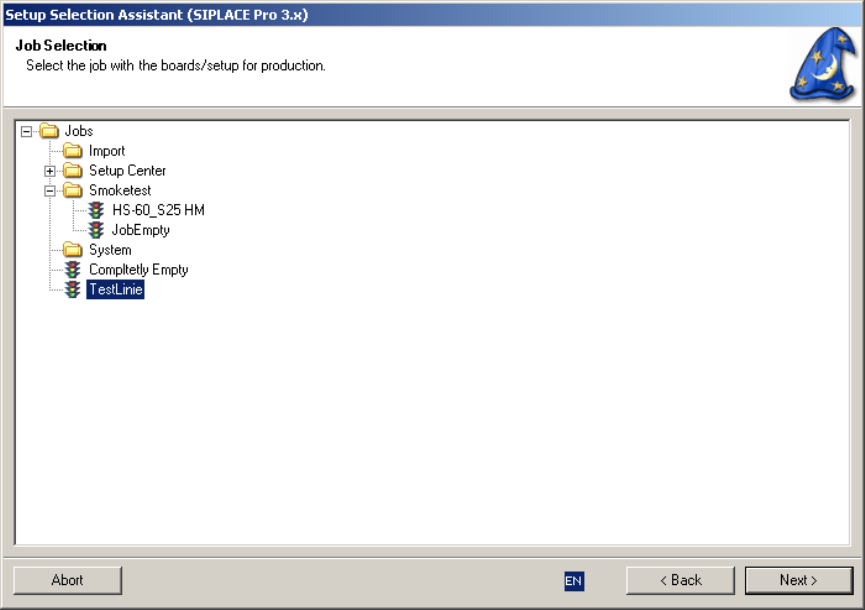
Step 2: Select Job
It all starts with the selection of a job – the job is used as a container around the board sides to be
produced and around the setup.
Figure 6 "Job Selection" page
The job was originally created to optimize the setup for some recipes to produce. If the setup is to be
used in the future its job will be maintained so recipes can be added or removed and the setup can be
optimized again.
Setup Selection Assistant uses the folder “Setup Center” as a working folder in SIPLACE Pro. If you
select a job outside of this folder a copy of this job and its recipes will be created and moved into the
working folder with the name convention “Setup Center\<Line name>\<Setup name>”. If you open such a
copy located in the folder “Setup Center” no additional copy will be created – the job will be only opened
for editing.
14 of 20
Installation Manual - Setup Selection Assistant SIPLACE Setup Center RF 2.1 - Tools
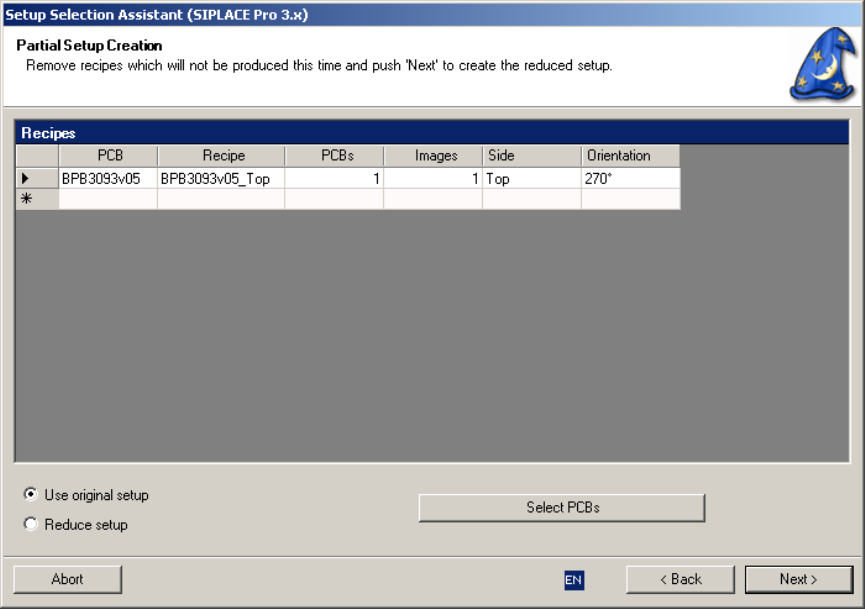
Step 3: Edit Job
The following step is to edit the (copied!) job according to the today’s needs:
Figure 6 "Job Editor" page
The recipes grid shows the recipes which are currently in the job. Remove all recipes which will not be
produced this time.
You can also add new boards to the job clicking on the button “Select PCBs”. For each selected PCB and
each board side with placement positions a new recipe is created. A board side can not be inserted twice.
The orientation is taken from the default orientation of the board side in SIPLACE Pro. A check is done to
see if the board side fits into the setup. Omitted components, images or placement positions are not
checked.
You can delete PCBs from the job by selecting the line in the view and press the “del” (Delete) key.
If you choose “Use original setup” the optimized setup of the first recipe is entered into all recipes.
15 of 20
-