DECAN_S1_Maintenance(Eng_Ver1.1)_Print.pdf - 第7页
※ W arnings and cautions fo r safe ty ■ Cautions to be exercised for the safety and to be referr ed to for the work are described as follows in this manual. Dange r If the instructions following this symbol are not follo…
※ Warnings and cautions for safety
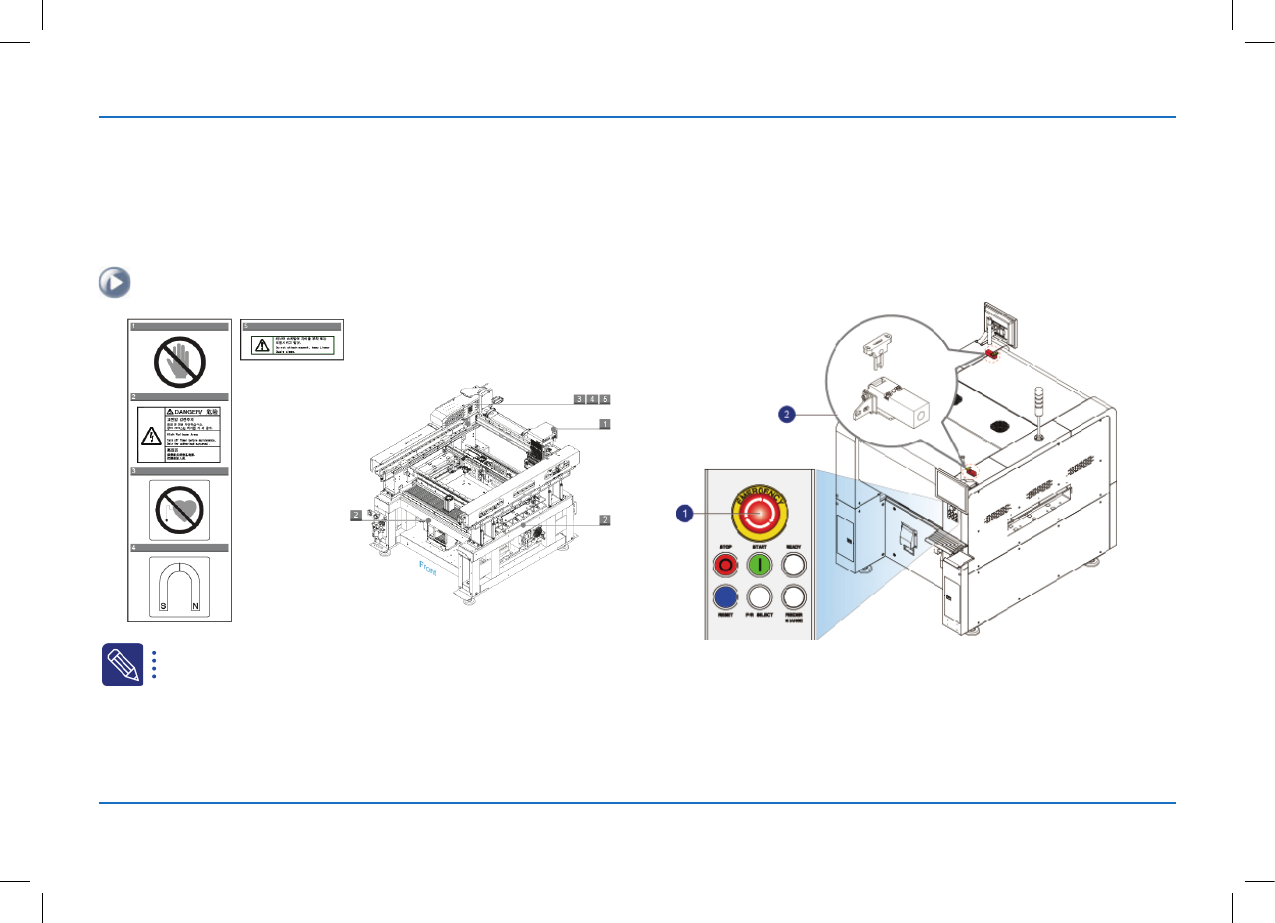
For the safe use of this machine, the label for safety related cautions is attached at
the following position.
Inside of the machine
For more details about the label for cautions about safety, refer to the
Administrator's Guide.
※ Operation of the safety interlock
Stop operation of the machine immediately should an emergency situation arise.
1. EMERGENCY
Switch
2. Door Lock
Switch
※ Warnings and cautions for safety
■ Cautions to be exercised for the safety and to be referred to for the work are
described as follows in this manual.
Danger
If the instructions following this symbol are not followed, serious accidents
could occur, or death or serious injury of the operator could happen. Be
sure to follow the instructions.
Warning
If the instructions following this symbol are not followed, serious accidents
could occur, or serious injury of the operator could happen. Be sure to
follow the instructions.
Caution
If the instructions following this symbol are not followed, damage of
machine hardware, software, and data could occur or the operator could
be injured. Be sure to follow the instructions.
The item according to this mark describes the item to which the user needs
to refer when performing the corresponding work.
※ Cautions to be exercised before using the machine
Warning
Cut off the pneumatic system and power supply before performing
maintenance and repair of the machine. Otherwise, personal injury or
death may occur. Hanwha Precision Machinery Co., Ltd. is not responsible
for problems caused by machine repairs performed in a manner not
mentioned in this manual, or any modifications carried out without prior
approval.
Caution
If you need an additional repair other than the maintenance work
mentioned in this manual, contact our C/S company (STS) or local agent
for proper measures.
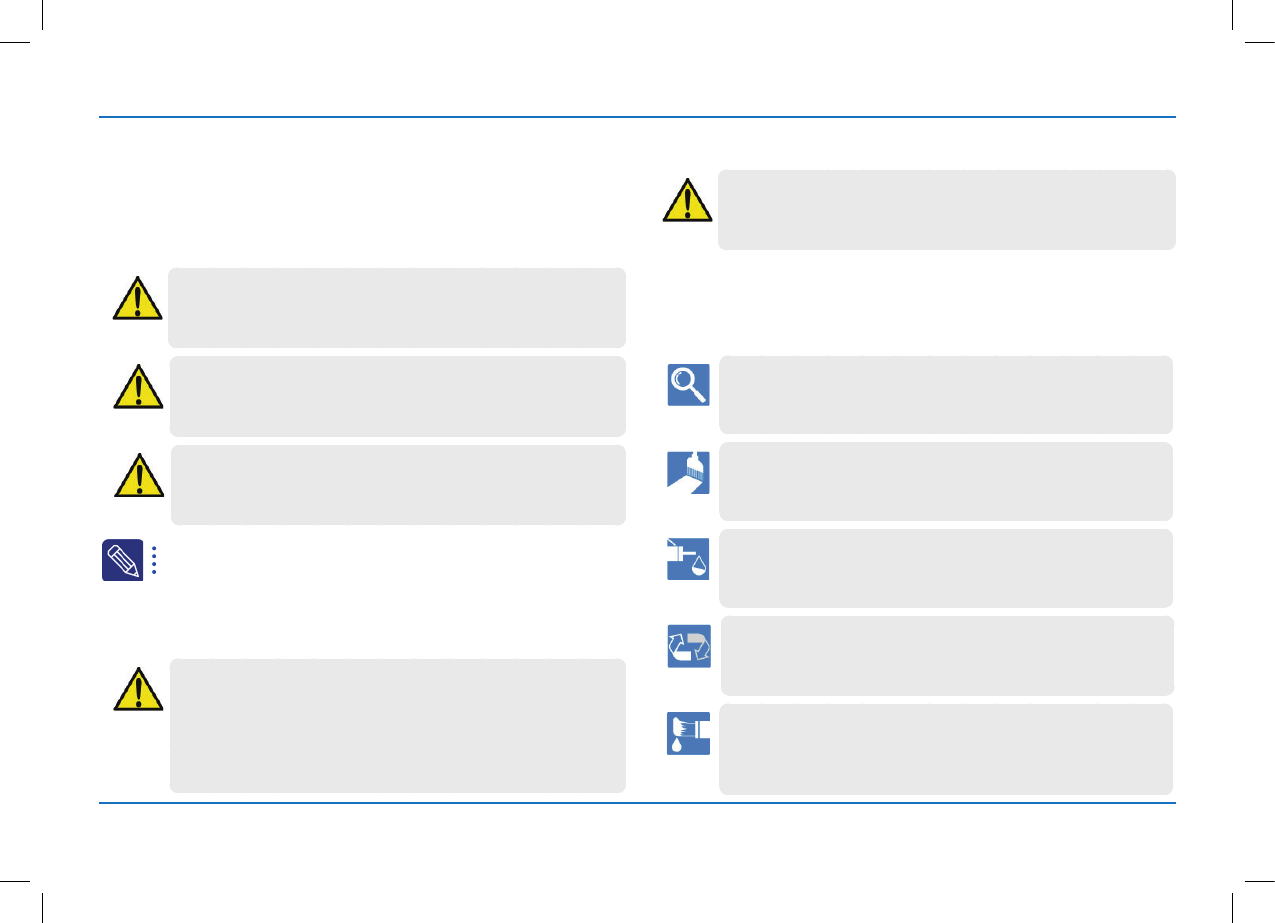
※ Symbols for Work Instructions
■ This manual expresses safety related items to be kept in mind as well as
reference items for work as indicated by the following symbols:
Inspect
The remarks following this symbol refer to performing visual inspection of
foreign material, chip etc.
Clean
The remarks following this symbol refer to cleaning with cloth or brush.
Grease
The remarks following this symbol refer to injecting grease using a grease
gun.
Replace
The remarks following this symbol refer to replacing a part.
Apply
Grease
This symbol refers to applying grease using a brush.
DECAN S1 Maintenance Handbook
Table of Contents
chapter 1
Conditions for Maintenance
Common Working Procedure before Maintenance ..1-1
Common Working Procedure before Maintenance . 1-9
Working Environment and Condition .....................1-11
Tools for Maintenance ............................................ 1-12
chapter 2
Inspection Items for Maintenance
Daily Inspections ........................................................ 2-1
Weekly Inspections....................................................2-3
Monthly Inspections (1/2) .........................................2-5
Monthly Inspections (2/2) .........................................2-7
chapter 3
Daily Inspection
Checking and cleaning the nozzle ........................... 3-1
Cleaning Dump Box .................................................. 3-5
Cleaning feeder and feeder base .............................3-6
Cleaning the Backup Table .......................................3-9
Checking and replacing the air filter .......................3-11
Checking and replacing Mist Separator Filter ......... 3-13
Checking and Cleaning Fix Camera Cover Glass ... 3-15
Checking and Cleaning and Fix Camera Lens ........3-17
Next Generation, Multi-Functional Placer
DECAN S1 Maintenance Handbook
chapter 4
Weekly Inspection
Cleaning Head Fly Camera Lens ............................... 4-1
Cleaning Head Mirror ...............................................4-3
Checking the Solenod Valve ..................................... 4-4
Checking and Replacing Head Vacuum Filter ..........4-6