Oxford ICP-CVD SOP.pdf - 第6页
Page 6 of 11 C) Load and run desired recipes 5) Select and Ru n the desired recipe a) Follow steps 3-6 fro m section C ( conditionin g run). Sum marized: i) From Recip es page, load th e desired recip e ii) Change the ti…
Page 5 of 11
B) Vent chamber, load your sample, pump chamber
1)
Vent the Loadlock:
a) Visually check that the wafer has been unloaded into the
loadlock
b) Click System Menu, then Pumping
c) Under the loadlock interface, click Stop
d) A popup, “Wafer ….. has finished processing”. Click OK
e) Click Vent
f) Wait until “Vent Time Left” countdown reaches 0. This will
take 4 minutes.
Figure 23. "Wafer has finished processing"
popup
Figure 24. Loadlock pump/vent interface
2)
Open the loadlock
a) Pull upwards on the black knob on the loadlock door
(circled). No twisting.
i) It will be slightly difficult to open, the interlock switch
sticks
ii) Place your elbow against the hinge for better leverage
Figure 25. Loadlock lid. Grab by knob
3)
Load your sample
a) If using your hands, double-glove before handling wafer
b) Gently place your 4” carrier wafer (or 4” sample wafer) on
the loadlock tray, up against the round cams (circled), with
the flat facing towards the process chamber
c) Make sure the edge of your sample lines up with the
circular marker line (arrow)
i) NOTE: if you cannot get the wafer aligned to the
marker line (off by >1mm), contact the MNFL staff
Figure 26. Marker line and pins in loadlock.
4)
Pump the loadlock
a) Close the loadlock door
b) Click “Stop”, then “Evacuate”
c) In the popup, enter a sample name. Press “OK” to indicate
a wafer in the loadlock, or “CANCEL” to indicate no wafer
in the loadlock
d) When "Cycling Loadlock Pumping" is displayed, the
vacuum is good enough for your recipe to be run
Figure 27. Loadlock Pump/Vent interface
Figure 28. "Name the wafer" popup. OK for
YES wafer, CANCEL for NO wafer

Page 6 of 11
C) Load and run desired recipes
5)
Select and Run the desired recipe
a) Follow steps 3-6 from section C (conditioning run). Summarized:
i) From Recipes page, load the desired recipe
ii) Change the time of the “Dep” step, press OK
iii) Press Run
iv) Wait for plasma to ignite and stabilize; make sure plasma is stable before leaving tool
D) Vent loadlock, unload sample, load dummy wafer, pump loadlock
1)
Vent loadlock
a) Follow procedure from section B
2) Unload sample
a) If using hands, double-glove before retrieving your sample
3) Load dummy wafer
a) the clean wafer you used for your conditioning run, or a clean 4” Si wafer
4) Pump loadlock
a) Follow procedure from section B
Page 7 of 11
E) Run cleaning recipe
1)
Load cleaning recipe
a) Click Main Menu, then Recipes
b) Click “Load”, and choose appropriate cleaning recipe:
i) “Chamber Clean @70C” if you deposited at 70C
ii) “Chamber Clean @250C” if you operated at 250C
c) Notice the two important steps: ‘high pressure clean-
auto’ and ‘low pressure clean-auto’
i) To etch back 1um of deposited material:
ii) The “high pressure clean” step must run for 12
minutes, and
iii) The “low pressure clean” step must run for 9 minutes
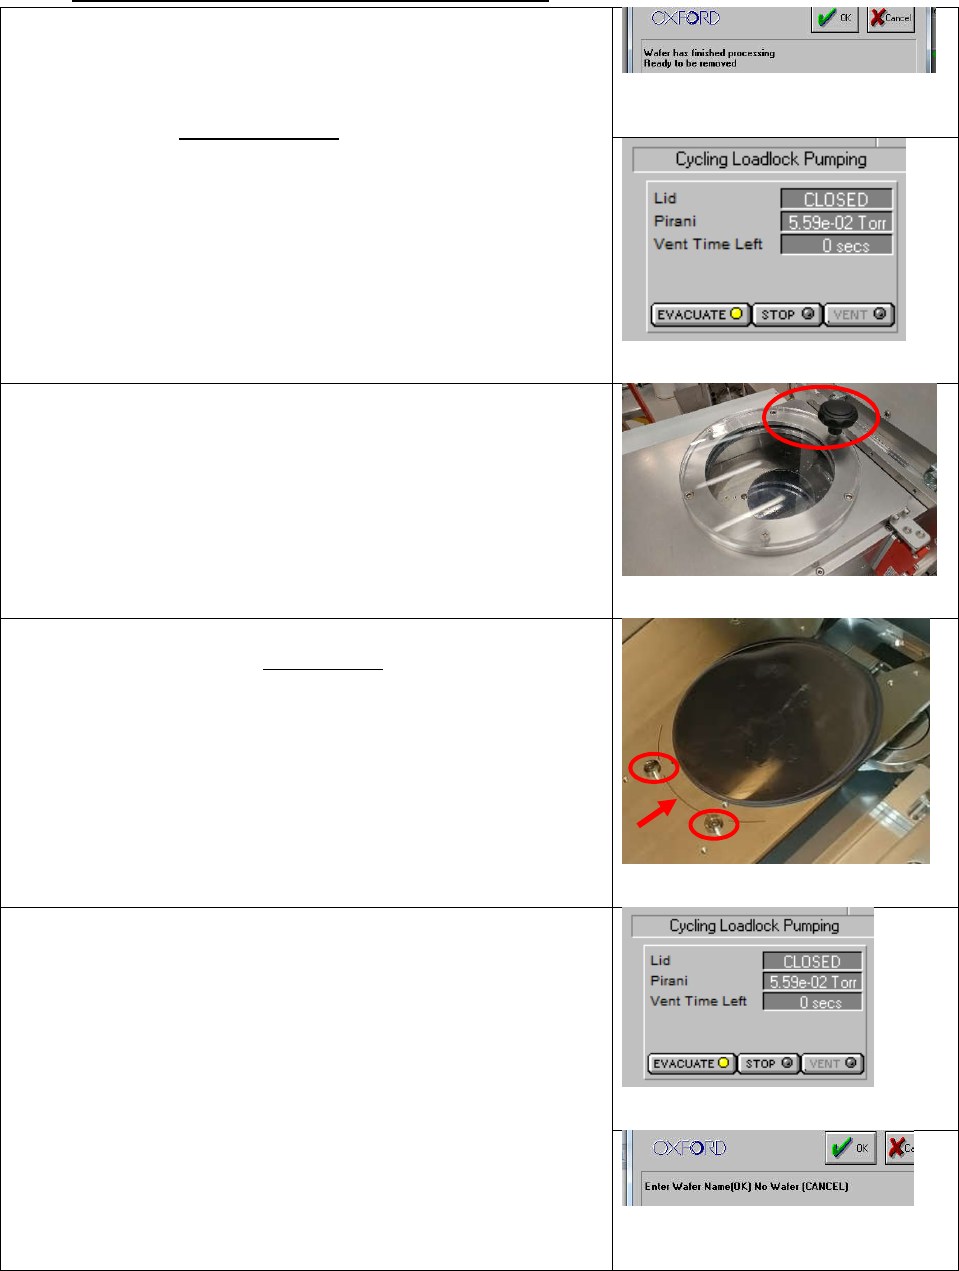
Figure 29. Cleaning recipe steps. The "High Pressure clean"
and "Low pressure clean" are the two steps to modify
2)
Modify cleaning times
a) These cleaning steps have defaults of 12, and 9 minutes,
respectively. Scale these times up/down, to etch back the
amount of material you deposited, round up to nearest
minute.
i) If you deposited 2um total during your runs, set the
high pressure step for 24 minutes (12min/um * 2um)
and the low-pressure for 18 minutes (9min/um *
2um).
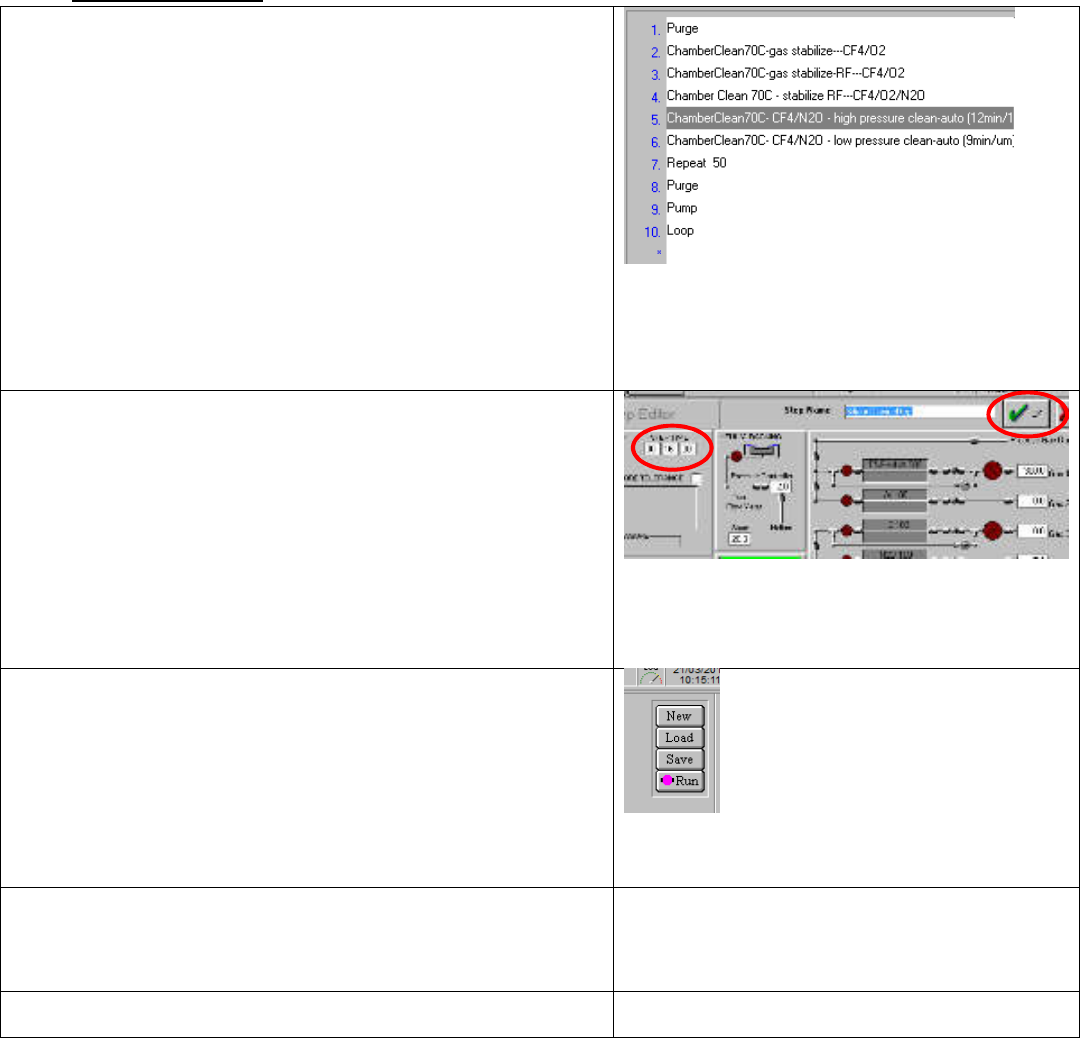
Figure 30. Edit Step screen. Revise times as necessary, then
press OK
3)
Run the recipe
a) Press the “Run” button
Figure 31. Recipe Load button on the recipes
page
4)
Wait for the plasma to ignite and stabilize
a) This should happen after about 1 minute; make sure
plasma is stable before leaving the tool
5)
Sign out of the tool in Mendix