00194591_02.pdf - 第22页
3 Instal lation Installation Manual SIPLACE Setup Center RF 2.1 3.3 Installation of SIPLACE Setup Center and Possible Setup Types Edition 09/2005 EN 22 Step 3 → In the Select SQL-Server dialog box you enter the informa t…
Installation Manual SIPLACE Setup Center RF 2.1 3 Installation
Edition 09/2005 EN 3.3 Installation of SIPLACE Setup Center and Possible Setup Types
21
Step 2
The installation detects the existing SPI version and installs the according SIPLACE Setup Center
files. 3
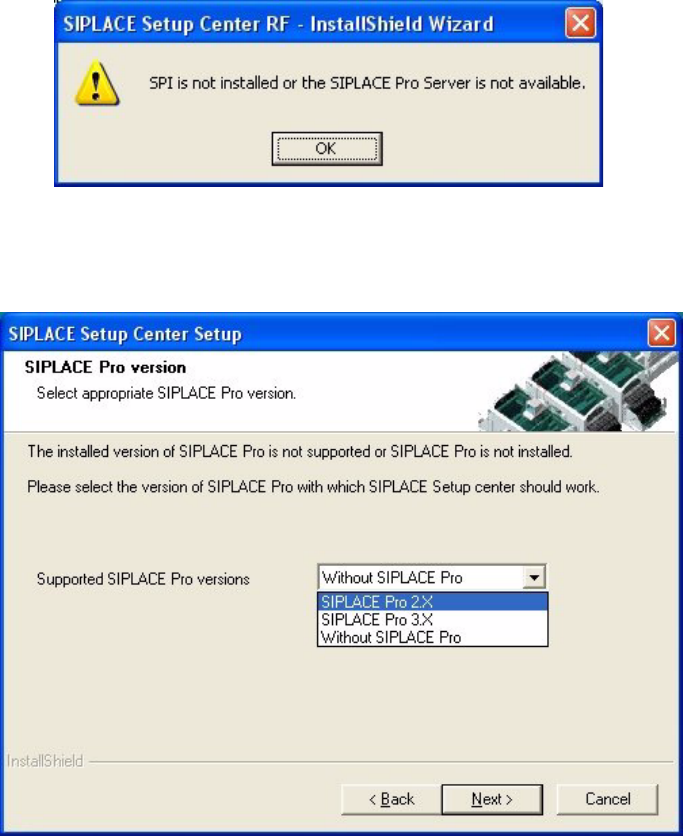
In case no SPI is detected, the installation displays a warning. 3
3
Fig. 3.3 - 8 "Setup Type" dialog box
After this the installation prompts you to select a SIPLACE Pro version. SIPLACE Setup Center
will be installed with the files to support the selected SIPLACE Pro version 3
3
Fig. 3.3 - 9 "Setup Type" dialog box
→ Select the SIPLACE Pro version and
→ Click Next.
3 Installation Installation Manual SIPLACE Setup Center RF 2.1
3.3 Installation of SIPLACE Setup Center and Possible Setup Types Edition 09/2005 EN
22
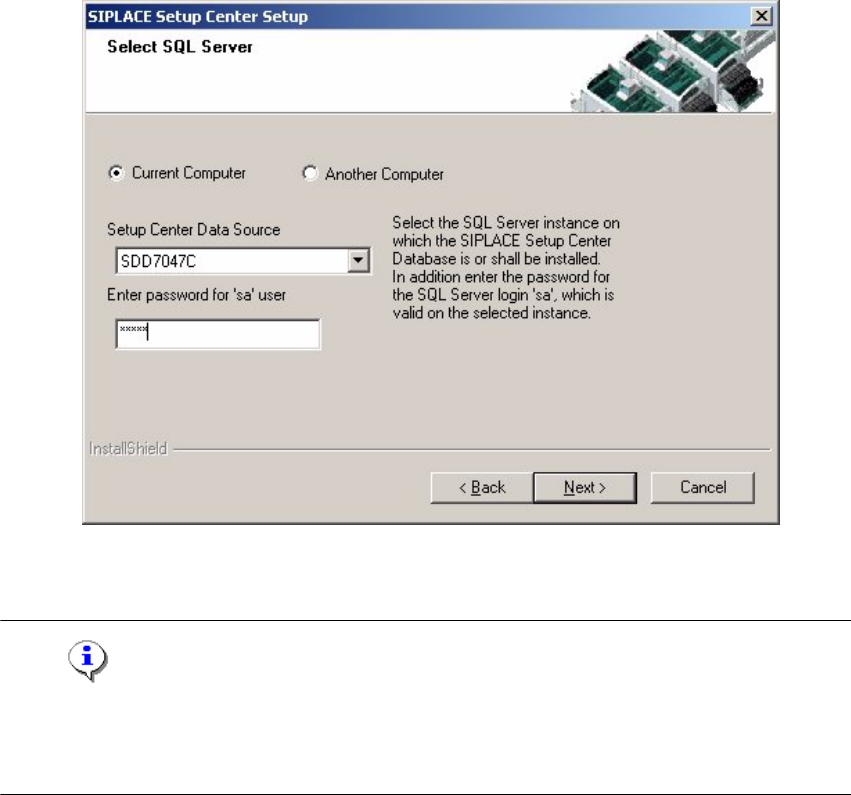
Step 3
→ In the Select SQL-Server dialog box you enter the information required to be connected with
the SQL Server and database.
3
Fig. 3.3 - 10 "Select SQL-Server" dialog box
→ Enter the Password for the SQL Server user "sa", i.e. the SQL server system administrator.
Note
This password is empty if MSDE has been freshly installed. In this case, erase the displayed de-
fault password. Subsequently, a window will open, prompting you to change this password. You
may accept the Siemens Service default password or choose one of your own. 3
→ Choose your Another Computer from the pull-down menu to show other computer.
→ Choose your SQL Server Instance from the pull-down menu.
→ Click Next.
Installation Manual SIPLACE Setup Center RF 2.1 3 Installation
Edition 09/2005 EN 3.3 Installation of SIPLACE Setup Center and Possible Setup Types
23
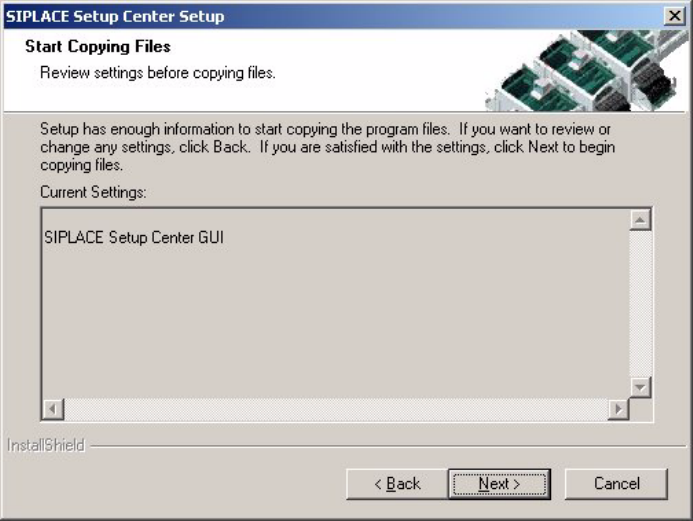
Step 4
→ The Start Copying Files dialog box gives you a last chance to check the information you have
entered during the previous steps.
3
Fig. 3.3 - 11 "Start Copying Files" dialog box
→ Click Next if you accept all the information entered so far.
→ If you want to alter one or more details, click the Back button until you get back to the dialog
box in question.
→ There, enter your changes and click Next to continue as usual.