770715-EM-Eye-ESD-Event-Meter-Guide.pdf - 第8页
TB-91 19 Page 8 of 10 © 2024 DESCO INDUSTRIES INC Employee Owned SCS - 926 JR Industrial Drive, Sanford, NC 27332 East: (919) 718-0000 | West: (909) 627-9634 • Website: StaticControl.com Remote Antenna The SCS Remote Ant…
TB-9119 Page 7 of 10
© 2024 DESCO INDUSTRIES INC
Employee Owned
SCS - 926 JR Industrial Drive, Sanford, NC 27332
East: (919) 718-0000 | West: (909) 627-9634 • Website: StaticControl.com
Audio Indicators
The AUDIO INDICATOR button scrolls through the
following audio modes:
1) Tone (bell)
2) Speaker at low volume
3) Speaker at middle volume
4) Speaker at loud volume
5) Mute
The BELL audio mode sends an audible beep for every
ESD event count detected. The SPEAKER, on the other
hand, produces the “crackling” or “humming” amplitude
de-modulated sounds of ESD event or EMF. This may
provide a better feel of what discharges or EMF sounds
like. The MUTE disables the audio and the unit operates
in silent mode.
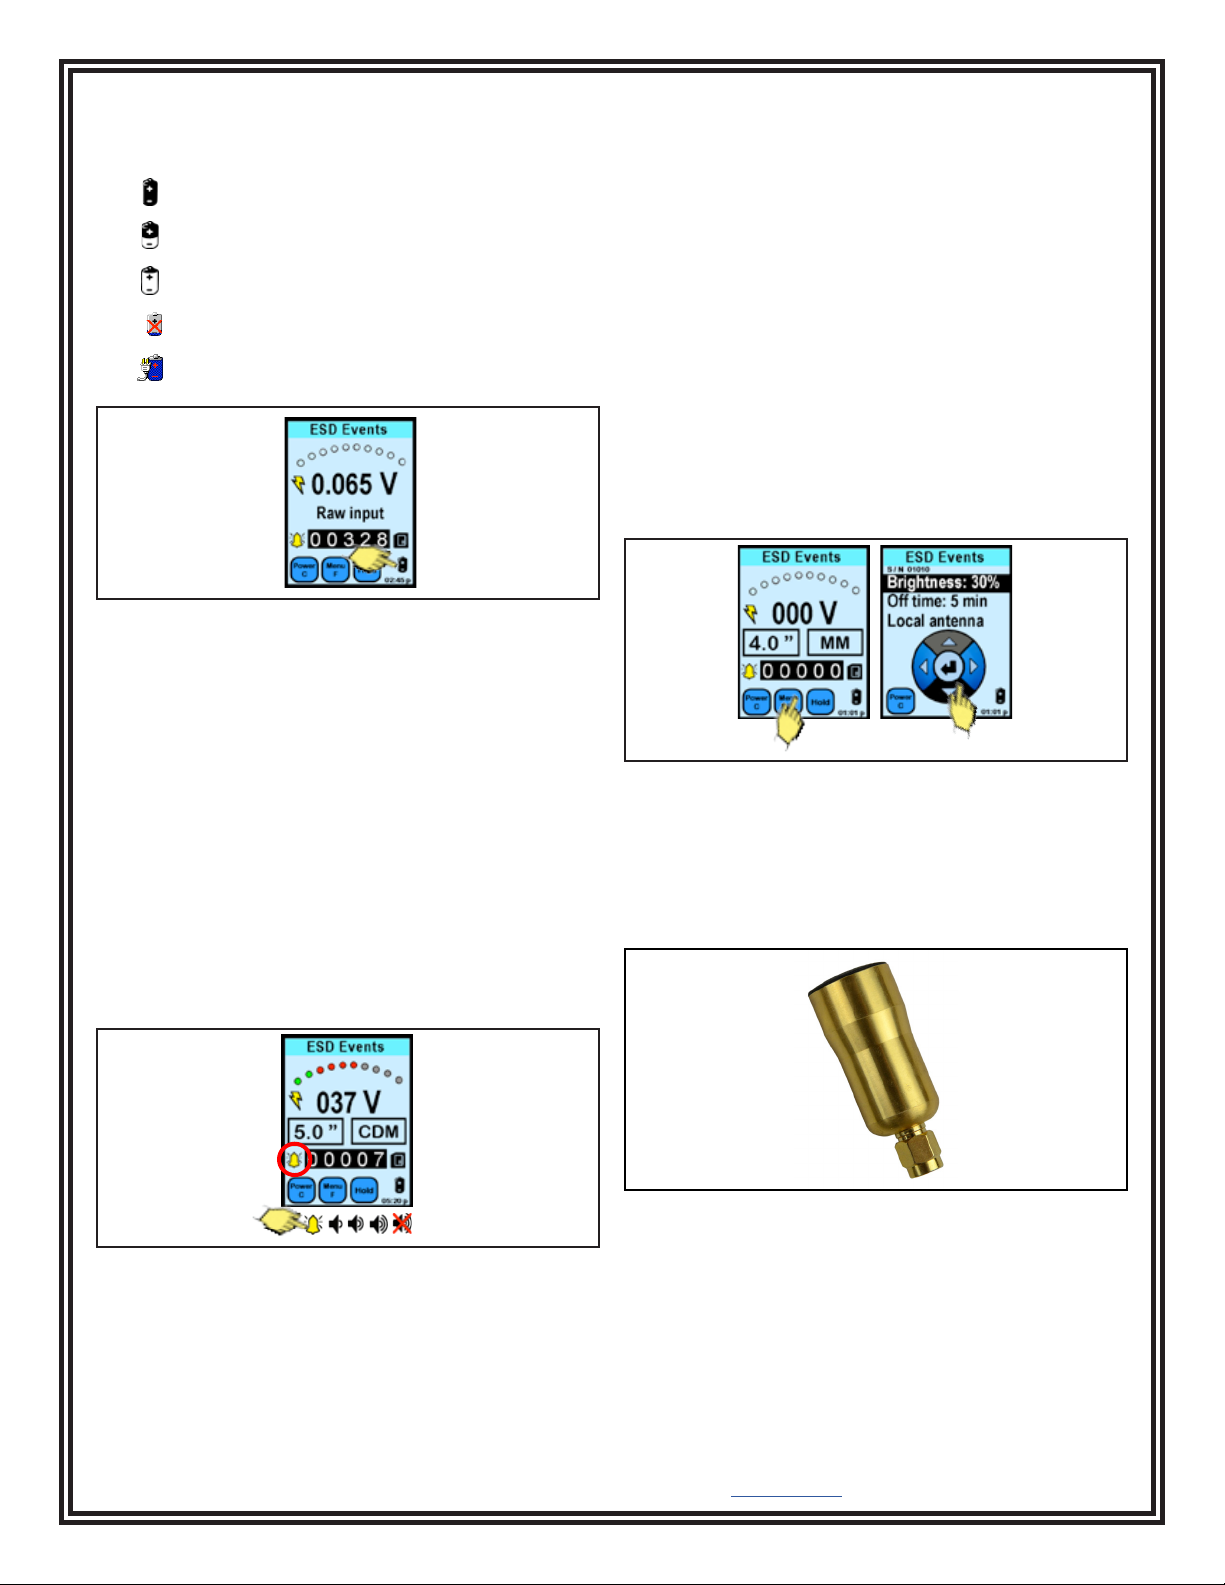
Battery
The BATTERY symbol displays the approximate level of
battery life remaining for use.
Full charge life.
Half charge
<1 hour charge, charging is required
Battery is discharged, charging is required
Charging in progress
Figure 12. Locating the battery icon
Figure 13. Using the Audio Indicator button
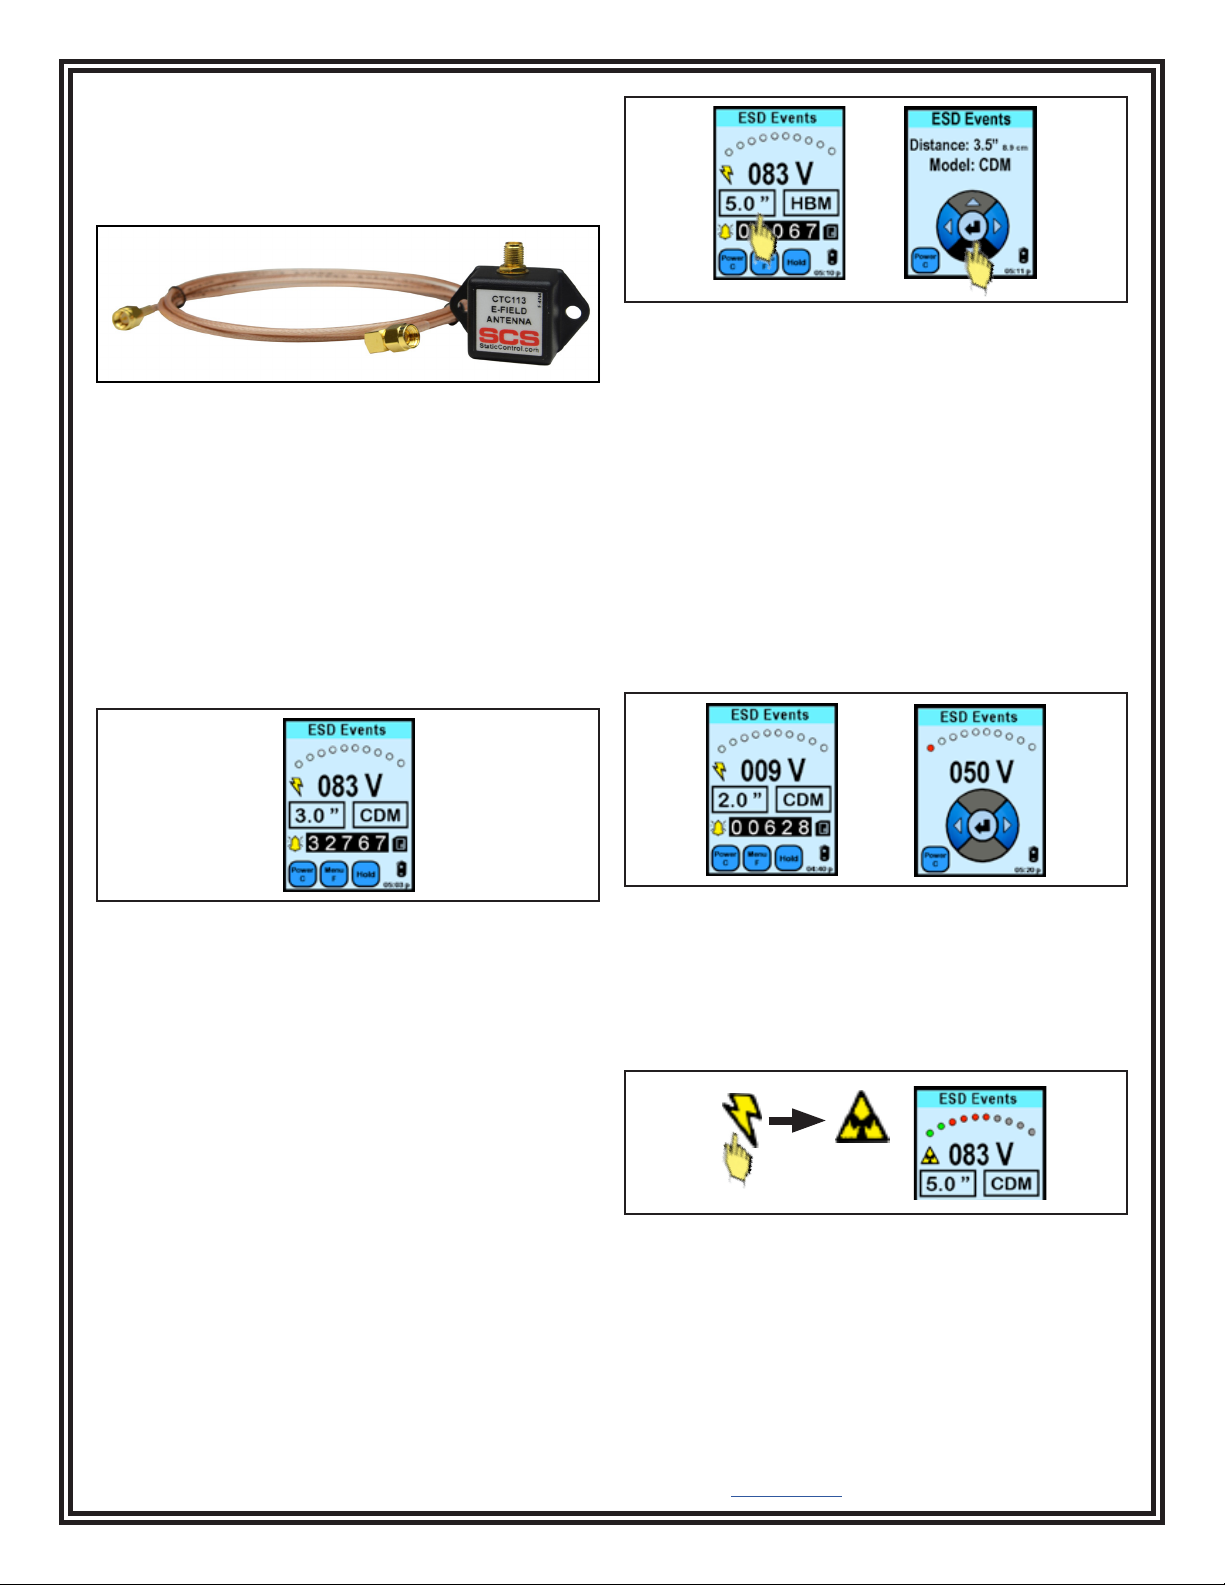
ESD Events Display and Controls
Menu Function
Press the MENU F icon and the NAVIGATOR icon
appears.
Press the up/down arrows to scroll through functions.
Press the left or right arrows to set values and options.
Press the center button to return to the main screen.
Serial Number
The serial number is a five-digit number indicated at the
top left section of the screen.
Brightness
10% to 100%, with 10% increments.
Auto Off Time
Disabled or adjustable between 1 to 9 minutes.
Antenna
1) Local antenna; 2) Remote antenna.
Figure 14. Using the Menu F button
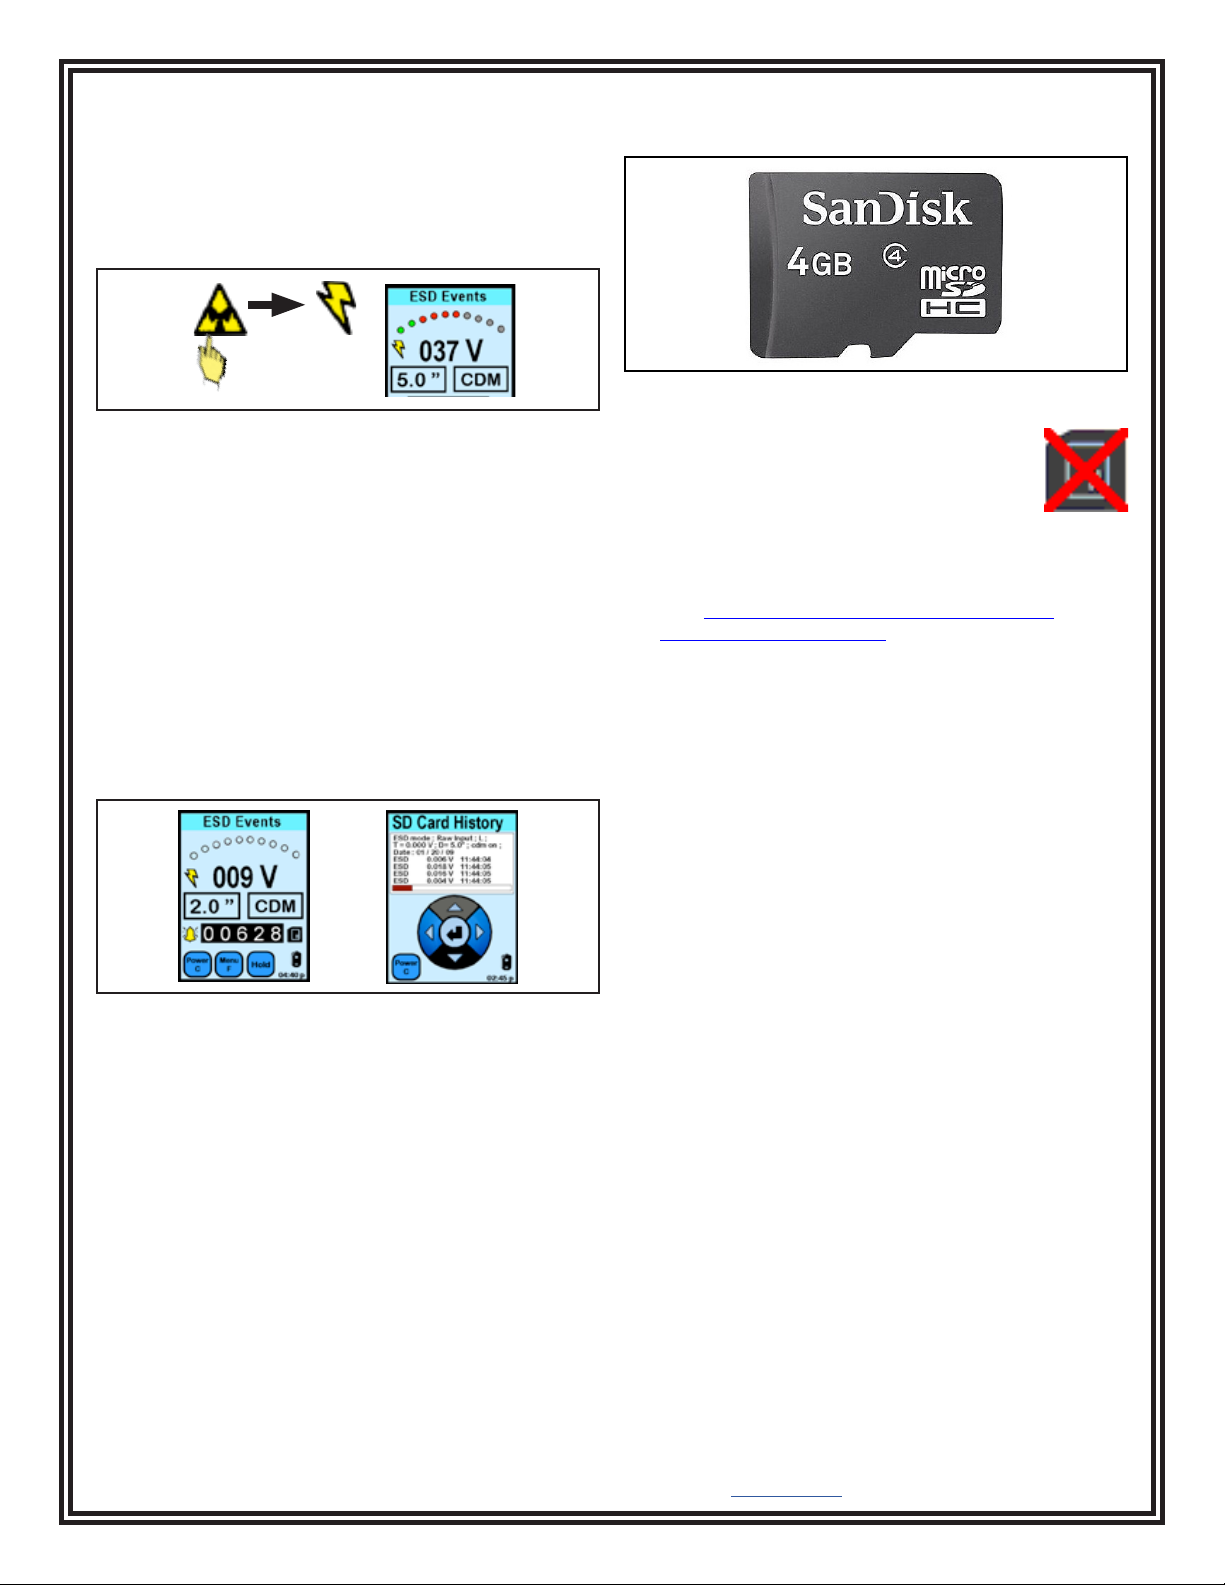
Antenna Types
Local Antenna
The local antenna is directional and intended for general
purposes.
Figure 15. SCS CTS001 Local Antenna
TB-9119 Page 8 of 10
© 2024 DESCO INDUSTRIES INC
Employee Owned
SCS - 926 JR Industrial Drive, Sanford, NC 27332
East: (919) 718-0000 | West: (909) 627-9634 • Website: StaticControl.com
Remote Antenna
The SCS Remote Antenna is omnidirectional and
intended in instances where the local antenna cannot be
used. One example is the the inside of an pick-and-place
machine.
ESD Filter Models*
The ESD MODE button enables the user to choose
between RAW INPUT and calculations of HBM, MM and
CDM.
At the NAVIGATOR button:
Press the up/down arrows to set the distance.
Press the left or right arrows to set ESD event models.
Press the center button to return to main screen.
Effective distance range
0.5" (1.3 cm) to 15.0" (38.1 cm)
Filter
1. Human Body Model (HBM)
2. Machine Model (MM)
3. Charge Device Model (CDM)
4. Raw input
*NOTE: Not all ESD events are captured by the EM Eye
Meter. The magnitude of the event can be measured.
CDM, HBM and MM Model results are estimated based
on proprietary algorithms.
Figure 17. ESD Event voltage display
ESD Event Magnitude and Counter
The VOLTAGE display is not a touch feature. This
displays the estimated voltage detected at the antenna
which corresponds to a filter selected at the ESD MODE
button.
The COUNTER is not a touch feature, but it displays
the number of ESD events that had occurred above the
threshold level setting.
The maximum event count it can register is up to 32,767.
The counter restarts to zero after the maximum count.
ESD Threshold
The THRESHOLD, in a form of an ARC LED bar,
displays the detection level of the ESD events detected.
When pressed, the threshold level may be adjusted.
With the NAVIGATOR bar:
Press the left or right arrows to set the ESD event
threshold voltage. Press the center button to return to
the main screen.
Threshold Levels
0 - 10 Volts at 1V increments
10 - 990 Volts at 10V increments
1 - 1,500mV for RAW input
Figure 16. SCS CTC113-6FT Remote Antenna
Figure 18. Navigating through dierent ESD Filter
Models
Figure 19. Setting the ESD Threshold
“True-ESD Filter” and “All Signal”
After pressing the lightning bolt symbol or the TRUE
ESD FILTER button, the triangle button appears on the
display. In this mode, the EM Eye Meter will detect most
signals, including ESD and some EMI signals.
Figure 20. Changing the lter from “True ESD mode” to
“All Signal mode”
TB-9119 Page 9 of 10
© 2024 DESCO INDUSTRIES INC
Employee Owned
SCS - 926 JR Industrial Drive, Sanford, NC 27332
East: (919) 718-0000 | West: (909) 627-9634 • Website: StaticControl.com
After pressing the triangle or the ALL SIGNAL button,
the lightning bolt symbols appears on the display. In this
mode, the EM Eye Meter will detect ESD events that
are mostly CDM in nature. Not all events are captured
and the information provided is based on proprietary
algorithm which models and approximates for the event
type.
Memory Storage Card
The EM Eye Meter works with microSD Cards.
Figure 21. Changing the lter from “All Signal mode” to
“True ESD mode”
Figure 22. Viewing stored data
Data Storage and Read
The DATA STORAGE button displays the data stored
in the microSD card found at the bottom of the EM Eye
Meter.
Scroll through the recorded data using the NAVIGATOR
button.
The displayed information is as follows:
(ESD mode) (Threshold) (Distance) (CDM on/off) (Date)
(Voltage sensed) (Time) (Data bar indicator)
Data from the microSD card can be exported using the
utility software described in the following section.
Figure 23. MicroSD card example
Some cards may not be compatible.
Non-compatibility is indicated by an “X” mark
overlaid on the card button display. For other
memory card types, please contact SCS
Customer Service for verification.
To Access the Data Using a PC
1. Visit http://staticcontrol.descoindustries.com/
SoftwareDownloads.aspx to download the EM Eye
File Converter software. This software will allow you
to download the data from the EM Eye Meter and
save it to your PC.
2. Install the EM Eye File Converter software.
3. Remove the microSD card from the EM Eye Meter
and insert it into your PC using an adapter (not
included).
4. Open the EM Eye File Converter software and click
File > Open.
5. Navigate to the mircoSD card location. Open the
file inside the microSD card. The extension is
“ESD3M0003.esd”.
6. Select a row of data.
7. Save it into a folder.
8. Launch Microsoft® Excel.
9. Open the file that you just saved from the folder.
10. Sort and analyze the data using the tools in Excel.
Calibration
The EM Eye Meter comes from the factory calibrated.
It is recommended that you calibrate the EM Eye Meter
once a year at the factory.