00198503-02_IM_SIPLACE_Pro_15.1_R18-1_EN.pdf - 第23页
SIPLACE Pro 15.1 (R18 - 1) / Installat ion Manual 05/2018 Edition 23 The setup status is di splayed during in stallation. Figure 6-16: Setup status After success ful installation, the following dialog i s displayed. Figu…
SIPLACE Pro 15.1 (R18-1) / Installation Manual 05/2018 Edition
22
NOTICE
Important!
The recommended disk space is that large because it is not only calculated based on the
installation drive of your package but also on the files on the disk where the database is
located.
Additionally, the setup has to ensure there is about 10 GB free disk space on the disk
where the database log file is located. Certain operations during the setup may cause
the database log file to grow very large temporarily.
If you change the in
stallation drive because of insufficient disk space, this does not affect
the location of the database and its backups. To change the database related settings,
you have go back to the database connection dialog and select the checkbox to change
the default database settings.
Please refer to section 6.2.1 for more information.
The Ready to Install dialog will be automatically displayed as soon as the required disk space is
available.
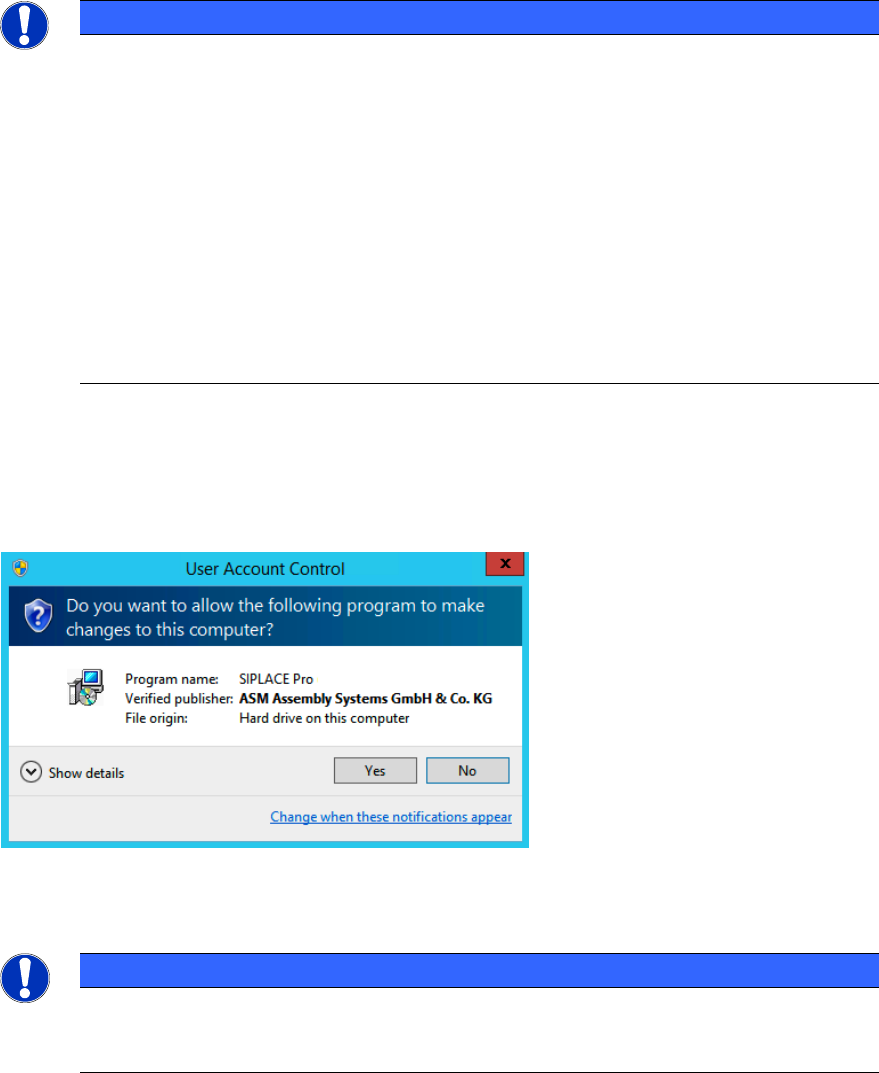
If User Account Control is enabled on Windows 7 or newer, the following dialog is additionally
displayed before the installation starts.
Figure 6-15: User Account Control
► Click the Yes button to allow the SIPLACE Software installation.
NOTICE
It is important to confirm the User Account Control window! This window is visible for
about one minute. If you overlook it or do not click the Yes button, the installation fails
with An error occurred message but no further error information.
SIPLACE Pro 15.1 (R18-1) / Installation Manual 05/2018 Edition
23
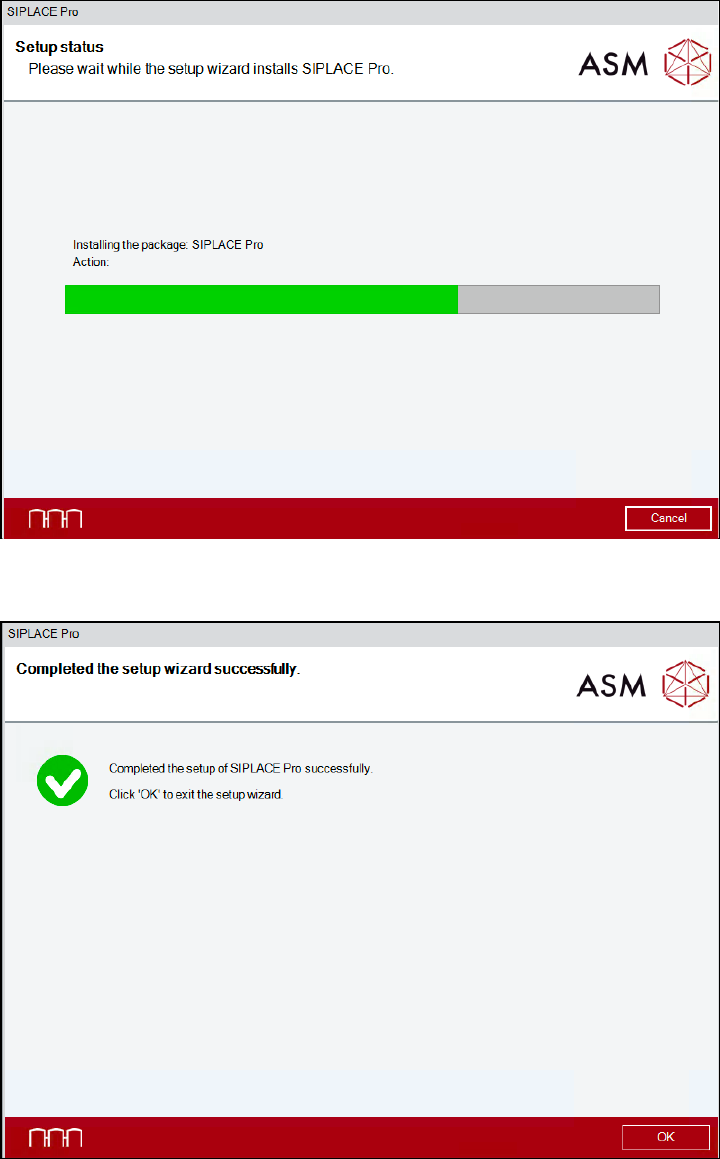
The setup status is displayed during installation.
Figure 6-16: Setup status
After successful installation, the following dialog is displayed.
Figure 6-17: Installation completed
► Click the OK button to exit the setup wizard.
SIPLACE Pro 15.1 (R18-1) / Installation Manual 05/2018 Edition
24
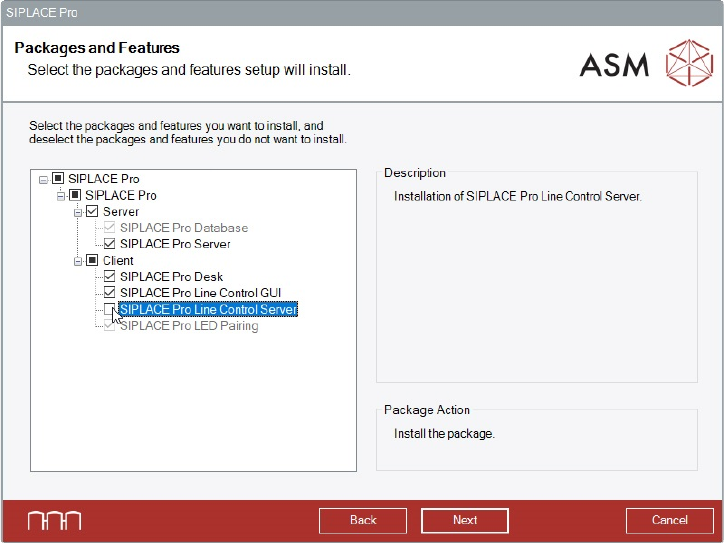
6.2.1 Installation without Local SIPLACE Line Control Server
If SIPLACE Line Control Server has already been installed on a remote computer this software
component has to be disabled during the SIPLACE Pro installation.
► Ensure that the remote computer is connected to the network and available.
► Start installing SIPLACE Pro as described in section 6.2.
► Proceed as follows when the Packages and Features dialog is displayed.
Figure 6-18: Disabling SIPLACE Pro Line Control Server
► Disable the SIPLACE Pro Line Control Server software feature.
► Click the Next button.
► Configure SIPLACE Pro Server and the SIPLACE Pro access rights as described in section 6.2
(Figure 6-6, Figure 6-7 and Figure 6-8).