Preventive_Maintenance.pdf - 第8页
Preventive Maintenance - XPM 2 8 Revision Date: October 2004 Procedure 4: Clean and Replace Polar Cool Flux Filters. (Interval - 3 weeks) . All surfaces inside of the oven may be hot. This can include "cool cells&qu…
Preventive Maintenance - XPM
2
7 Revision Date: October 2004
Procedure 3: PolarCool™ And Controlled Cooling Heat Exchanger Cleaning
(Interval - 2 weeks)
From the back of the system, remove the sheet metal service panels to expose the PolarCool™ or Controlled
Cooling units. Inspect and if necessary vacuum the heat exchanger and coils to maintain adequate airflow.

Preventive Maintenance - XPM
2
8 Revision Date: October 2004
Procedure 4: Clean and Replace Polar Cool Flux Filters.
(Interval - 3 weeks)
.
All surfaces inside of the oven may be hot. This can include
"cool cells". Make sure that the system is safe to touch before
attempting this procedure
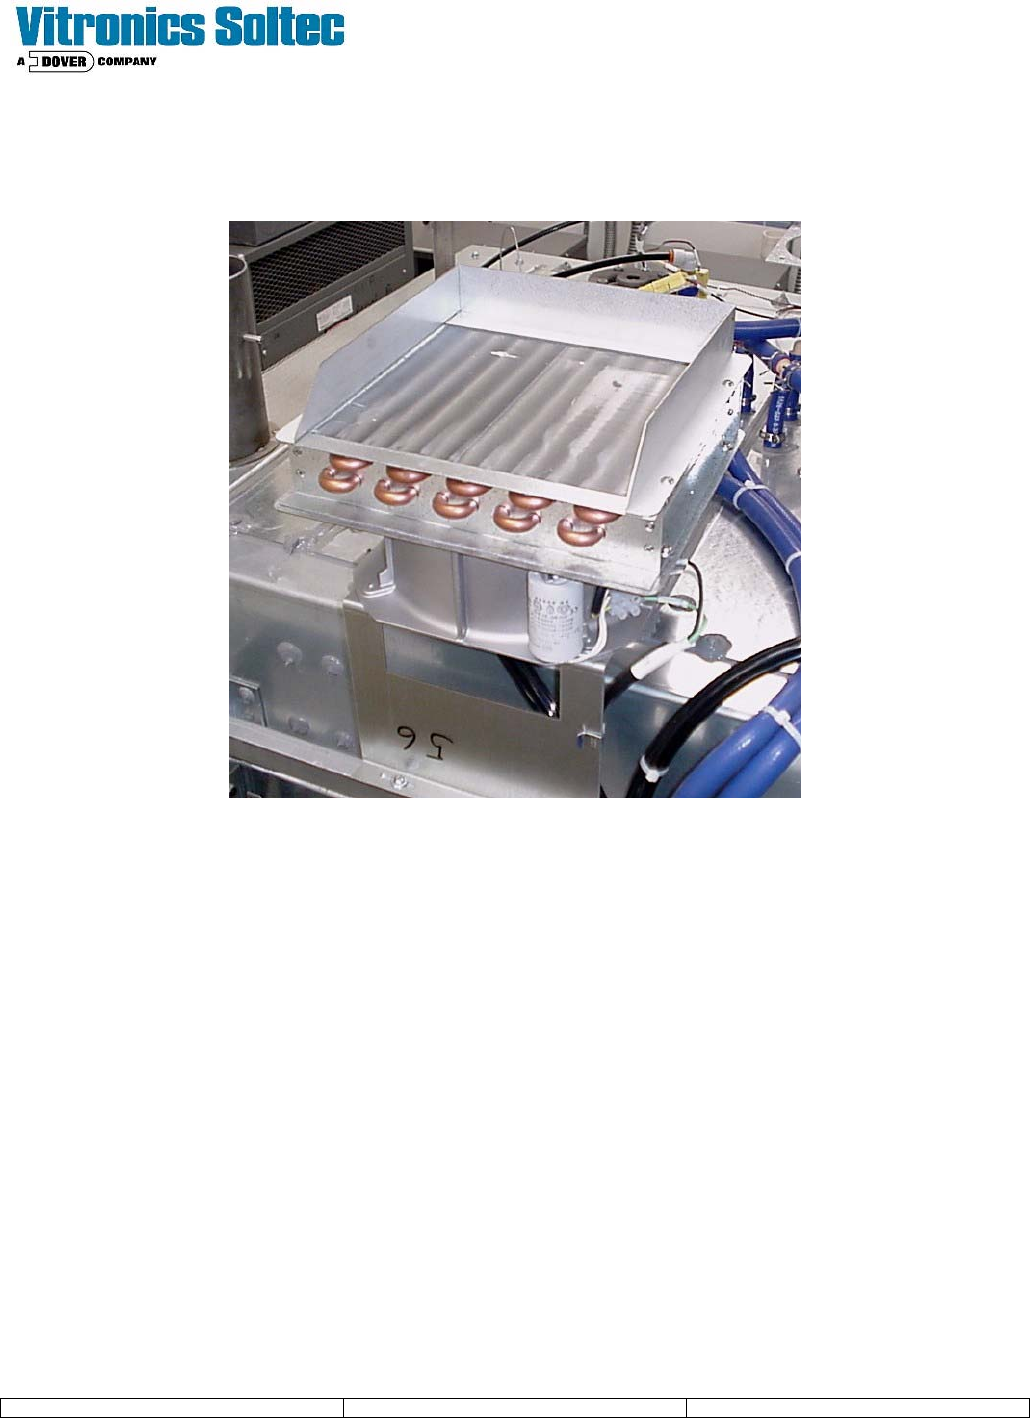
Each cooling cell has a removable fin type flux filter that
should be checked, cleaned and replaced periodically. Make
sure the system is cool before attempting this procedure.
Raise the main Hood. Open the hinged housing cover and
remove the heat exchanger fin assembly and properly dispose
of it or clean and reuse by soaking in a flux removing solvent
such as Isopropyl alcohol. Once thoroughly cleaned, replace
the heat exchanger and reassemble.
To remove the Cooling Cell Faceplate, rotate the Retaining
Clips and drop the Faceplate down to soak and/or wipe with
Isopropyl Alcohol. If the face plate is removed.
After releasing the cam locks, remove the "clam shell"
housing from the cell.
The aluminum flux filter is housed within an aluminum
“clam-shell” housing which is seated against the cold plate.
This assembly conducts heat to the cold-plate as well as
filters flux vapors from the oven gas.
The filters require periodic maintenance, but can be
removed cleaned and reused (There is no liquid
connection).
Clean dirty filters with isopropyl alcohol.
Note: Reverse the disassembly process to reinstall the filters
in the oven
Preventive Maintenance - XPM
2
9 Revision Date: October 2004
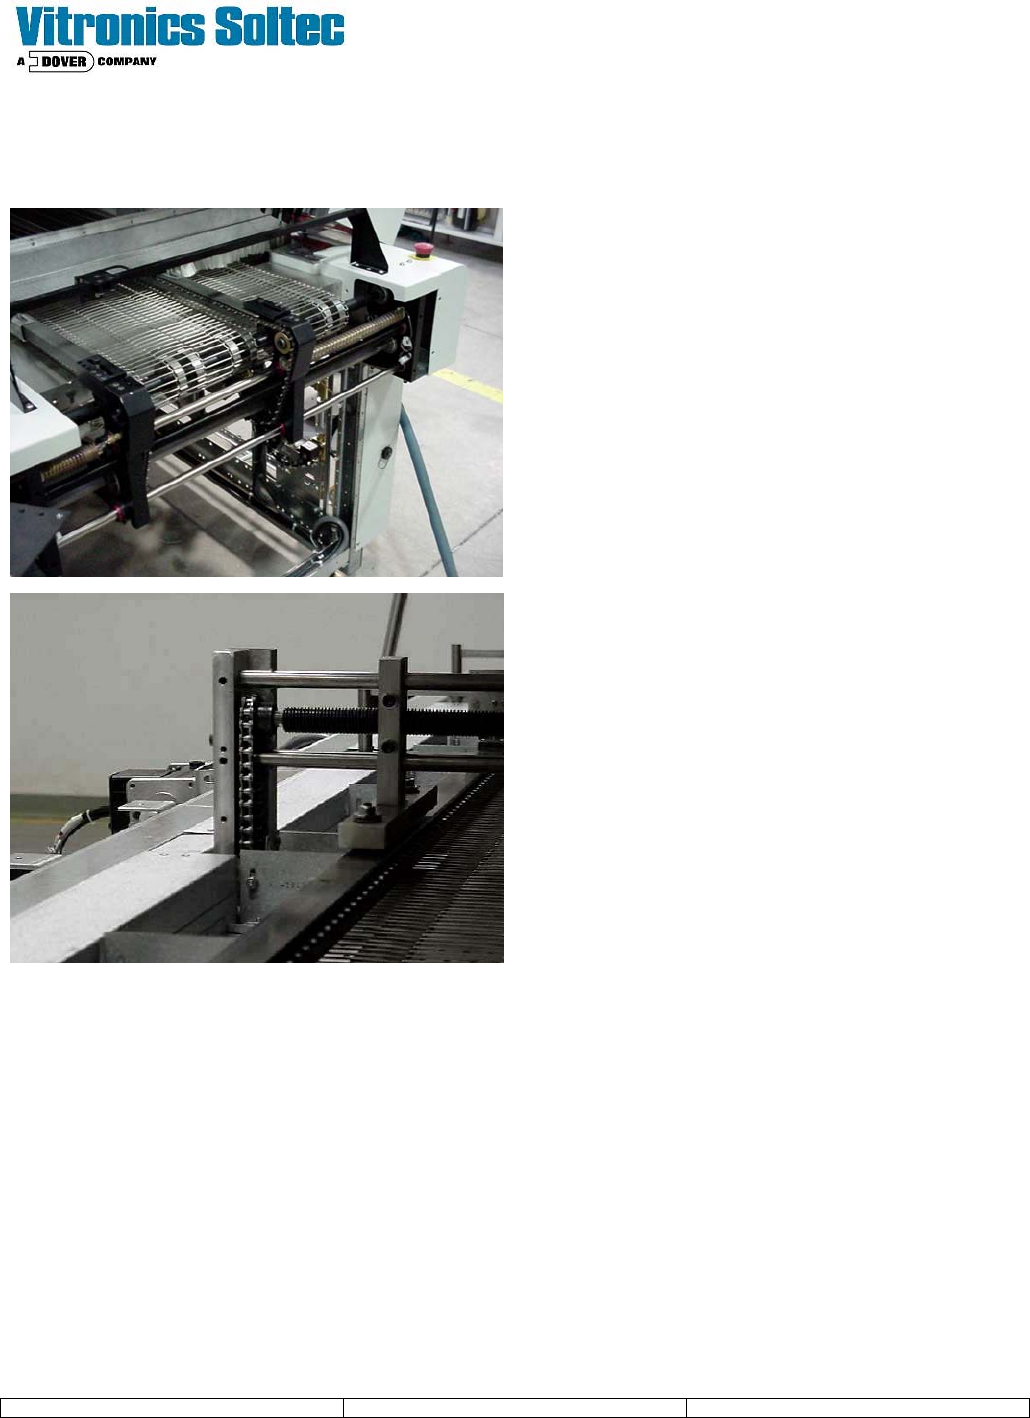
Procedure 5: Clean, Lubricate, and Verify the Operation of the Rail Adjust Mechanisms.
(Interval - 3 months)
The rail traversing screws and guide shafts are located
at the entrance and exit ends and inside the tunnel.
Using Isopropyl alcohol, scrub the shafts with a
Scotchbrite™ scouring pad and thoroughly clean the
screws with a wire brush.
Reposition the rails as necessary to clean along the
entire length.
The ACME screws should be lightly lubricated with
496900 ANTI-SEIZE COPPER A light coating of
Darmex 773ND should be applied to the rail width
adjusting chains. Do Not Over Lubricate!
Check the operation of the rail width adjust
mechanisms after the procedure has been completed.
Heat up the oven and adjust the rails to the full extent
of their travel, both in and out. Verify smooth operation
of the adjustable rail. This will help keep the screws
free from unwanted flux and other residue that may
cause binding