operating_instructions_from_finetech_beamsplitter_alignment.pdf - 第13页
Summary The process shoul d be repeated until both the X and Y axes look like the photo, both in the pre-placement and placed position.
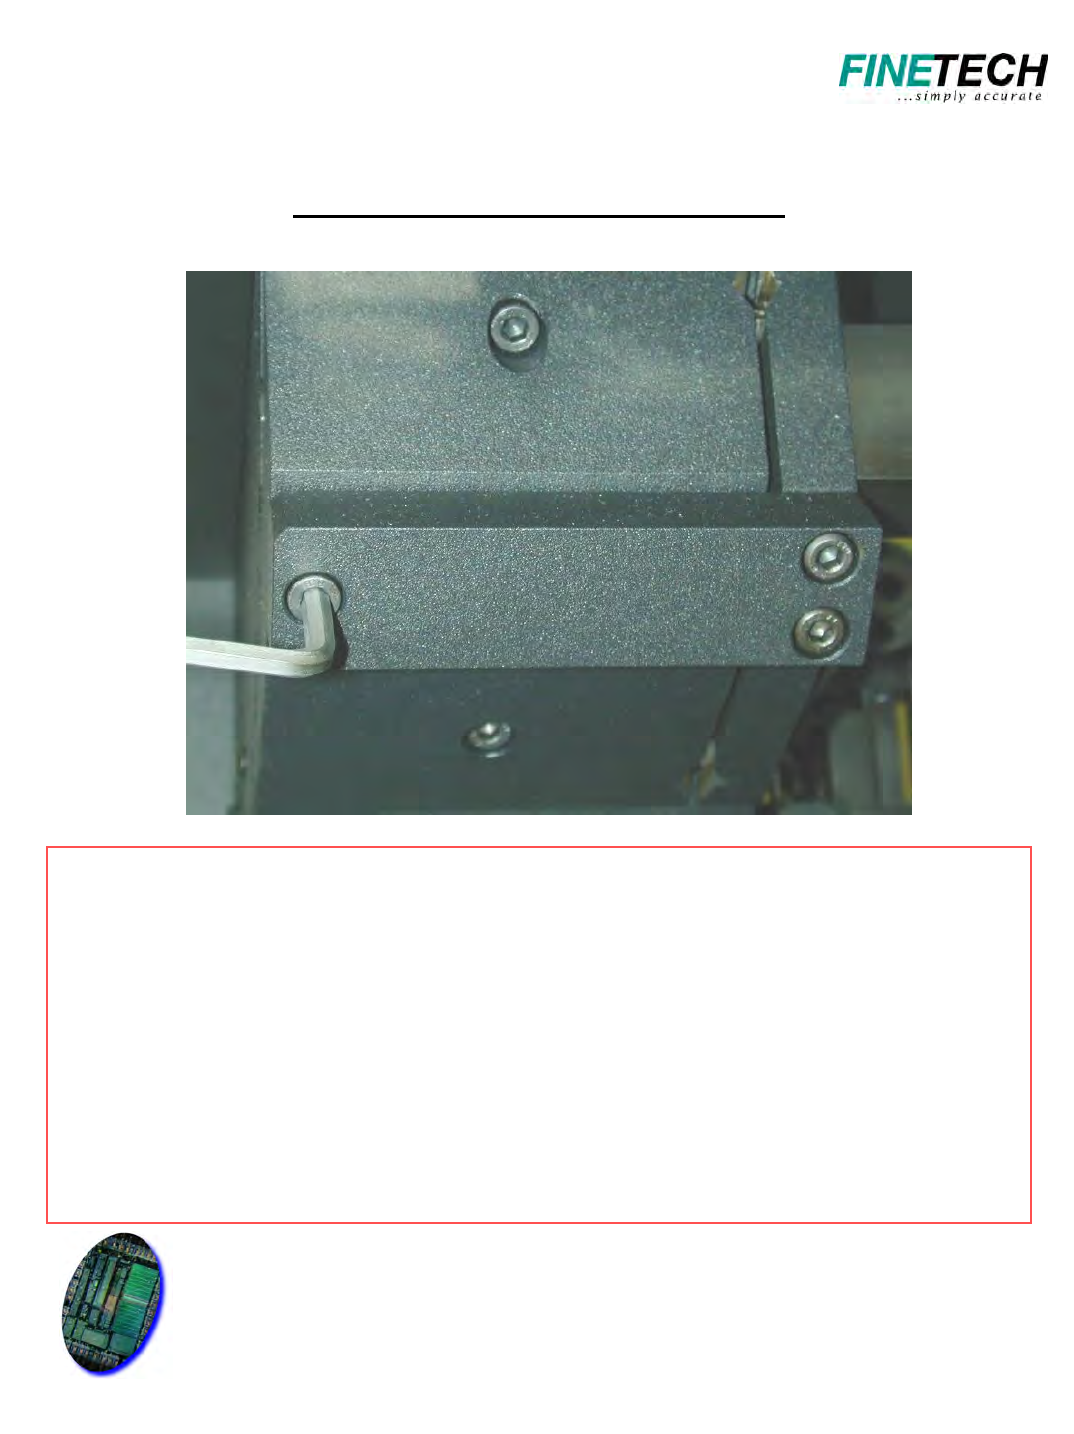
X-Axis Correction
The screw is sensitive !!!!!
The screw is sensitive !!!!!
• Look through microscope – scales should be aligned
• Turn screw in a direction that moves scale A in the direction of the error (green
arrow)
• Stop when the scales read an offset the same as the error ( 3µm left in the example)
• Looking through the microscope now adjust the x-axis micrometer so that the scales
are once again aligned
• Repeat the placement procedure to check the X-axis alignment
• Note the new error
• Repeat the adjustment procedure until error is 1 micron or less
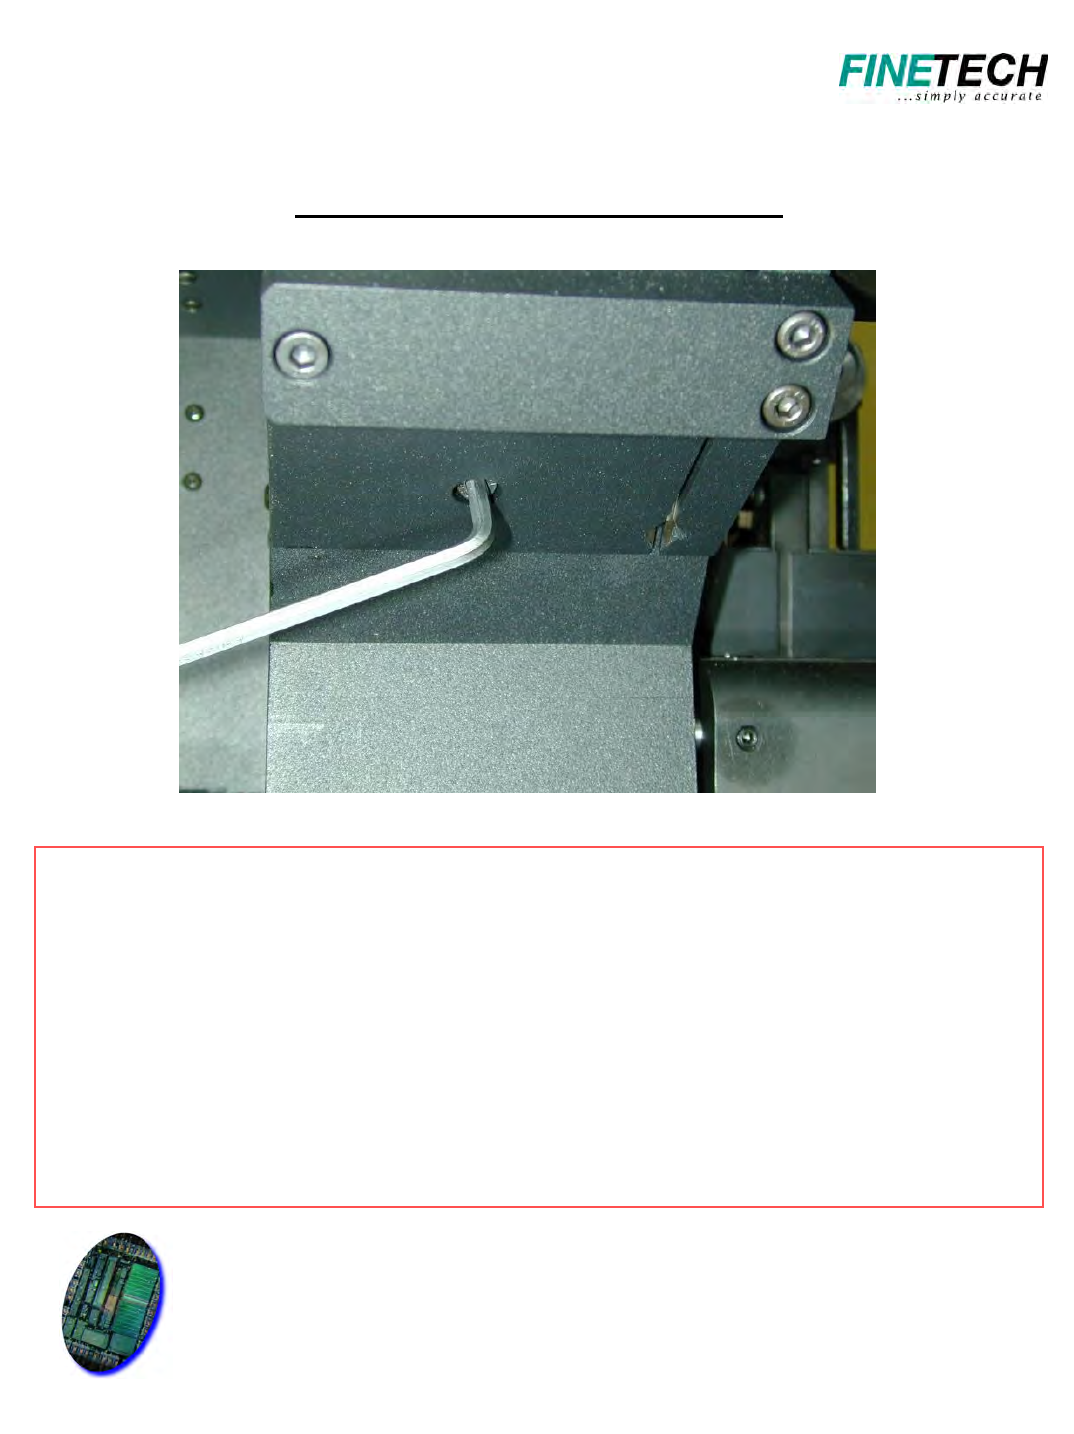
Y-Axis Correction
The screw is sensitive !!!!!
The screw is sensitive !!!!!
• Look through microscope – scales should be aligned
• Turn screw in a direction that moves scale A in the direction of the error (blue arrow)
• Stop when the scales read an offset the same as the error ( 4µm down in the example)
• Looking through the microscope now adjust the Y-axis micrometer so that the scales are
once again aligned
• Repeat the placement procedure to check the Y-axis alignment
• Note the new error
• Repeat the adjustment procedure until error is 1 micron or less
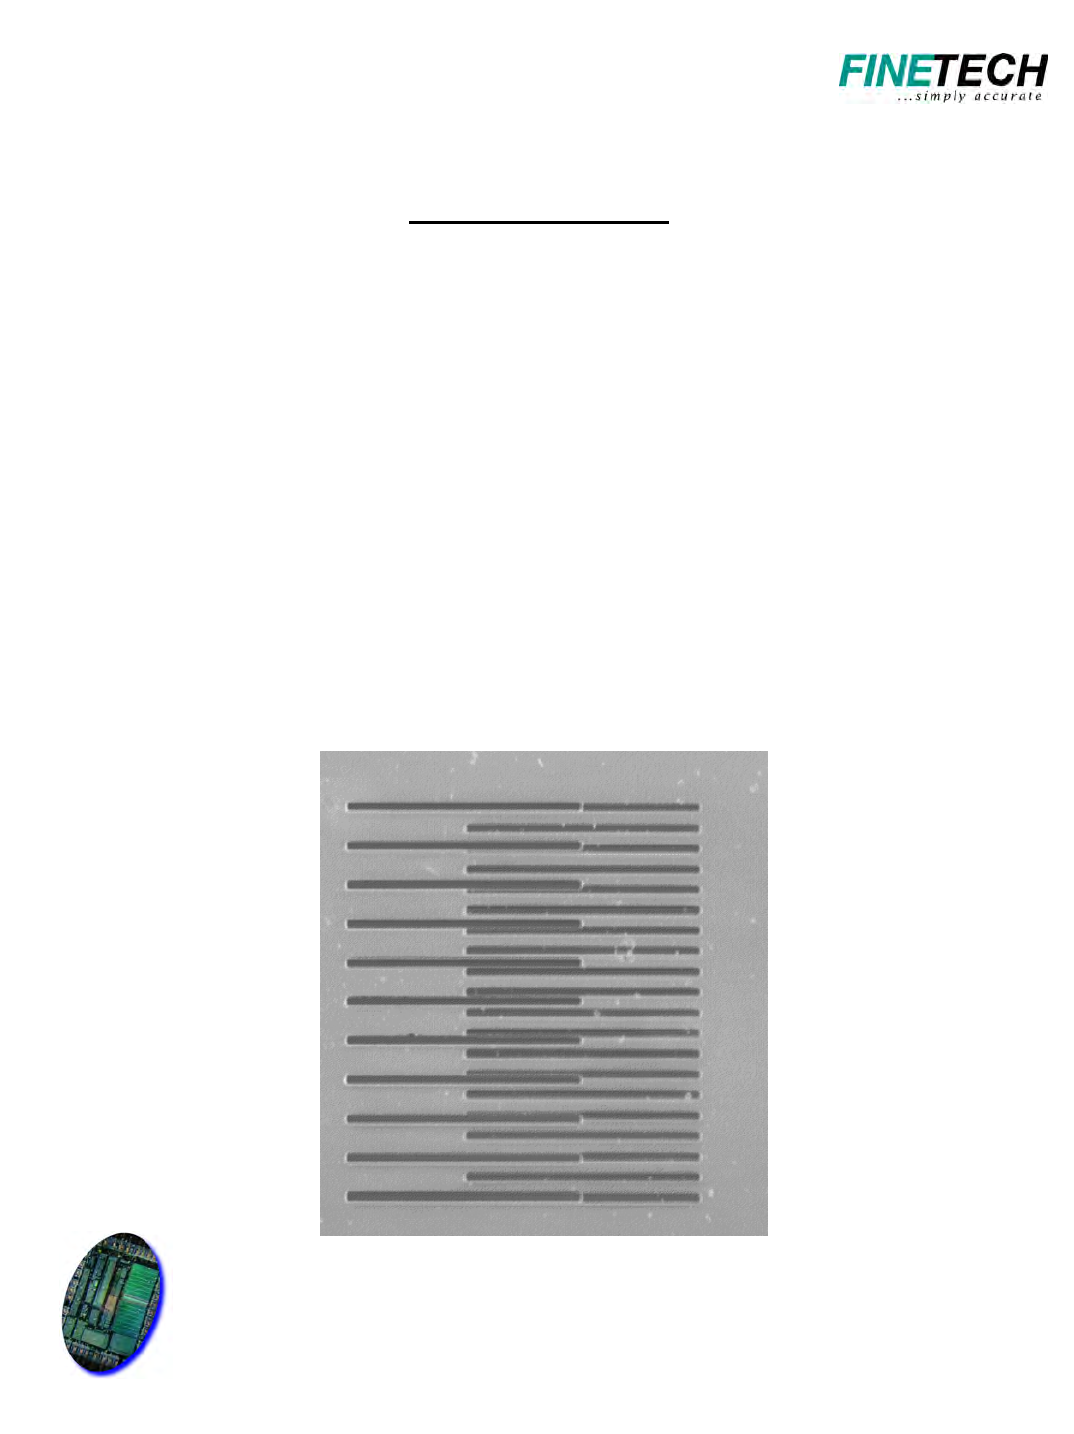
Summary
The process should be repeated until
both the X and Y axes look like the
photo, both in the pre-placement
and placed position.