Vakuumtooling Neology HF3.pdf - 第42页
Installation instructions Vacuum Tooling Neology (00166109-01) SIPLACE HF3 02/2005 Edition 42 2 Fig. 2.7 - 3 The vacuum ca nnot be fully diss ipated after the placement process. T roubleshooting 2 – Chec k the va cuum to…
Installation instructions Vacuum Tooling Neology (00166109-01) SIPLACE HF3
02/2005 Edition
41
2
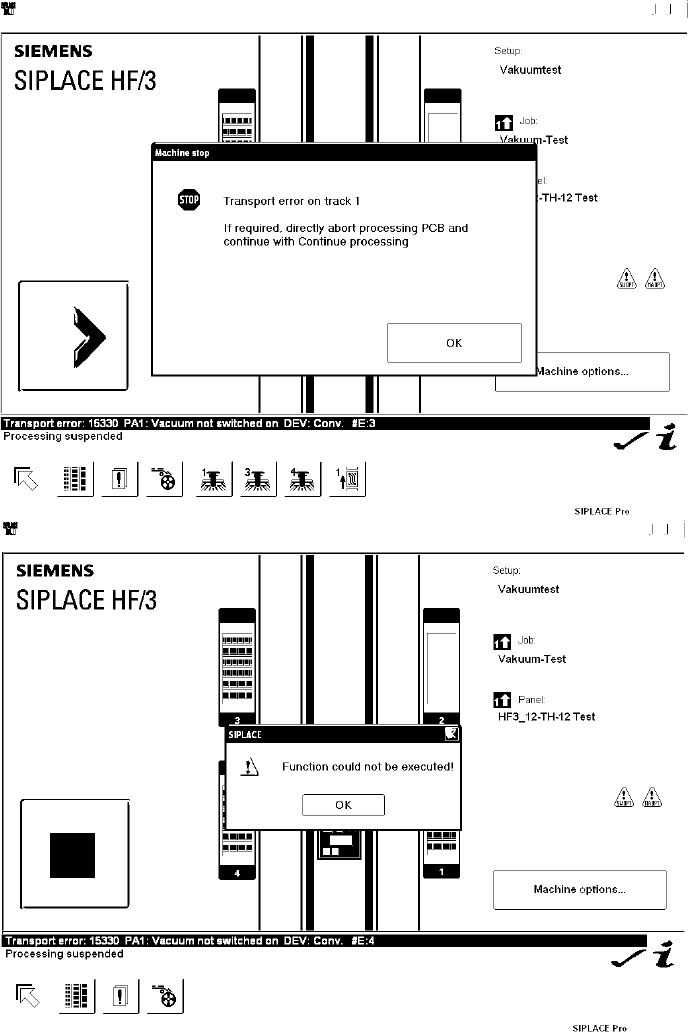
Fig. 2.7 - 2 Vacuum built up in placement area 1 is too low
Troubleshooting 2
– Check whether all the vacuum holes are covered (the as-delivered setting allows placement
with just one vacuum hole open)
– Check whether there are any components or dirt on the vacuum plate
Installation instructions Vacuum Tooling Neology (00166109-01) SIPLACE HF3
02/2005 Edition
42
2
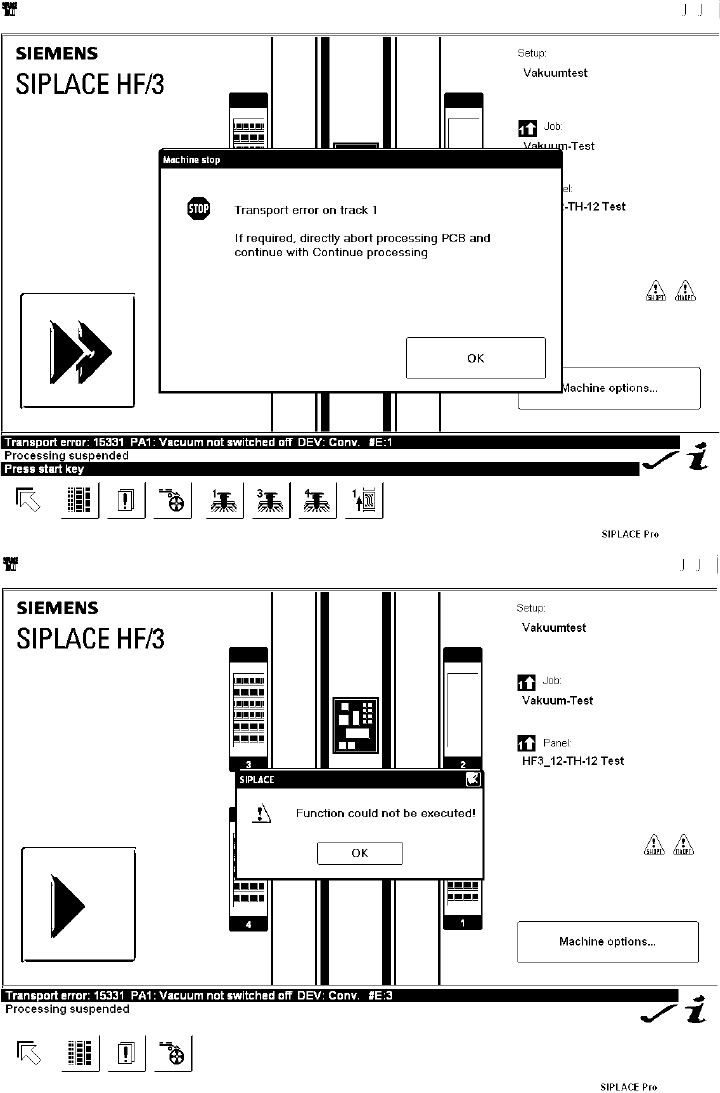
Fig. 2.7 - 3 The vacuum cannot be fully dissipated after the placement process.
Troubleshooting 2
– Check the vacuum tooling connections
Installation instructions Vacuum Tooling Neology (00166109-01) SIPLACE HF3
02/2005 Edition
43
2
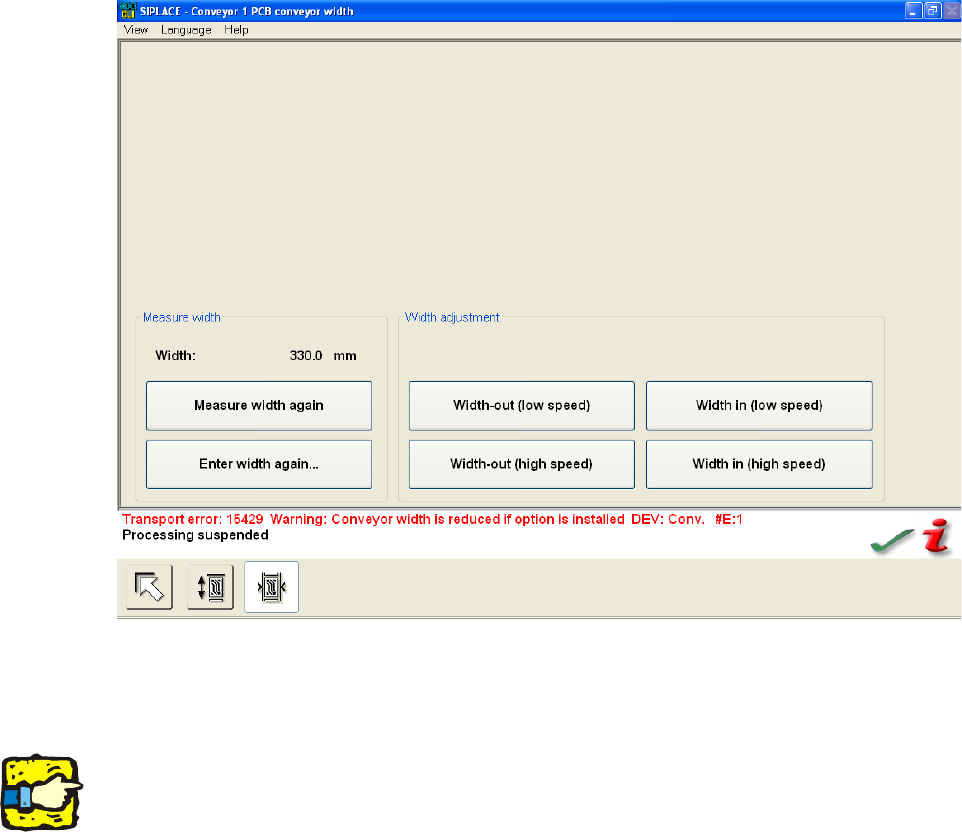
Fig. 2.7 - 4 Attention: The automatic width adjustment must be deactivated.
If the conveyor is moved manually, then this error message appears. The conveyor moves, even
though the vacuum tooling is fitted. 2
2
Risk of crashing. 2
2
2
2.8 Refitting the standard conveyor
– Connectors X34/X35 should be removed so that the special design is no longer present for the
machine and the software works in standard mode.
– Detach the hoses and remove the base plate from the lifting table together with the vacuum
elements.
– Disconnect the air supply to the maintenance unit.
2