OM-1650-001_w.pdf - 第28页
OM-1650 25 10. Camera Bad Mark T eaching Mark Off F22 When the both Bad Mark On and Off are designated, the threshold and mark image are automatically setup as the teaching data based on the teaching results. Note When t…
OM-1650
24
10. Camera Bad Mark Teaching
(4) Setup the recognition conditions (range, lighting pattern).
•
Light Lvl (type) Change
Each pressing the button toggles between coaxial lighting [ ] and
ring lighting [ ].
•
Change the lighting level (type).
The brightness can be changed using (-) or (+).
: This combination turns OFF the lighting.
: This combination turns ON the lighting with the standard
brightness.
: This combination turned ON the lighting with the max.
brightness.
•
Bad Mark On/Off Check Range Setting
: When (+) is pressed, the range is expanded. When (-) is
pressed, the range is reduced.
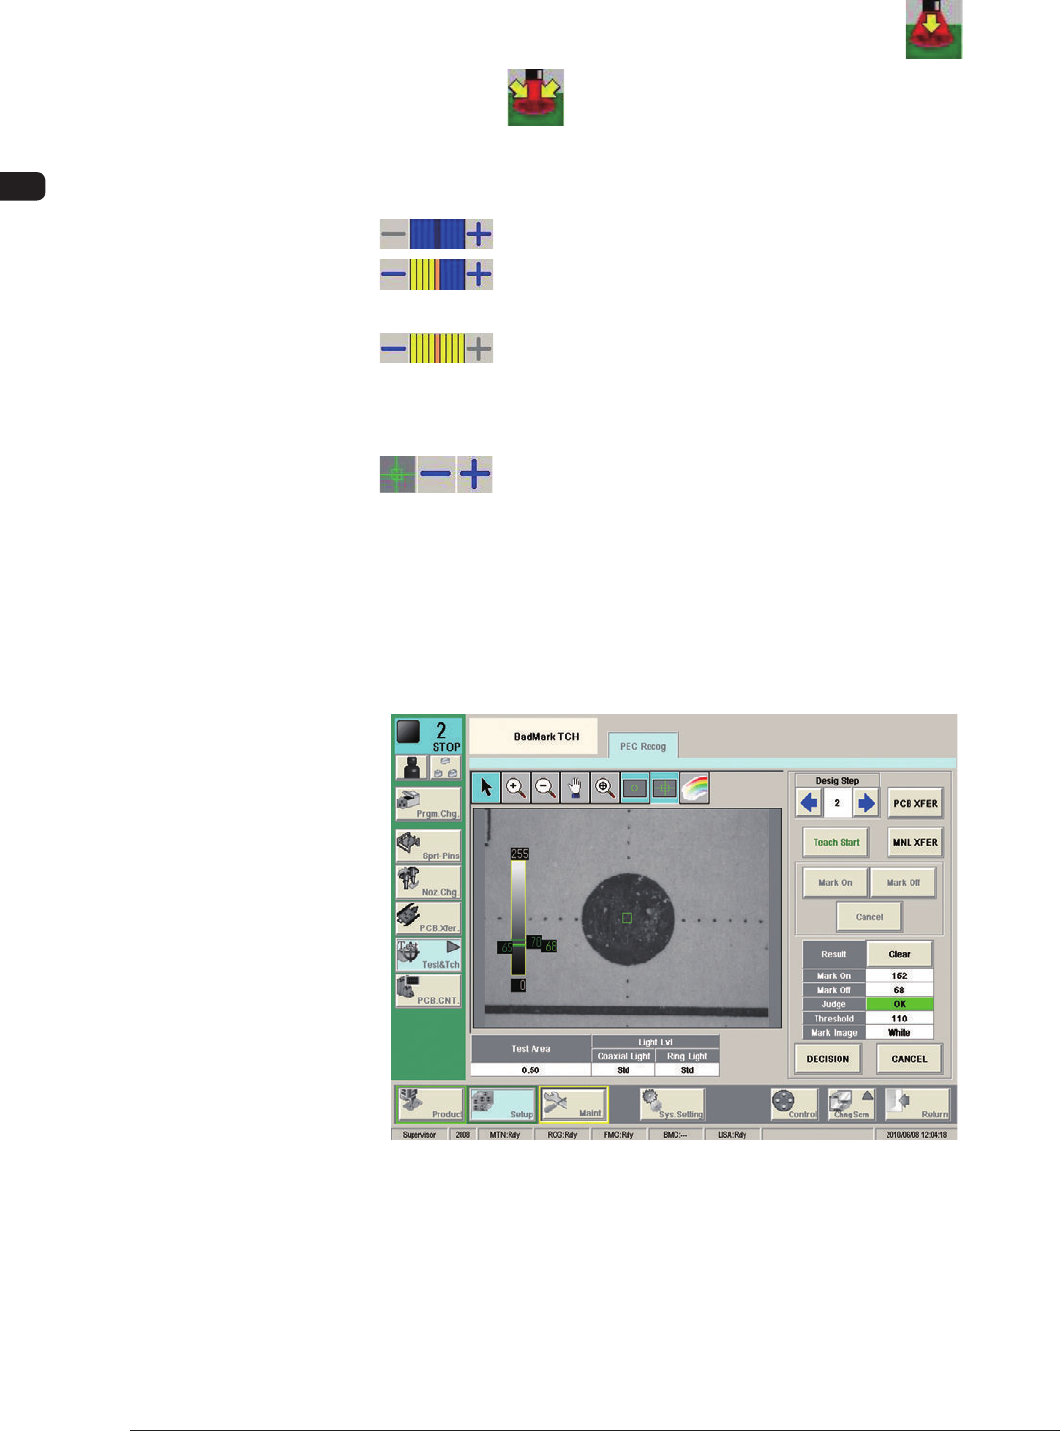
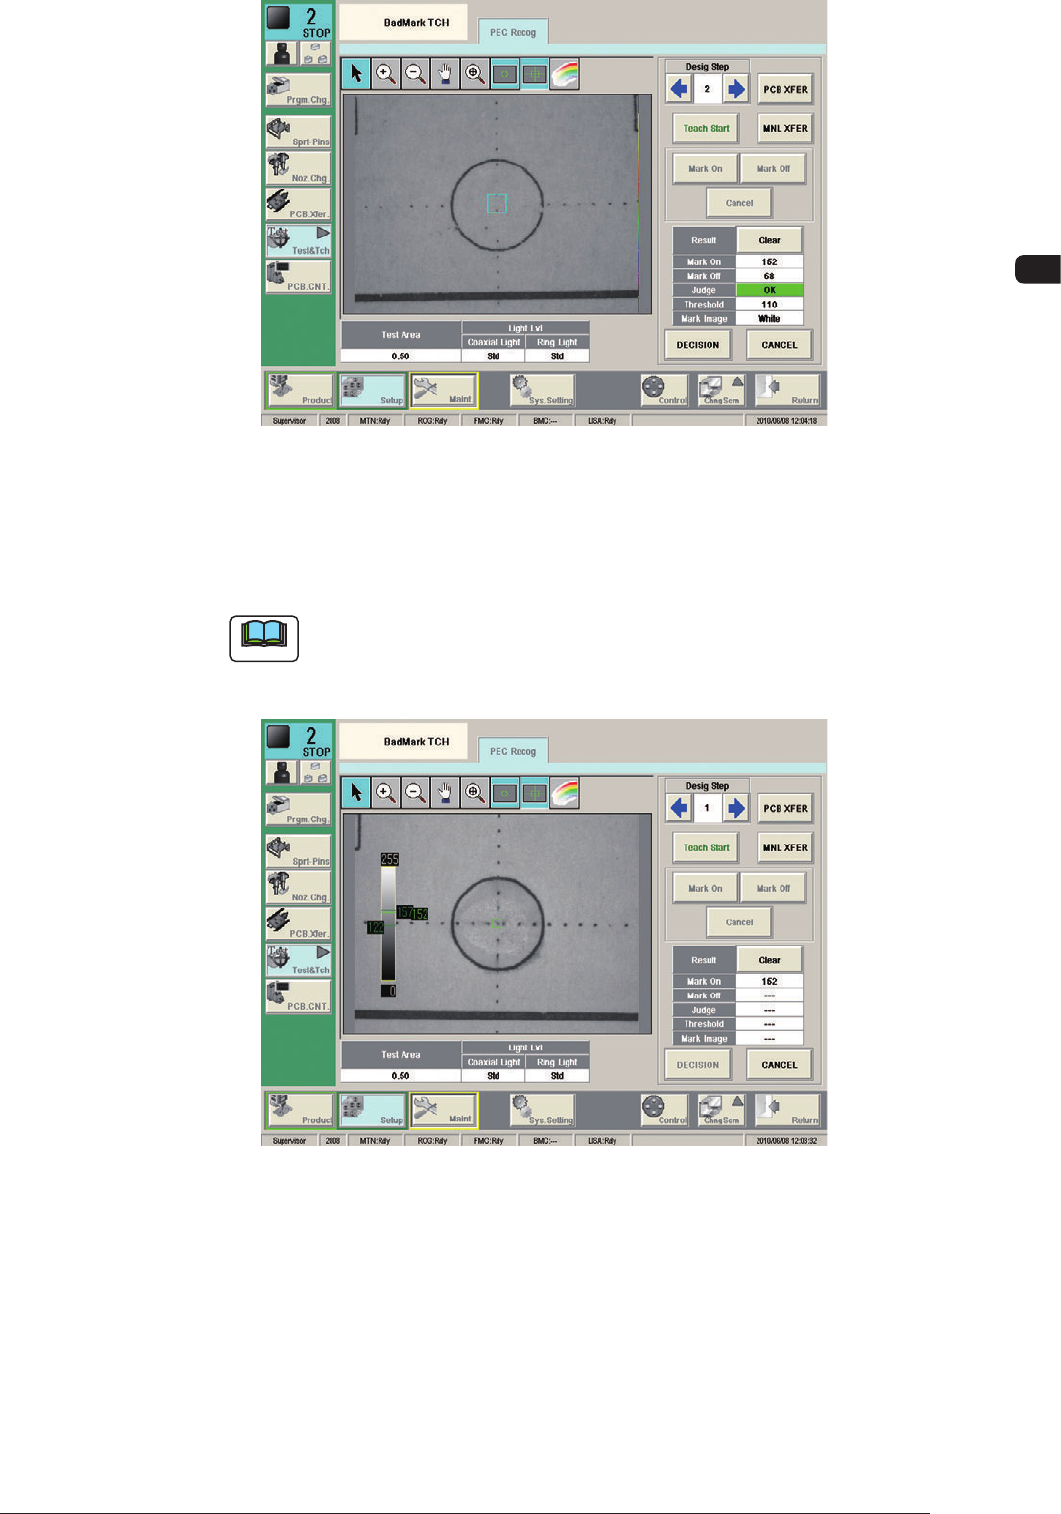
(5) According to the bad mark presence/absence within the specified range,
press the [Mark On] or [Mark Off] button and press the [Teach Start] button.
(The gradation values will be measured within the specified range and the
measurement results will be displayed).
Mark On F21
1006-001
OM-1650
25
10. Camera Bad Mark Teaching
Mark Off F22
When the both Bad Mark On and Off are designated, the threshold and mark
image are automatically setup as the teaching data based on the teaching
results.
Note
When the difference between Mark On and Mark Off is not enough, the
judgement becomes No Good. In such case, because the teaching data is
not decided, the teaching again is required with the conditions changed.
F23
(6) Press the [DECISION] button.
(The taught data is registered as the test data).
1006-001
OM-1650
26
11. Bad Mark Communication Function
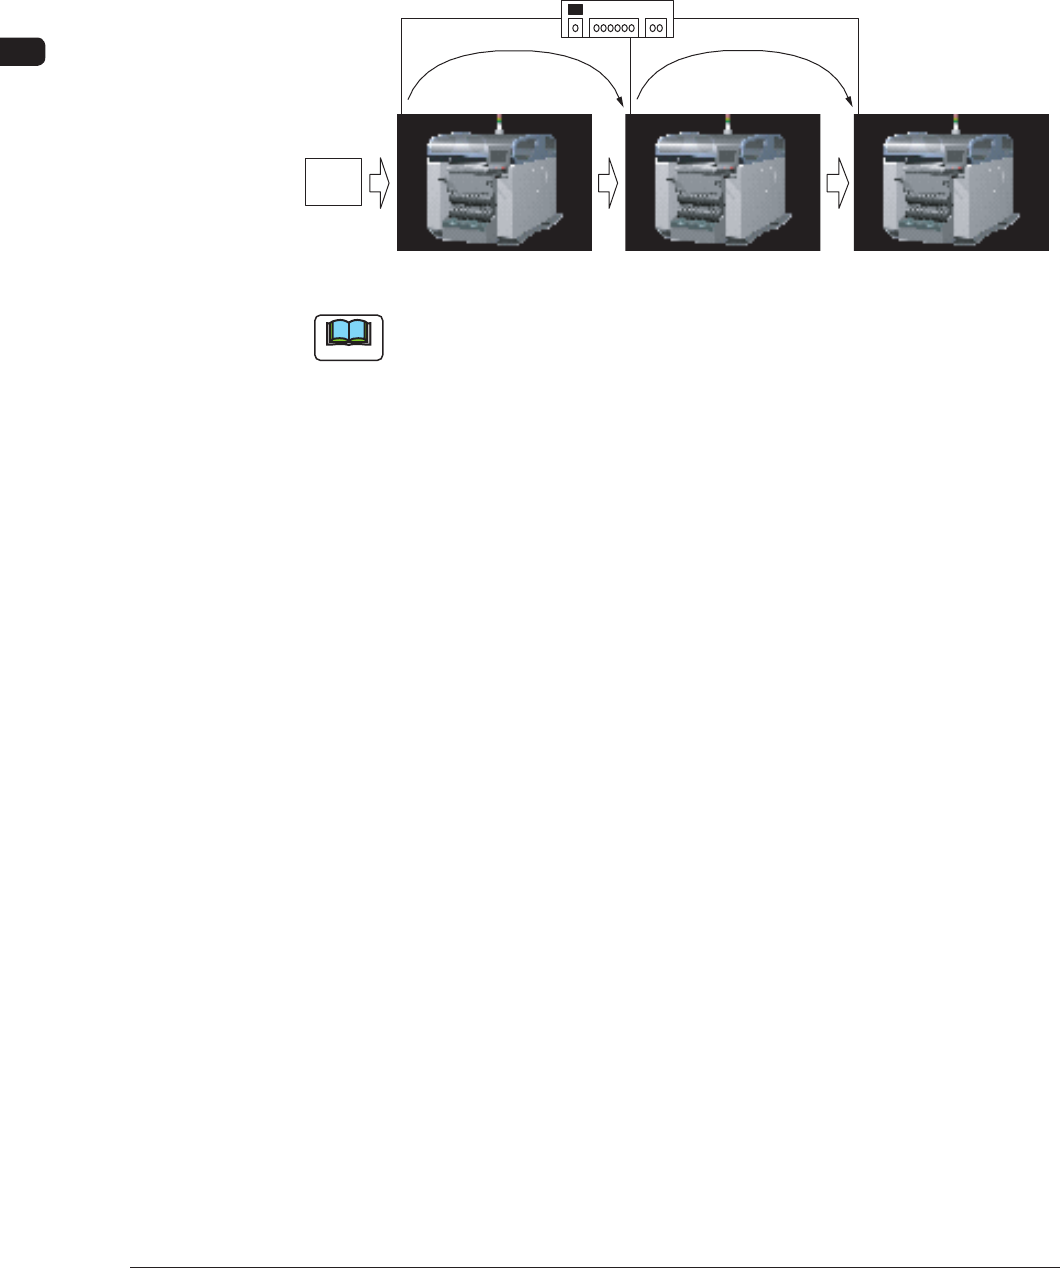
11. Bad Mark Communication Function
This function detects a bad mark in the optional device and transmits the detection
results to the output machine to use.
The shorten cycle time is realized by means of eliminating the bad mark detection
using the sensor/camera in each device before the production.
Bad Mark Information
PCB
Bad Mark Information
Switching Hub
Ethernet LAN
F24
Note
When this function is to be used, it is prerequisite that the "Line Config" Tab
Sheet has been setup in advance in the "MACH SETUP" Window for the device.
1006-001