00194591_02.pdf - 第18页
3 Instal lation Installation Manual SIPLACE Setup Center RF 2.1 3.3 Installation of SIPLACE Setup Center and Possible Setup Types Edition 09/2005 EN 18 3.3.1.5 Step 5 → The Choose De stination Location dialog box pro mpt…
Installation Manual SIPLACE Setup Center RF 2.1 3 Installation
Edition 09/2005 EN 3.3 Installation of SIPLACE Setup Center and Possible Setup Types
17
3.3.1.4 Step 4
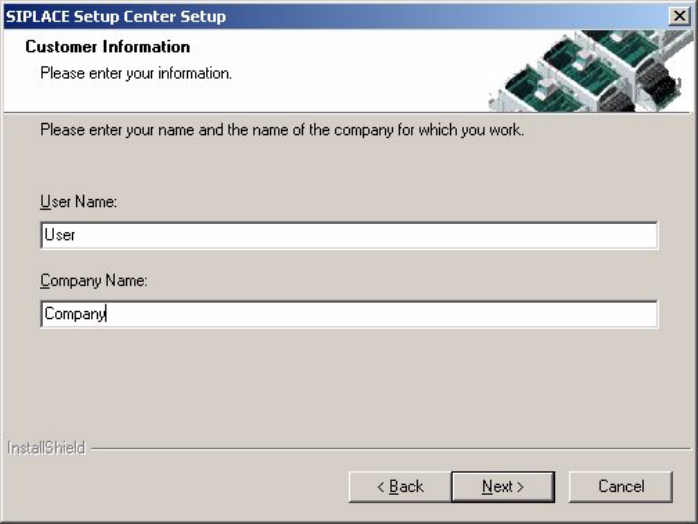
→ Enter your User Name and Company Name in the Customer Information dialog box. Both
boxes must be filled in before the installation process can be continued.
3
Fig. 3.3 - 4 "Customer Information" dialog box
→ Click Next.
3 Installation Installation Manual SIPLACE Setup Center RF 2.1
3.3 Installation of SIPLACE Setup Center and Possible Setup Types Edition 09/2005 EN
18
3.3.1.5 Step 5
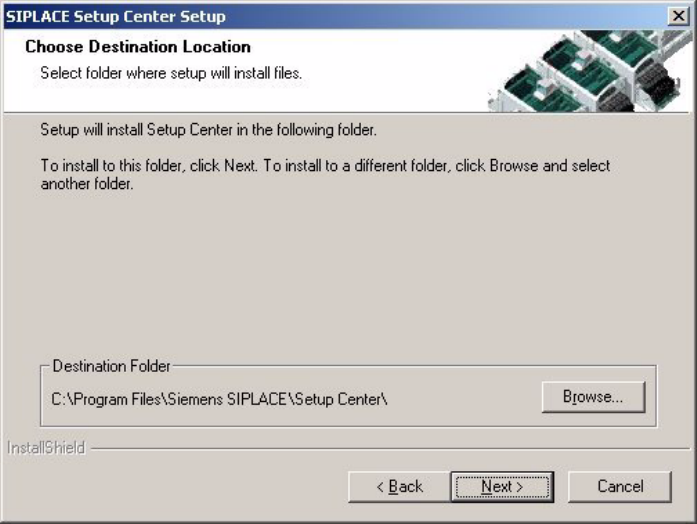
→ The Choose Destination Location dialog box prompts you to enter the name of the folder in
which SIPLACE Setup Center should be installed. The system suggests a default destination
folder for you.
→ However, you can click the Browse button to open a dialog box in which you can enter or select
the path you want to use. If the folder you specify does not exist, it is created after having ac-
cepted a confirmation dialog.
3
Fig. 3.3 - 5 "Choose Destination Location" dialog box
→ Click Next.
Installation Manual SIPLACE Setup Center RF 2.1 3 Installation
Edition 09/2005 EN 3.3 Installation of SIPLACE Setup Center and Possible Setup Types
19
3.3.1.6 Step 6
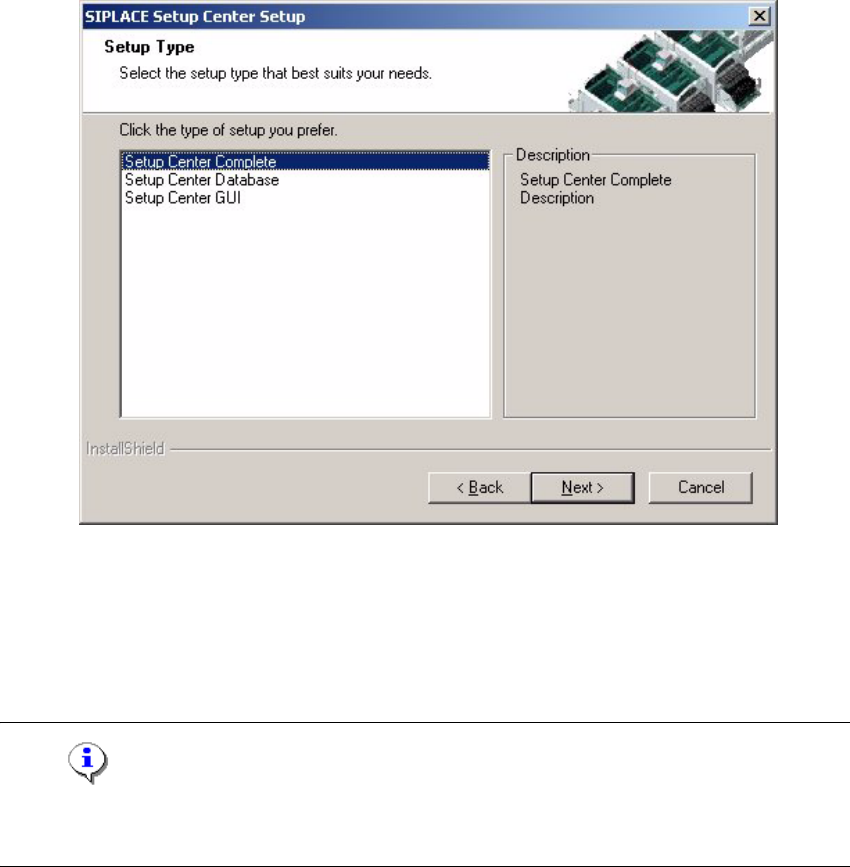
→ The Setup Type dialog box displays the SIPLACE Setup Center components you could
choose for installation.
3
Fig. 3.3 - 6 "Setup Type" dialog box
→ In the Setup Type dialog box, select the setup type you want to install.
→ Click Next.
→ A short description of the setup type in question appears in the Description box when you se-
lect a type.
Note
After choosing a setup type which includes a database installation, the setup program immediately
checks if SQL server or MSDE (Microsoft Data Desktop Engine) is installed on the computer. 3