Maintenance Schedule保养计划.pdf - 第37页
Page 46 Vision XP+ V AC / XP + / XP / XS 2 Mainte nance 2.13 R esidual Ox ygen Meter Service Instructions V ersion 1.3 2.13 Resid ual Oxygen Meter The residua l oxygen meter are locat ed at the back of the syste m. 2.13.…
Vision XP+ VAC / XP+ / XP / XS Page 45
2 Maintenance
2.12 Gas take-off point: N2 regulation
Service Instructions
Version 1.3
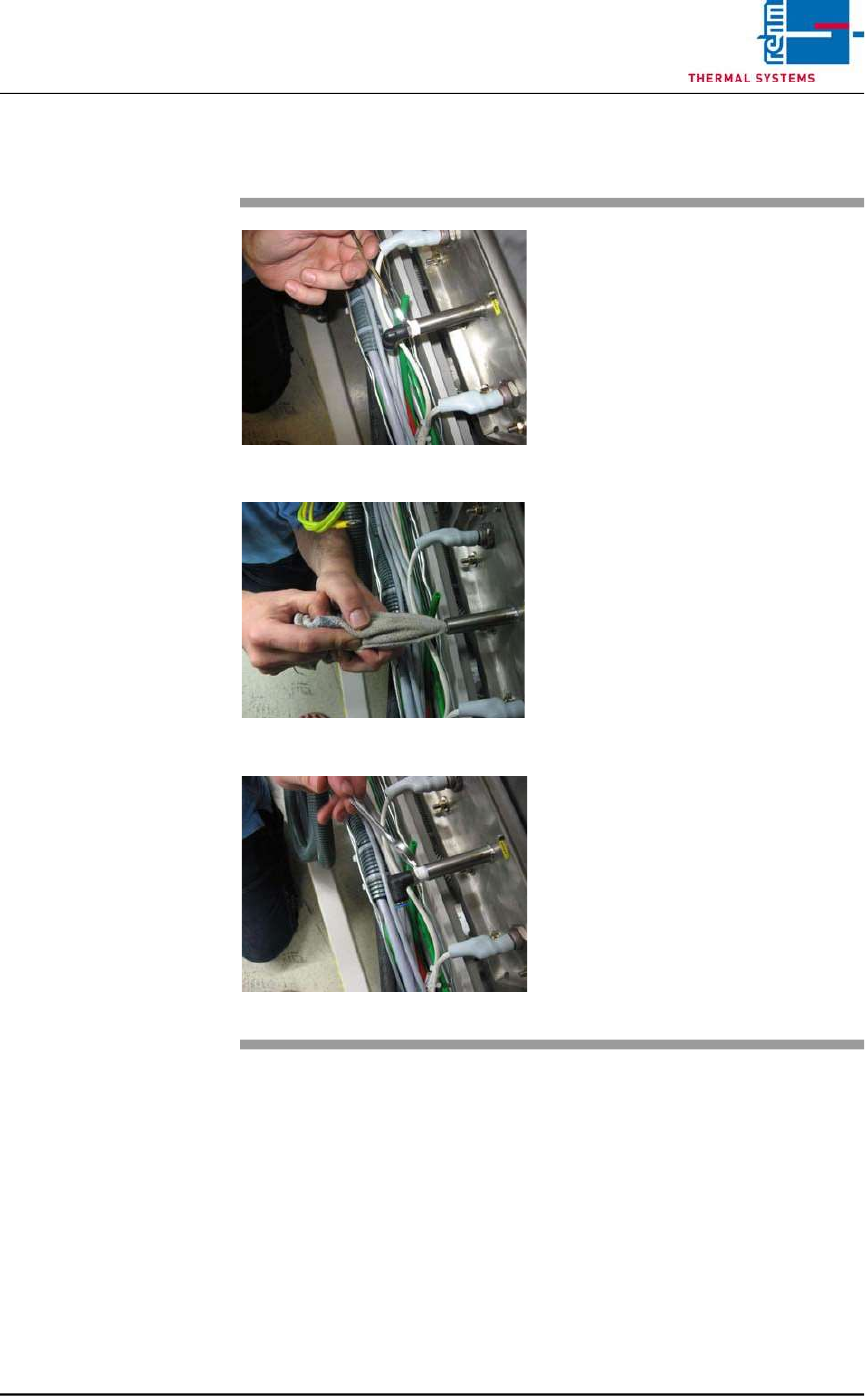
2.12 Gas take-off point: N2 regulation
Fig. 2-71 Gas take-off point
Fig. 2-72 Cleaning the gas take-off point
Fig. 2-73 Sealing the gas take-off point
The gas take-off point for N2
regulation is located in the peak 2
bottom.
Consumable materials, tools:
• Wrench
• 8 mm metal rod
• Teflon tape
• Rag
Procedure:
1. Remove the fitting from the
take-off point.
2. Lay the rag over the metal rod
and use it to clean the take-off
point.
3. In order to reseal the gas take-
off point after cleaning, wrap the
thread with Teflon tape and
tighten the fitting with a wrench.
Page 46 Vision XP+ VAC / XP+ / XP / XS
2 Maintenance
2.13 Residual Oxygen Meter
Service Instructions
Version 1.3
2.13 Residual Oxygen Meter
The residual oxygen meter are located at the back of the system.
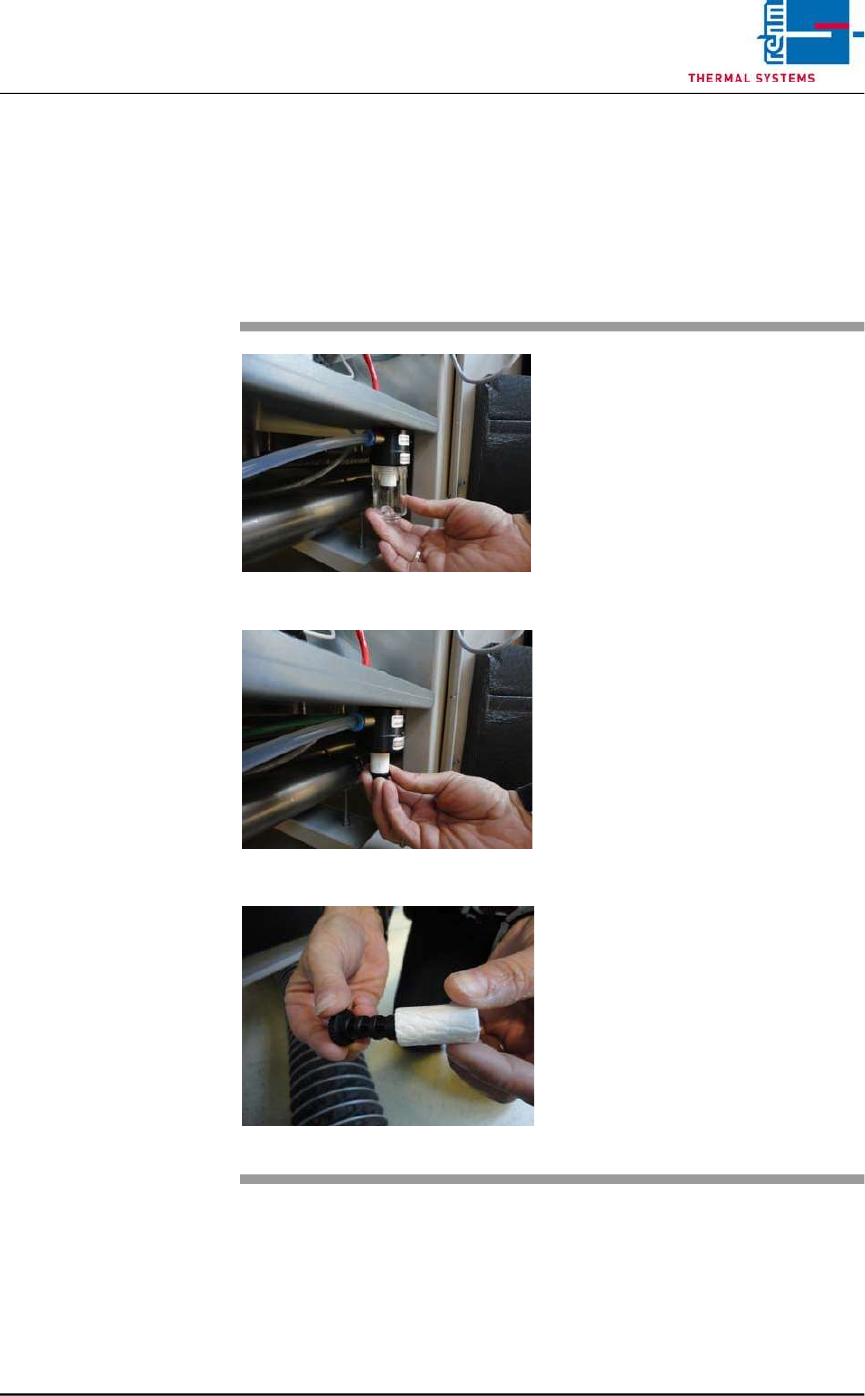
2.13.1 Replacing the Pre-Filter
Fig. 2-74 Unscrew the filter casing
Fig. 2-75 Unscrew the filter insert
Fig. 2-76 Put on the fluorocarbon filter
As well as the activated carbon is
replaced, the fluorocarbon filter has
also to be exchanged.
Procedure:
Unscrew the filter casing and the flu-
orocarbon filter insert.
Put the new fluorocarbon filter insert
onto the element holder and mount
together in reversed order.
Vision XP+ VAC / XP+ / XP / XS Page 47
2 Maintenance
2.13 Residual Oxygen Meter
Service Instructions
Version 1.3
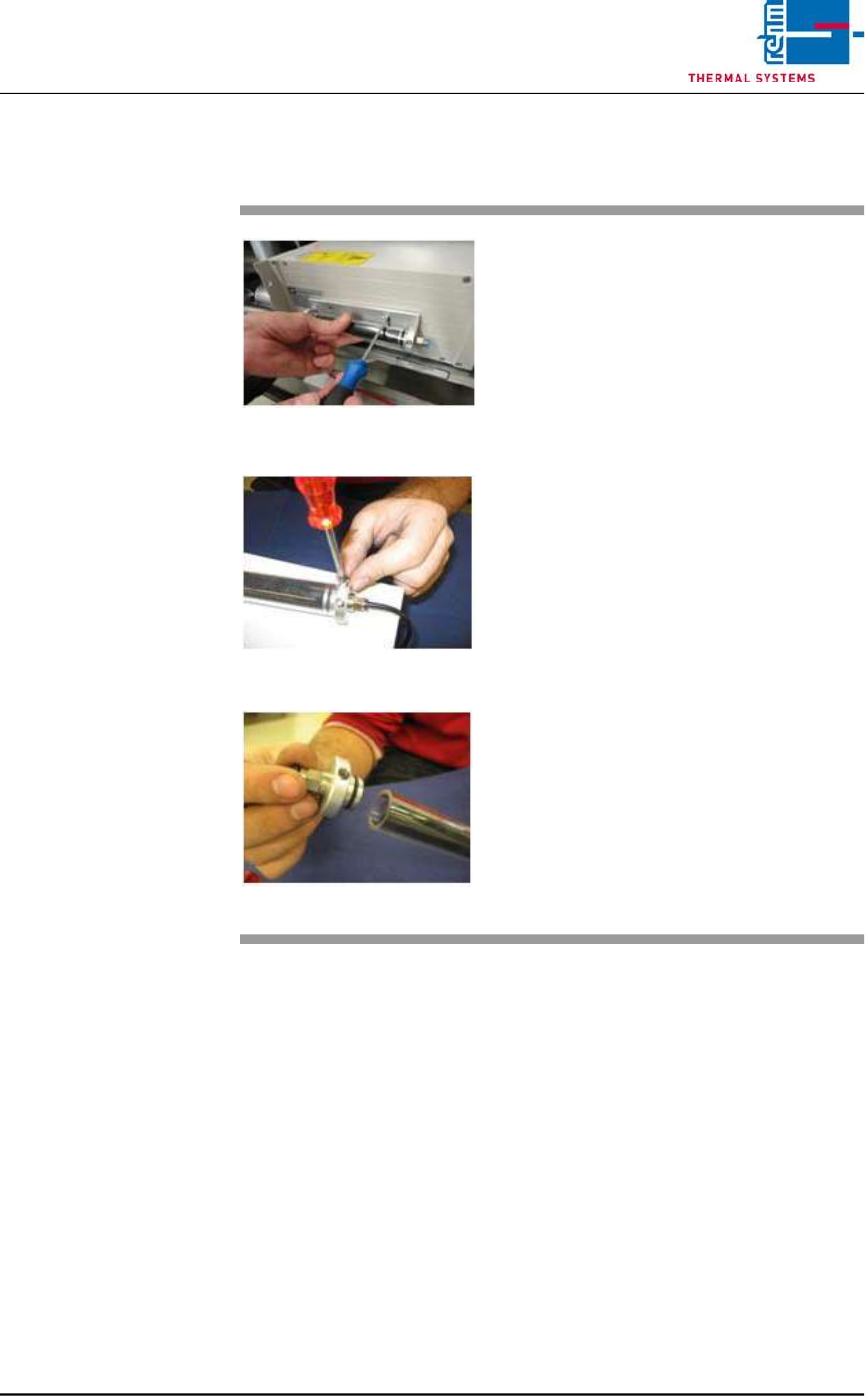
2.13.2 Exchange of activated carbon
Fig. 2-77 Exchange activated carbon
Fig. 2-78 Exchange activated carbon
Fig. 2-79 Exchange activated carbon
Material:
• Activated carbon
• 2 pcs. woven filter medium
• gloves, goggles as well as protec-
tion mask
Tools:
• Hexagon socket wrench 2,5 mm
• Tweezers
Procedure:
Remove the piping system and
screw off the activated carbon filter
with mounting plate from the analyz-
ing unit.
Remove 4 fixing screws and put
them aside.
Take off the cover from activated
carbon filter.