TS577R-UserGuide.pdf - 第11页
11 5.2.4 To Change Pressure Unit Display Note: The default pressure unit is PSI. To change pressure unit to BAR, follow the instructions below. 1. To uch the Setup icon to enter the setup screen 2. To uch the “BAR” icon …
10
5.2.2 Voltage Input Adjustment
Note: Input voltage controls the motor speed (RPM). Higher input voltage
will increase motor speed and vice versa lower input voltage will decrease
motor speed. Recommended input voltage range is 5-24VDC.
1. Touch the Input Voltage Icon to enter the setup screen
2. Touch the Up and Down arrows to set the desired input voltage. Maximum
input voltage is 24VDC.
3. Touch the Check Mark icon to save and exit
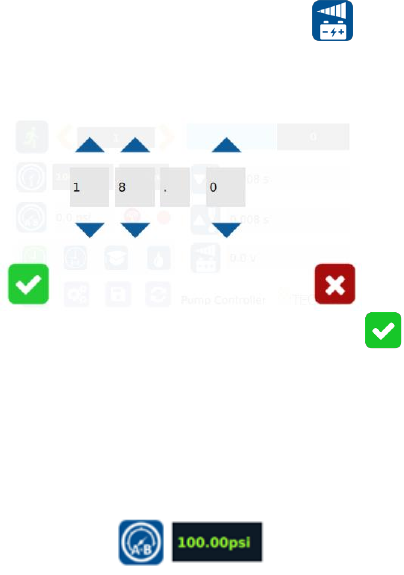
5.2.3 Pressure Adjustment
Note: Pressure on port A is a contanst pressure.
Pressure on port B is synchronized with the motor signal. It only turns on
when the dispense cycle is activated.
1. Output pressure on Port A and B wil be displayed in the following window:
Pressure to port A.B can be adjusted from 0 to 100 psi by rotating the
pressure adjustment knob.
2. Rotate the adjustment knob in the counterclockwise direction to descrease
output pressure.
3. Rotate the adjustment knob in the clockwise direction to increase output
pressure.
Note: To ensure output pressure to A.B matches manual pressure
adjustments, please make sure pressure calibration Section 5.1.2 has been
completed.

11
5.2.4 To Change Pressure Unit Display
Note: The default pressure unit is PSI. To change pressure unit to BAR,
follow the instructions below.
1. Touch the Setup icon to enter the setup screen
2. Touch the “BAR” icon to change pressure unit to BAR
3. Touch the X icon to save and exit
5.2.5 Manual/Purge Dispense Cycle Setting:
1. Touch the Purge icon to select purge cycle.
The Purge icon will turn to green color.
2. Press and hold down the foot switch to activate the purge dispense cycle.
Alternately, touch and hold the Run icon on the display to activate the
purge dispense cycle.
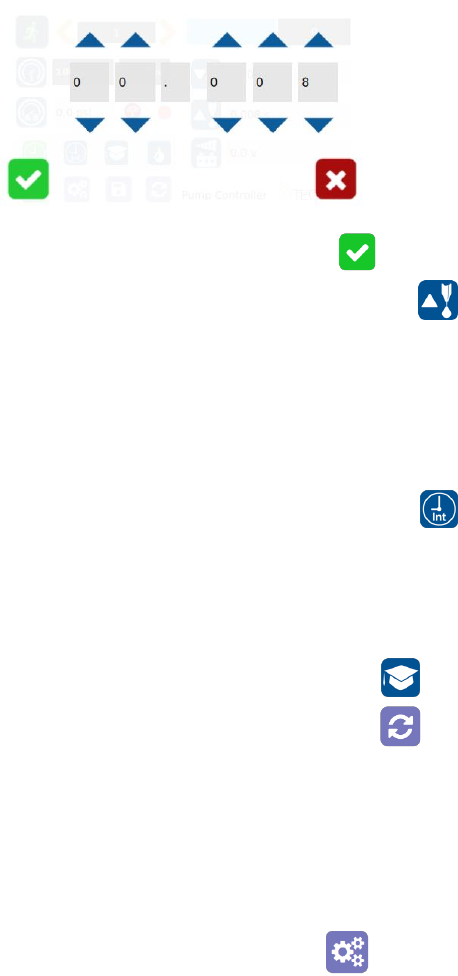
5.2.6 Automatic Dispense Cycle Setting:
1. Touch the “Timed” mode icon to set the dispense time.
The icon will turn to green color.
2. Touch the “Dispense” icon to enter the setup screen
3. Touch the Up and Down arrows to set the desired dispense time
12
4. Touch the Check Mark icon to save and exit
Note: if suck back is needed, touch the “Reverse” icon to
setup motor reverse time
5. Press the foot switch to activate the “Timed” dispense cycle.
Alternately, touch the Run icon to activate the “Timed” dispense cycle.
Note: The unit has an “Interrupt” mode feature. In this mode, the
“Timed” dispense cycle can be disrupted if the foot switch is released and
resumed when the foot switch is depressed again.
6. Touch the “Interrupt” icon to activate “Interrupt” mode.
The icon will turn to green color.
5.2.7 Teach Mode Setting
In the teach mode, the dispense time will be accumulated as long as the
foot switch is depressed. This is helpful in determining the required
dispense time when dispense output is known.
1. Touch the “Teach” icon to enter the teach mode
2. Touch the “Time Reset” icon to set timer to zero
3. Press and hold down the foot switch, the dispense time will be
accumulated
4. Release the foot switch when the desired amount of fluid has dispensed
5. Touch the “Timed” icon to transfer the dispense time to “Timed” mode
6. The unit is now set to repeat this “Timed” cycle
5.2.8 To run in Continous Mode
The controller can be setup to repeat the run continuously.
1. Touch the Setup icon to enter the setup screen