00195447-02_Installation_604_01_SP1_EN_DE.pdf - 第29页
Installation Manual, Station Software Version 604.01 SP1 Issue 12/2007 5.4.3.2 Calibrating the touchscreen for the D-Series → Select Start Æ Program Files Æ PenMount Utilities Æ PenMount Control Panel to start the touchs…

Installation Manual, Station Software Version 604.01 SP1 Issue 12/2007
Notes:
Touch the calibration icon within 20 seconds, otherwise calibration is automatically
canceled.
Make sure that you are standing directly in front of the monitor.
Carry out calibration in the position (standing or seated) you normally adopt when working
at this screen.
Touch the calibration icon firmly and accurately with your fingertip.
Make sure that you to not inadvertently touch the screen with any other finger.
→ Touch the calibration icon with your finger and make sure that the yellow area is completely covered
by your finger. The message "Hold" appears around the hand icon.
→ Keep your finger on the calibration icon until the "Touch Enabled" message appears. A second
calibration icon now appears.
→ Repeat the steps described above for the second calibration icon.
A dialog box then appears asking you to test the calibration. You can carry out the calibration again if
you are not sure that you have carried it out correctly the first time.
→ Carry out the procedure described above for the second screen as well.
→ Click the Close button to close the program.
28 of 47
Installation Manual, Station Software Version 604.01 SP1 Issue 12/2007
5.4.3.2 Calibrating the touchscreen for the D-Series
→ Select Start Æ Program Files Æ PenMount Utilities Æ PenMount Control Panel to start the
touchscreen calibration applet.
Fig. 5-9: PenMount Control Panel
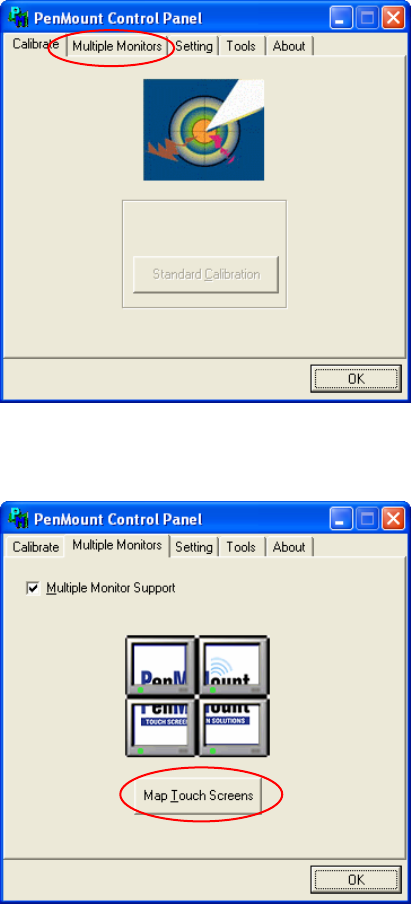
→ Open the Multiple Monitors tab.
Fig. 5-10: PenMount Control Panel – Multiple Monitors tab
→ Check the Multiple Monitor Support box.
→ Click the Map Touch Screens button.
The “Mapping” dialog box opens.
29 of 47
Installation Manual, Station Software Version 604.01 SP1 Issue 12/2007
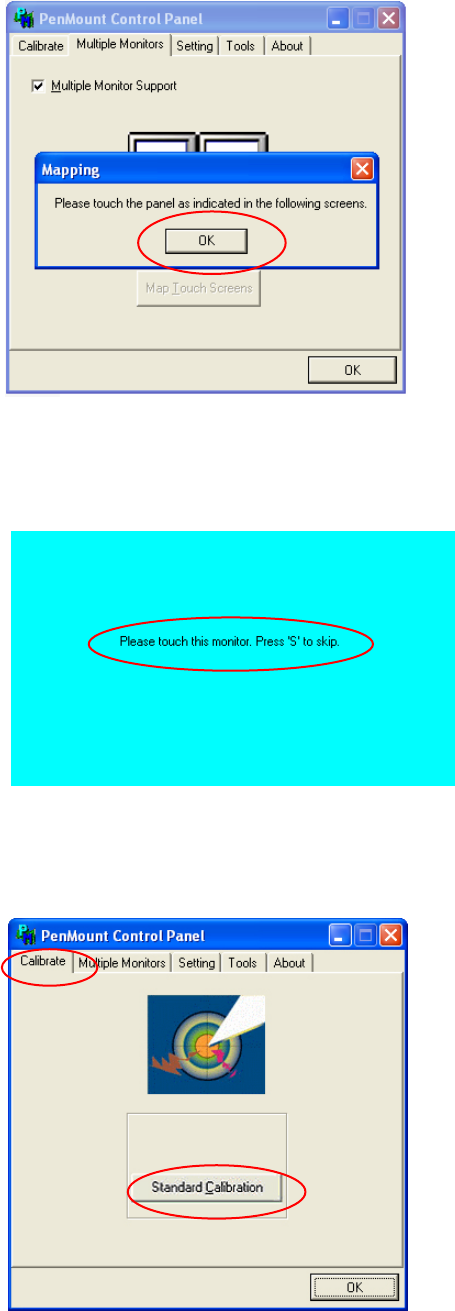
Fig. 5-11: PenMount Control Panel – "Mapping" dialog box
→ Acknowledge the “Mapping” dialog box by clicking on OK.
→ Touch the monitor showing Please touch this monitor with your finger.
Fig. 5-12: Mapping the touchscreens
The touchscreens are now mapped and the PenMount Control Panel is displayed again.
→ Open the Calibrate tab.
Fig. 5-13: PenMount Control Panel – Calibrate tab
→ Click the Standard Calibration button. The Calibrate dialog box opens.
30 of 47