00192211-02_RI_ObliqueLighting.pdf - 第23页
Oblique Lighting for SIPLACE 80 S-20 /F4/S-23/ F5 /HS-50/HF Retrofit Instructions 05/15 Issue 8.3 Installing the Oblique Lighting 25 8 Fig. 8.3.3 2-Core Cable wit h Oblique Lighting ► S23/HS50: Now push up the oblique li…
Retrofit Instructions Oblique Lighting for SIPLACE 80 S-20 /F4/S-23/ F5 /HS-50/HF
8.3 Installing the Oblique Lighting 05/15 Issue
24
8.3 Installing the Oblique Lighting
► Undo the 5 screws and remove the cover from the placement head.
8
Fig. 8.3.1 Removing the Cover
8
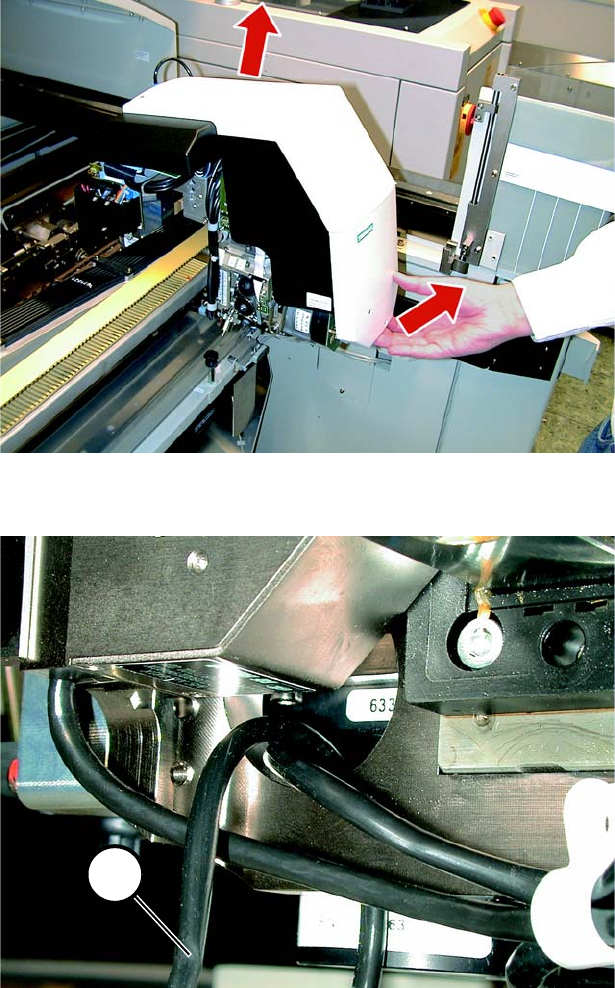
Fig. 8.3.2 Important: Laying the Cable between Oblique Lighting and PCB Camera
► S23: Lay the 2-core cable (1 in Fig. 8.3.2 and 8.3.3) up into the camera and to the left through
the opening. The cable must be laid like this otherwise it would be pinched by the head support.
1
Oblique Lighting for SIPLACE 80 S-20 /F4/S-23/ F5 /HS-50/HF Retrofit Instructions
05/15 Issue 8.3 Installing the Oblique Lighting
25
8
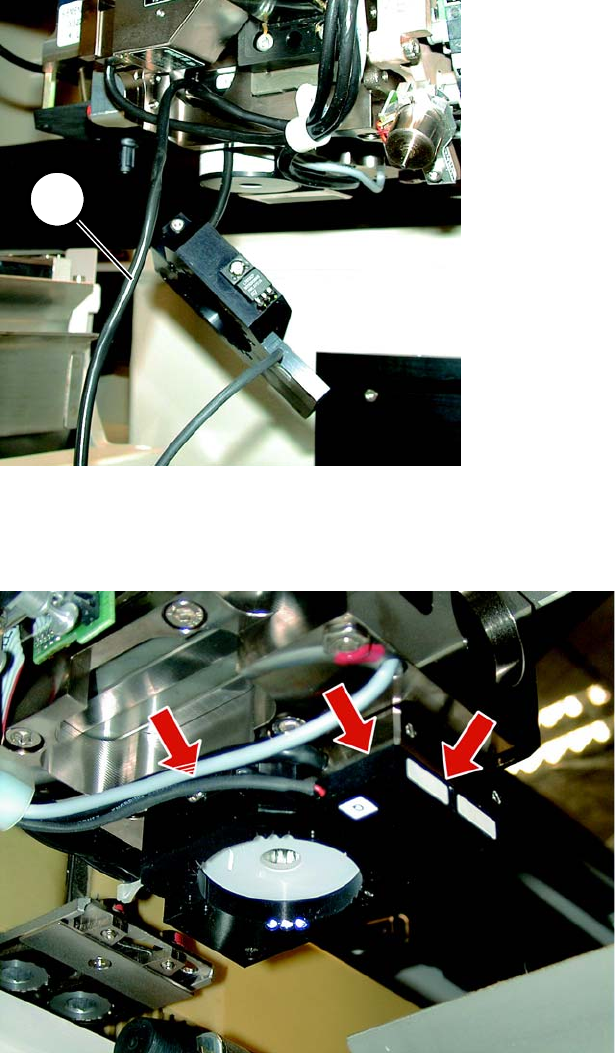
Fig. 8.3.3 2-Core Cable with Oblique Lighting
► S23/HS50: Now push up the oblique lighting. It must rest flush against the head support.
8
Fig. 8.3.4 The oblique lighting must rest flush against the PCB camera
► S23/HS50: Make certain that the oblique lighting is resting flat against the PCB camera at the
top right and against the head support at the front (see Fig. 8.3.4).
1
Retrofit Instructions Oblique Lighting for SIPLACE 80 S-20 /F4/S-23/ F5 /HS-50/HF
8.3 Installing the Oblique Lighting 05/15 Issue
26
8
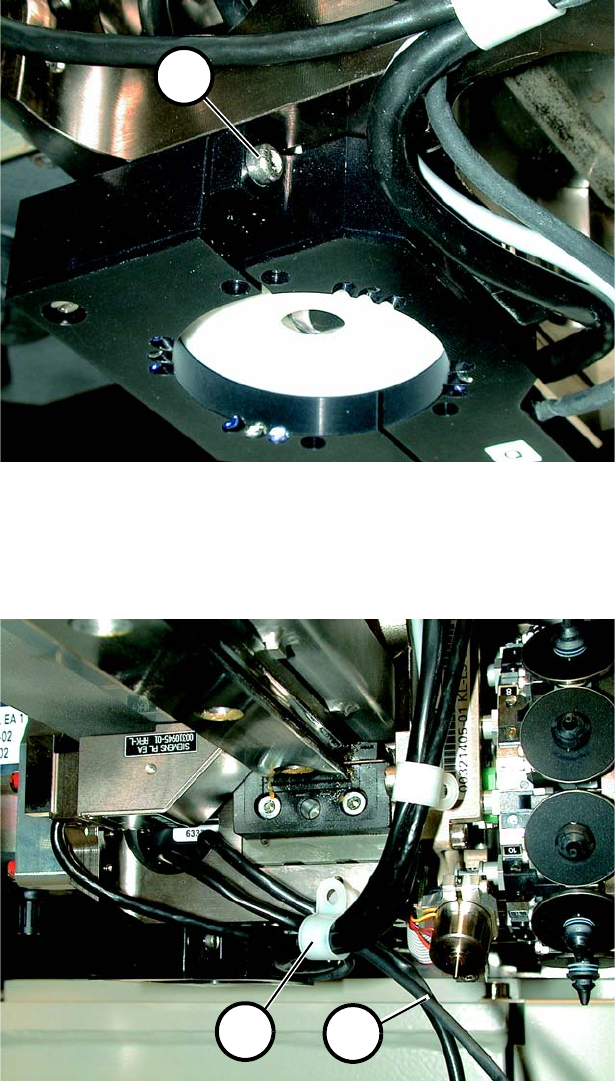
Fig. 8.3.5 Locking Screw
► S23/HS50: Fasten the oblique lighting in place with the locking screw (1 in Fig. 8.3.5). Please
be careful not to damage the label.
8
Fig. 8.3.6 Laying Cable using Cable Clamps
► S23: Unscrew the cable clamp (1 in Fig. 8.3.6) and push in both cables (2 in Fig. 8.3.6). Re-
fasten the cable clamp without pinching a cable. Proceed in the same manner with the other
cable clamps.
1
1
2