00196098-02_IM_SIPLACE_Explorer_2.4_DE.pdf - 第34页
3 Installation des SIPLACE Explorer Installati ons- und Konfigurationsanleitung SIPLACE Explor er 3.1 Erstinstallation von SIPLACE Explorer 2.4 Ausgabe 08/2008 DE 34 → Sie können die S t andardeinstellung durch Betätigun…
Installations- und Konfigurationsanleitung SIPLACE Explorer 3 Installation des SIPLACE Explorer
Ausgabe 08/2008 DE 3.1 Erstinstallation von SIPLACE Explorer 2.4
33
3
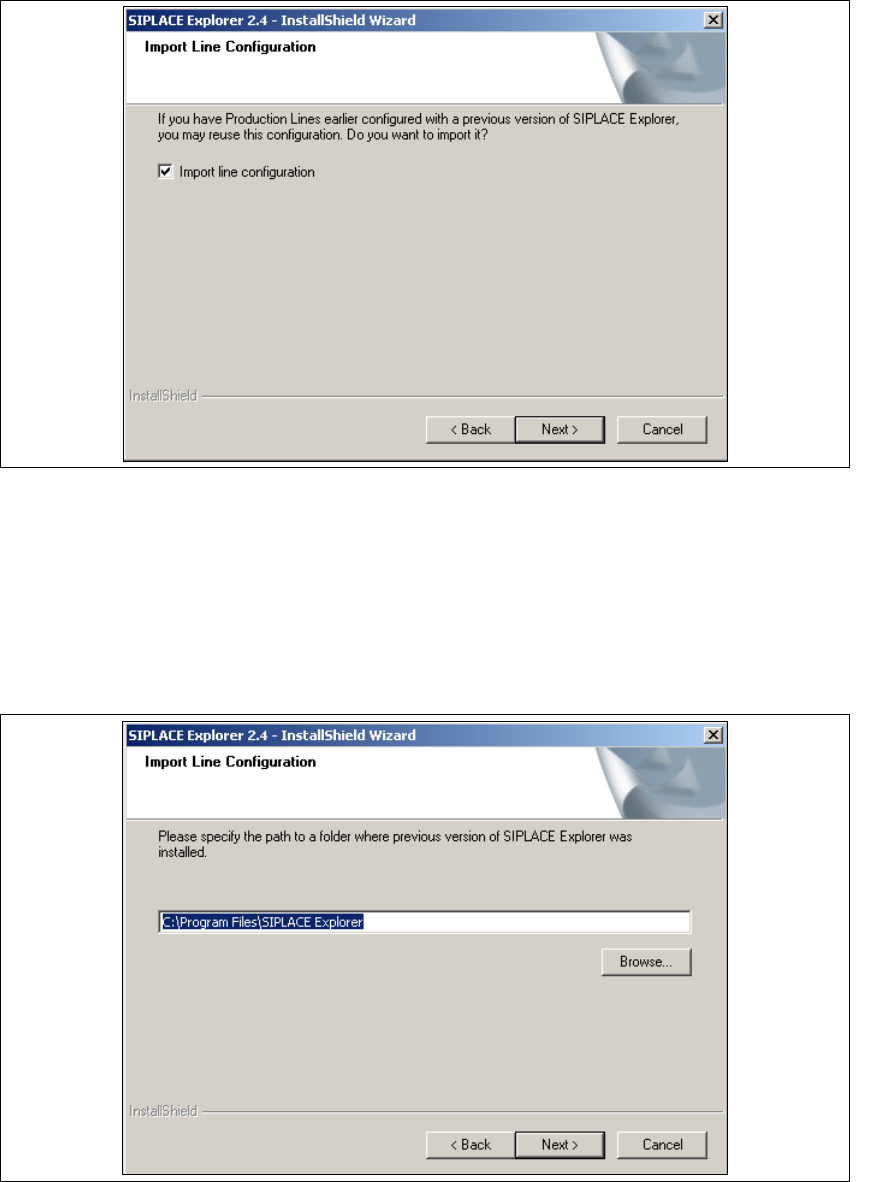
Abb. 3 - 11 SIPLACE Explorer setup - Linienkonfiguration importieren
→ Aktivieren Sie Import line configuration (Linienkonfiguration importieren), wenn Sie die
Linienkonfiguration einer vorherigen Version übernehmen möchten. Das Dialogfenster Import
Line Configuration (Linienkonfiguration importieren) wird geöffnet.
→ Geben Sie jetzt den Ordner an, in dem die Linienkonfiguration einer vorherigen SIPLACE
Explorer Version gespeichert ist. Der standardmäßig eingestellte Ordner ist C:\Program
Files\SIPLACE Explorer.
3
Abb. 3 - 12 SIPLACE Explorer setup - Zielordner wählen
3 Installation des SIPLACE Explorer Installations- und Konfigurationsanleitung SIPLACE Explorer
3.1 Erstinstallation von SIPLACE Explorer 2.4 Ausgabe 08/2008 DE
34
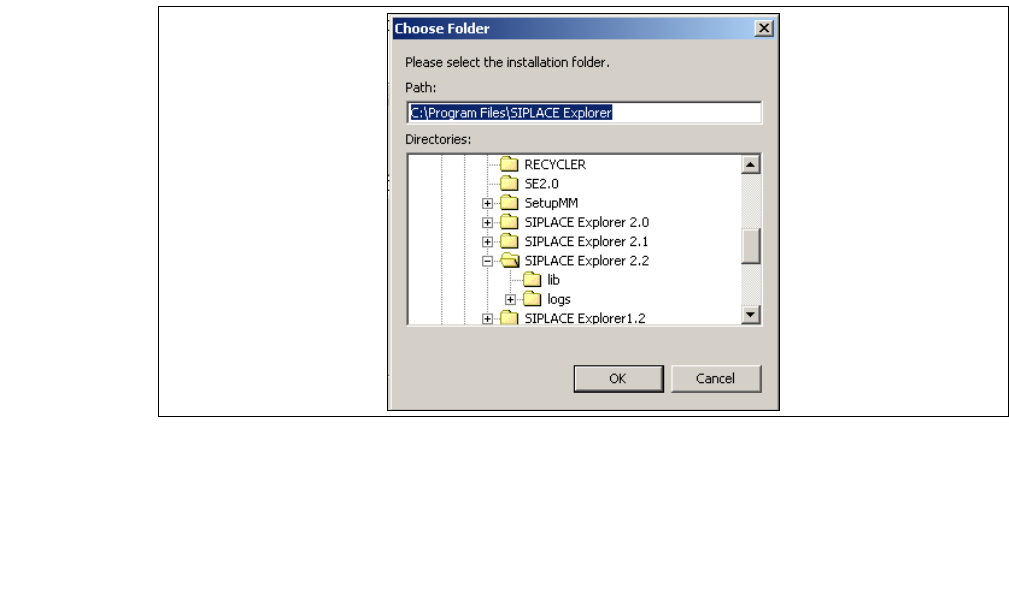
→ Sie können die Standardeinstellung durch Betätigung der Schaltfläche Browse (Durchsuchen)
verändern.
→ Das Dialogfenster Choose Folder (Ordner auswählen) erscheint, um den gewünschten
Ordner zu wählen.
3
Abb. 3 - 13 SIPLACE Explorer Setup - Dialogfenster 'choose folder' (’Ordner auswählen’)
→ Geben Sie den gewünschten Ordner an und klicken Sie OK, um Ihre Auswahl zu bestätigen.
Im Dialogfenster Import Line Configuration (Linienkonfiguration importieren) wird der
ausgewählte Ordner angezeigt.
→ Um die Auswahl des Zielordners zu bestätigen, klicken Sie im Dialogfenster Import Line
Configuration (Linienkonfiguration importieren) die Schaltfläche Next (Weiter) an.
Installations- und Konfigurationsanleitung SIPLACE Explorer 3 Installation des SIPLACE Explorer
Ausgabe 08/2008 DE 3.1 Erstinstallation von SIPLACE Explorer 2.4
35
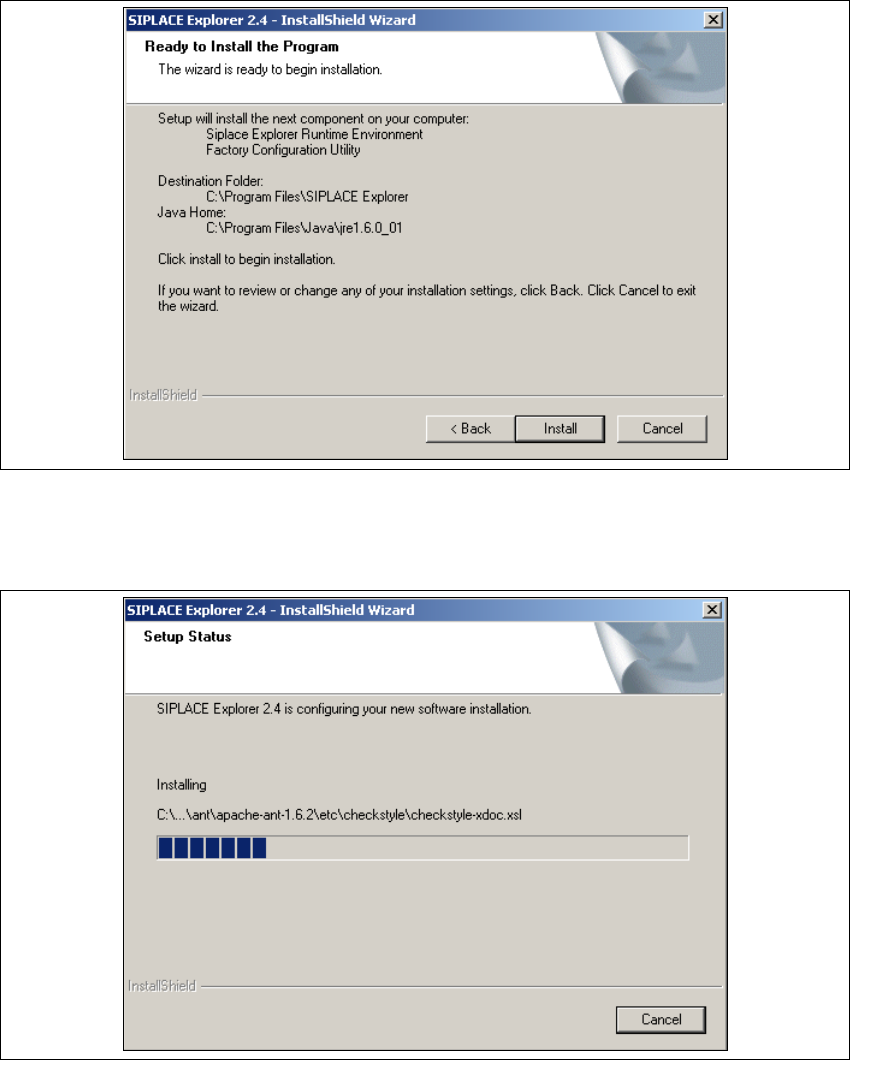
→ Das Dialogfenster Ready to Install the Program (Bereit für die Installation) wird geöffnet.
3
Abb. 3 - 14 SIPLACE Explorer Setup - Dialogfenster 'Ready to Install' (Bereit für die Installation)
→ Betätigen Sie die Sie die Schaltfläche Install, die eigentliche Installation von SIPLACE
Explorer V2.4 beginnt.
3
Abb. 3 - 15 SIPLACE Explorer Setup - Dialogfenster 'Setup Status' (Status der Installation)