00196416-01_IM_OIS_SIS 7.0_DE EN.pdf - 第19页
OIS Client, OIS Server, SIS Server Version 7.0 Installationsanleitung Installation manual ¾ Specify whether SIPLACE SIS is to record the sp ecified recipe and setup data for all the lines connected to SIPLACE Pro or for …
Installationsanleitung OIS Client, OIS Server, SIS Server Version 7.0
Installation Manual
This shows a summary of the settings and entries you have made so far.
¾ Check the settings.
¾ Click Next > to start the actual installation process.
¾ If you wish to change your entries, click < Back to return to the appropriate dialog.
The software is then installed.
¾ Continue with section
3.2.5 on page 21.
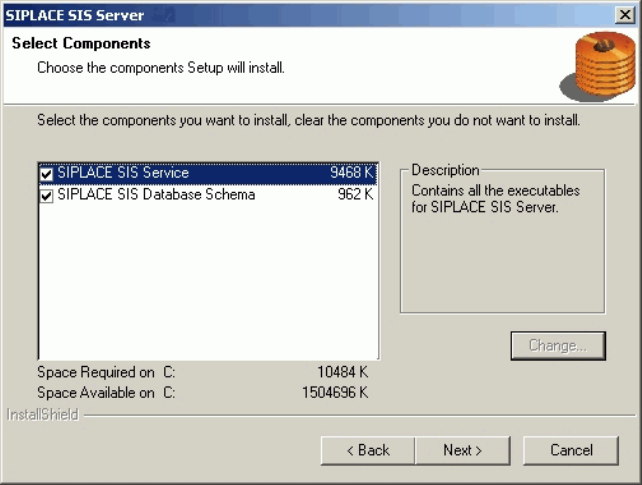
3.2.4 Installing SIS Server
¾ Select the components you want to install.
¾ Continue by clicking the Next> button.
18 von 50
OIS Client, OIS Server, SIS Server Version 7.0 Installationsanleitung
Installation manual
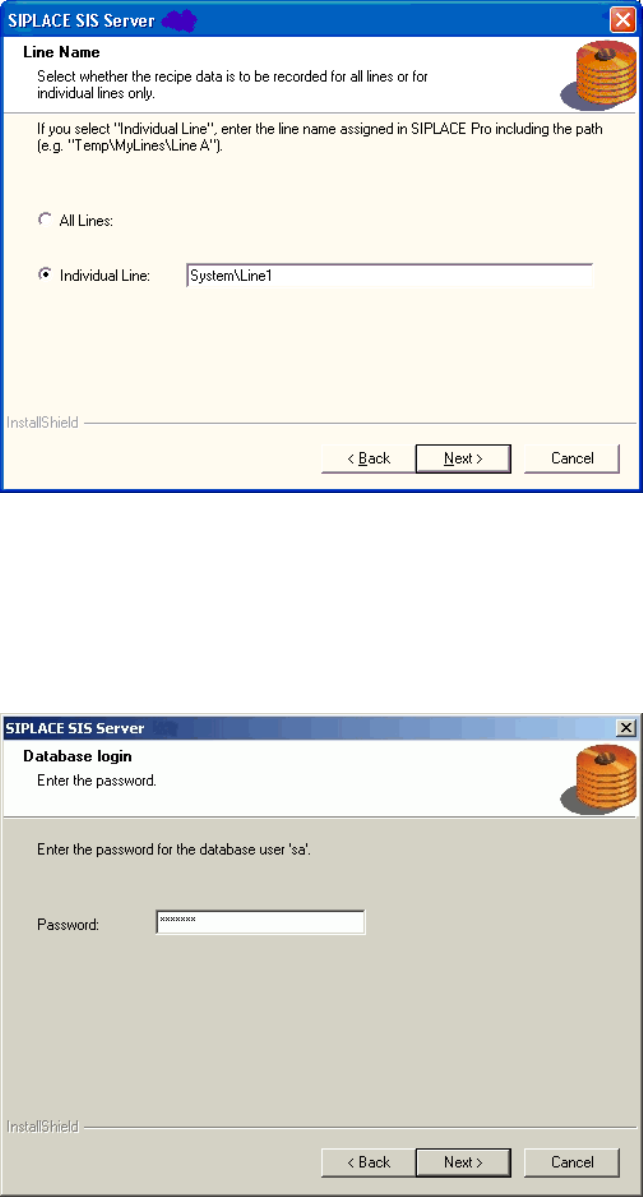
¾ Specify whether SIPLACE SIS is to record the specified recipe and setup data for all the lines
connected to SIPLACE Pro or for a specific line.
¾ If SIPLACE SIS is only to record the data for a particular line, enter the name of the required line and
the path exactly as it is written in SIPLACE Pro, e.g. System\Line1.
¾ Continue by clicking the Next> button.
The installation routine must log in to the SQL-Server as system administrator (sa) in order to set up or
update the database schema.
¾ Enter the system administrator password.
¾ Continue by clicking the Next> button. If you don't yet have a database, you'll see the following
dialog:
19 von 50
Installationsanleitung OIS Client, OIS Server, SIS Server Version 7.0
Installation Manual
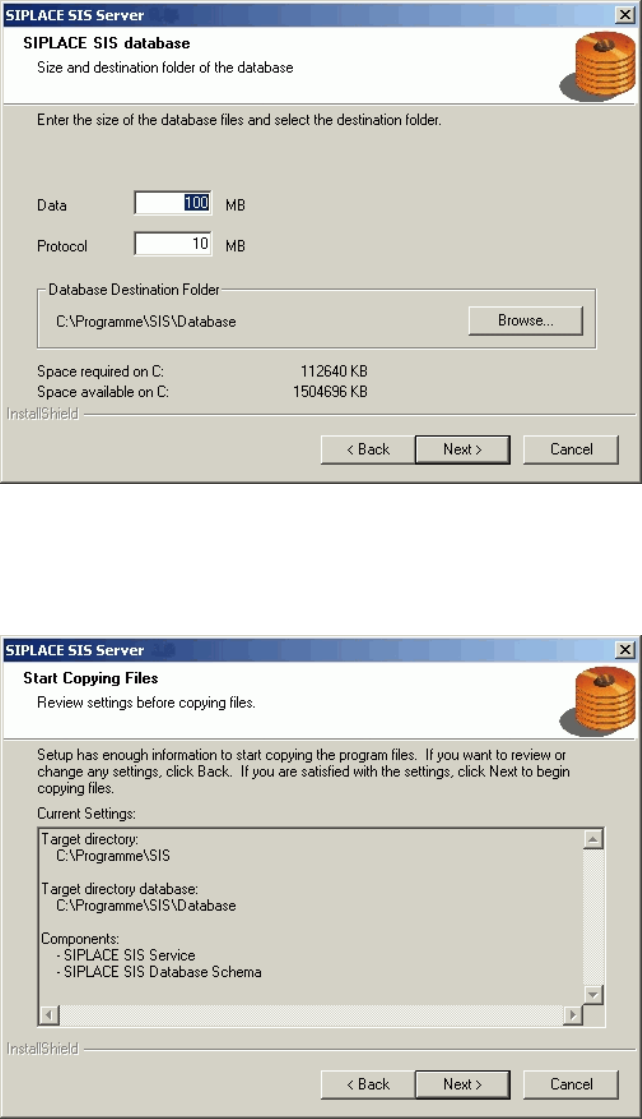
¾ Click Browse... if you want to choose another installation directory for the database.
¾ Enter the starting file size for the database files. The default values are generally acceptable, and the
files are allowed to grow as your database expands.
¾ Continue by clicking the Next> button.
This shows a summary of the settings and entries you have made so far.
¾ Check the settings.
¾ Click Next > to start the actual installation process.
¾ If you wish to change your entries, click < Back to return to the appropriate dialog.
The software is then installed.
¾ Continue with section
3.2.5 on page 21.
20 von 50