1OM-1625-004_w.pdf - 第159页
1OM-1603 3-36 3. Component Replenishment : Chap.3 (3) Press the "Fdr . No." button which corresponds to the feeder No. (FDR-No. to be set ready for splicing) displayed in the "Machine Information (Alarm fo…
1OM-1603
3-35
3. Component Replenishment : Chap.3
3.3 Component Replenishment with Splicing Function
The splicing function makes it possible to replenish the supply of taped
components without stopping the automatic operation.
Notice
A splicing tape and a tape cutting jig are also required for splicing.
When [Operation], [Opr. Mode] and [Splicing] are selected in this order to open
the "Splicing" window, and the specied conditions are fullled, the "Machine
Information (Alarm for Splicing)" window opens.
F1C26
Procedure
(1) Check the contents of the machine information and press the [OK] button.
The "Machine Information" window closes.
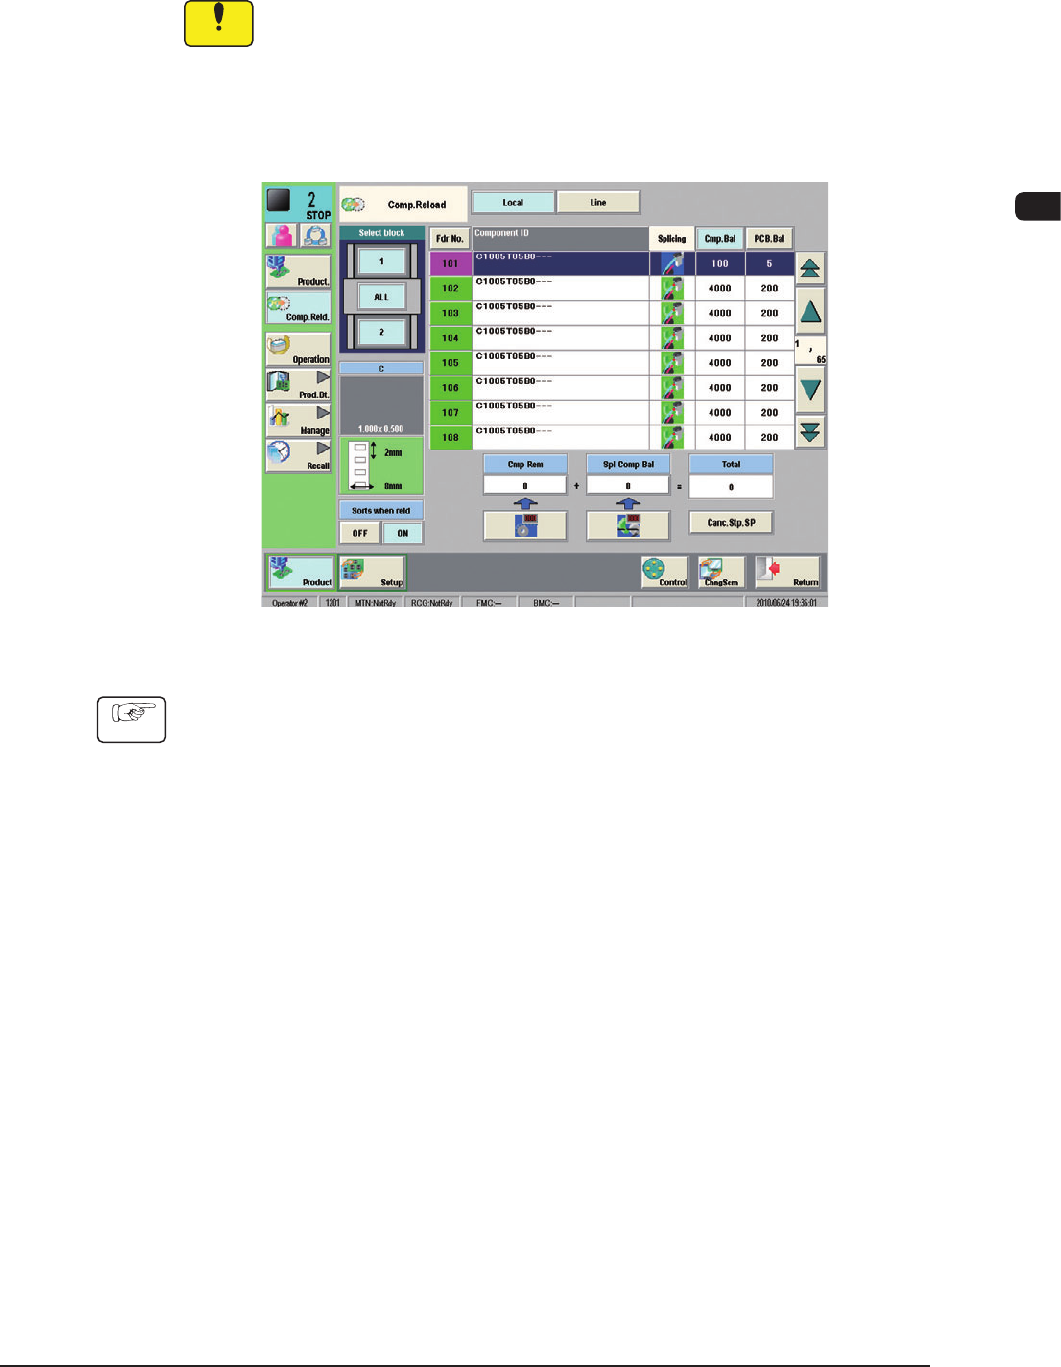
(2) Press the [Comp.Reld] button on the submenu bar of the "Comp.Reload"
window to open the "Product" window.
1012-005
1OM-1603
3-36
3. Component Replenishment : Chap.3
(3) Press the "Fdr. No." button which corresponds to the feeder No. (FDR-No. to
be set ready for splicing) displayed in the "Machine Information (Alarm for
Splicing)" window and check the scope of the component data.
(For the component, for which the preparation for splicing is required, the
splicing icon is displayed in red).
F1C27
(4) Perform the splicing operation and replenish the feeder with components.
Reference
Refer to the instruction manuals of the tape cutting jig and the splicing tape for
detailed information on the splicing work.
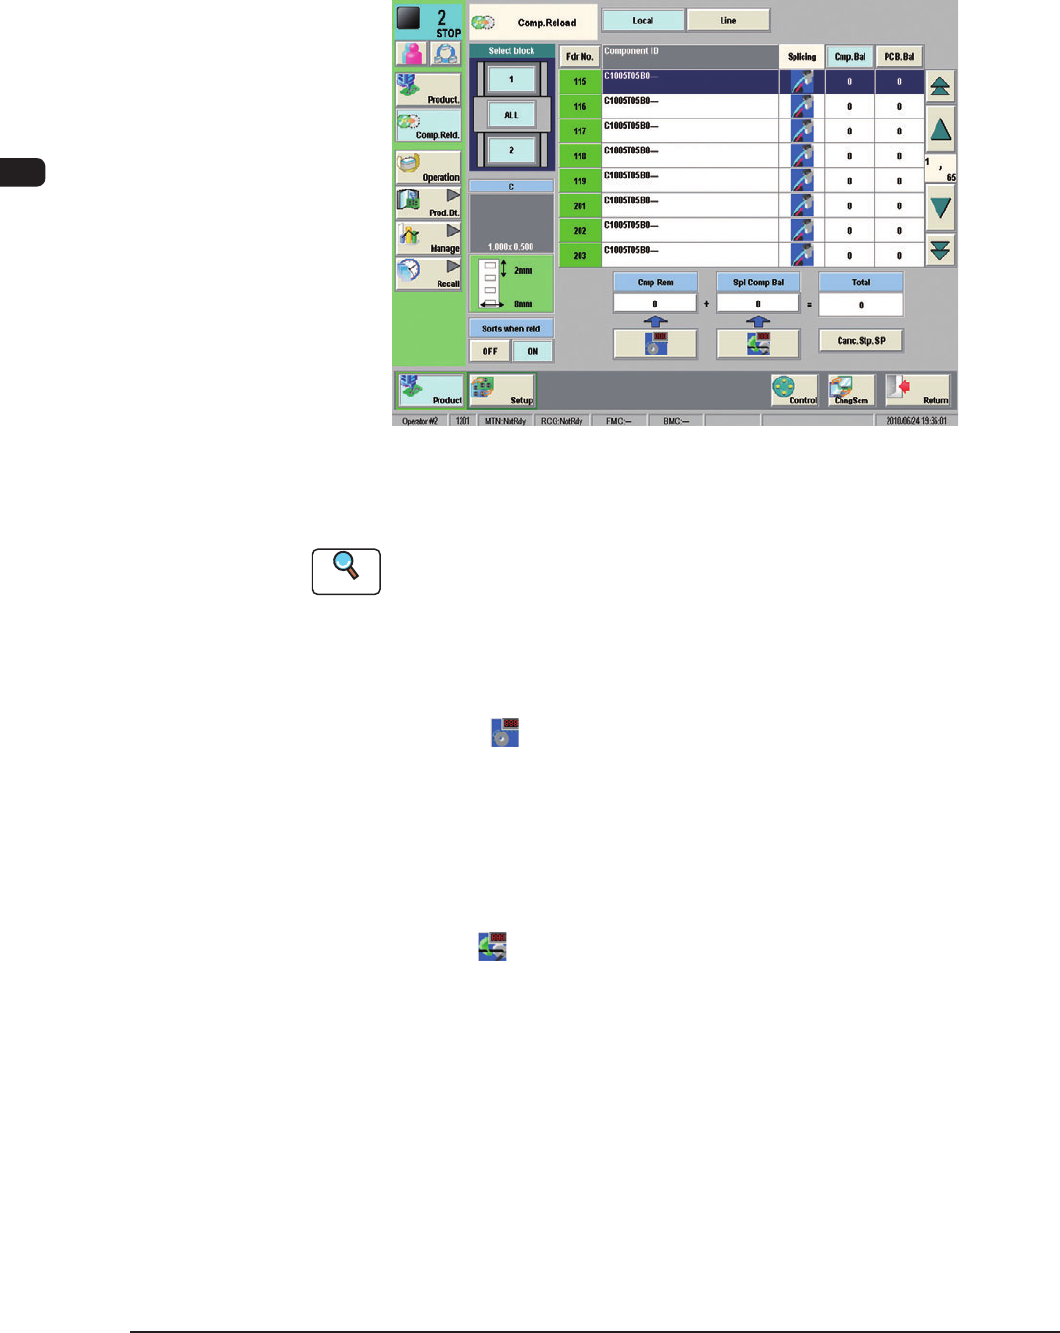
(5) Follow the step below to set the replenished components.
•
When a new tape is spliced:
Press the [ ] (component replenish) button.
Check the remaining number of components in the feeder list and conrm
that the feeder is replenished with components
.
•
Splicing of Used Tape
(when the number of taped components differs from the number of
componentsspeciedinthecomponentlibrary
data)
Press the [ ] (Splicing Component Remainder) button. The " Splicing
Component Remainder" window opens.
Enter the number of reloaded components.
Check the remaining number of components in the feeder list and conrm
that the feeder is replenished with components.
1012-005
1OM-1603
3-37
4. PCB Replenishment : Chap.3
4. PCB Replenishment
When the machine gets short of PCBs during automatic operation, the input
machine produces an error alarm or the machine stops automatically.
(1) When the input machine has issued an error alarm, follow the step
below.
Replenish the input machine with PCBs and re-start the automatic operation.
(2) When the machine has stopped automatically, follow the step below
The input machine has stopped automatically in a normal condition.
In normal cases, it means that the production is completed.
4.1 PCB Manual Insertion and Removal Procedures
Before the PCB manual insertion or removal operation is performed, pay attention
to the following items.
CAUTION
Before operating the machine, conrm that there are no
people around the machine (especially, the other side of
the machine operation) and no objects such as tools and
parts are left around the machine.
4.1.1 PCB Manual Insertion Procedures
Procedure
(1) Stop the machine.
(2) Put the PCB on the conveyor belt in the buffer section.
•
When the PCB is to be put on, put the PCB on the belt gently.
Otherwise, the PCB might not be transferred correctly due to conveyer
belt sag or cut out.
Notice
Do not bump the PCB against the transfer PCB detection sensor. Doing
so might damage the sensor, which might disable the normal PCB
transfer.
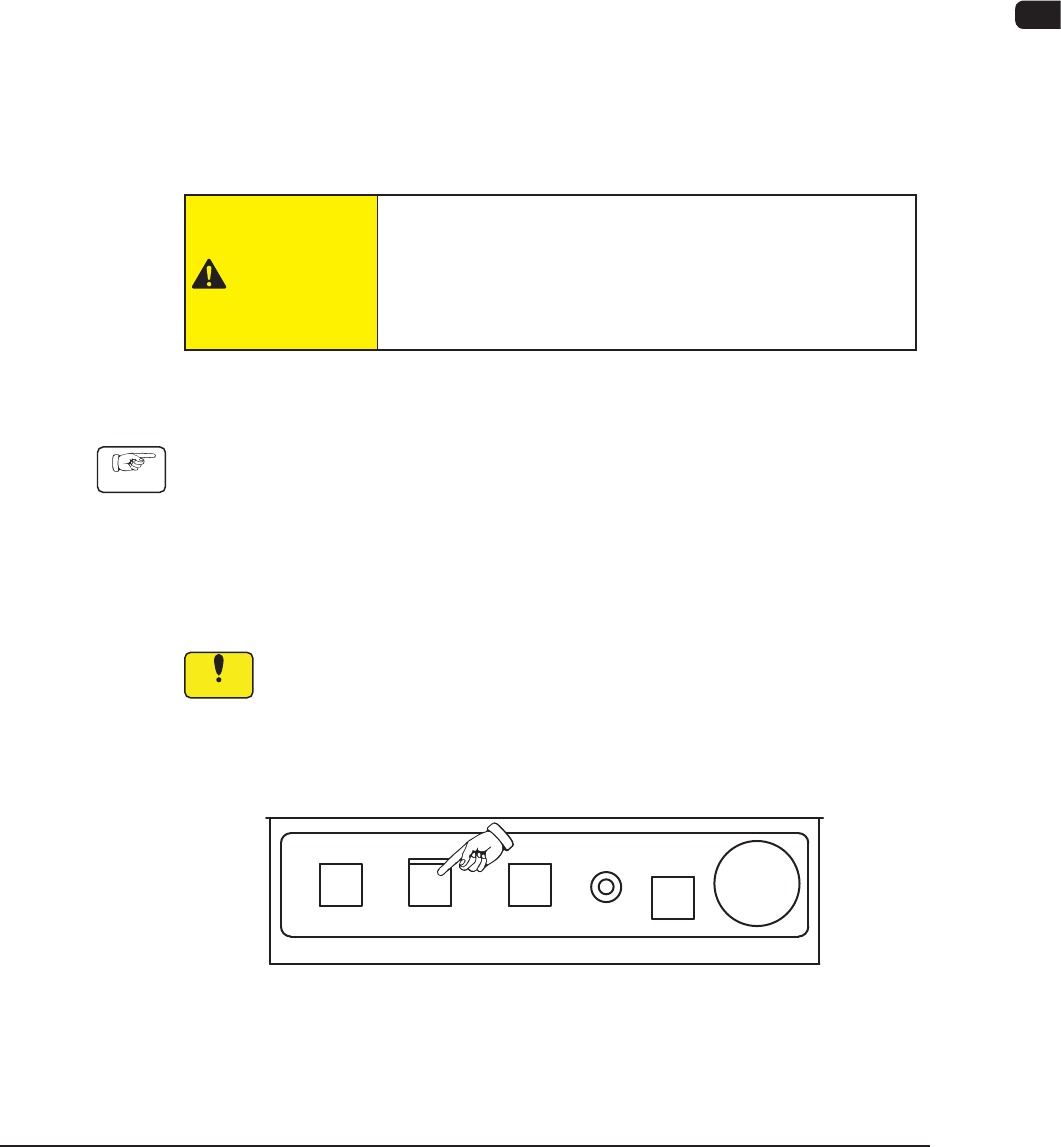
(3) Press the [START] button on the operation panel to start the PCB transfer.
F1C28
1007-004