YG300_Mainte_E.pdf - 第36页
2-6 2 Daily maintenance items 4 . C l e a n i n g t h e f e e d e r p l a t e C l e a n t h e f e e d e r p l a t e b y u s i n g t h e b r u s h s u p p l i e d w i t h t h e m a c h i n e . C h i p s o r f o r e i g n …

2-5
2
Daily maintenance items
3. Checking the nozzle spring action
Check the spring action of the nozzles and nozzle holders. Press on a nozzle or nozzle holder and if it
returns normally there is no problem. However, if the return action is poor (sluggish) then pickup errors and
recognition errors will occur.
Press on the nozzle tip with your hand.
Returns to original
position
Returns sluggishly
or does not return.
Checking the nozzle spring action
OK No good
53203-F1-00
Checking the nozzle holder spring action
Nozzle holder
53204-F1-00
c
CAUTION
Remove the nozzle and generate a negative pressure (vacuum) when checking the nozzle holder spring action. When
the check shows that nozzle holder spring action is poor, lubricate the nozzle by referring to section 2.2, "Cleaning and
lubricating a nozzle holder", in Chapter 3.
2-6
2
Daily maintenance items
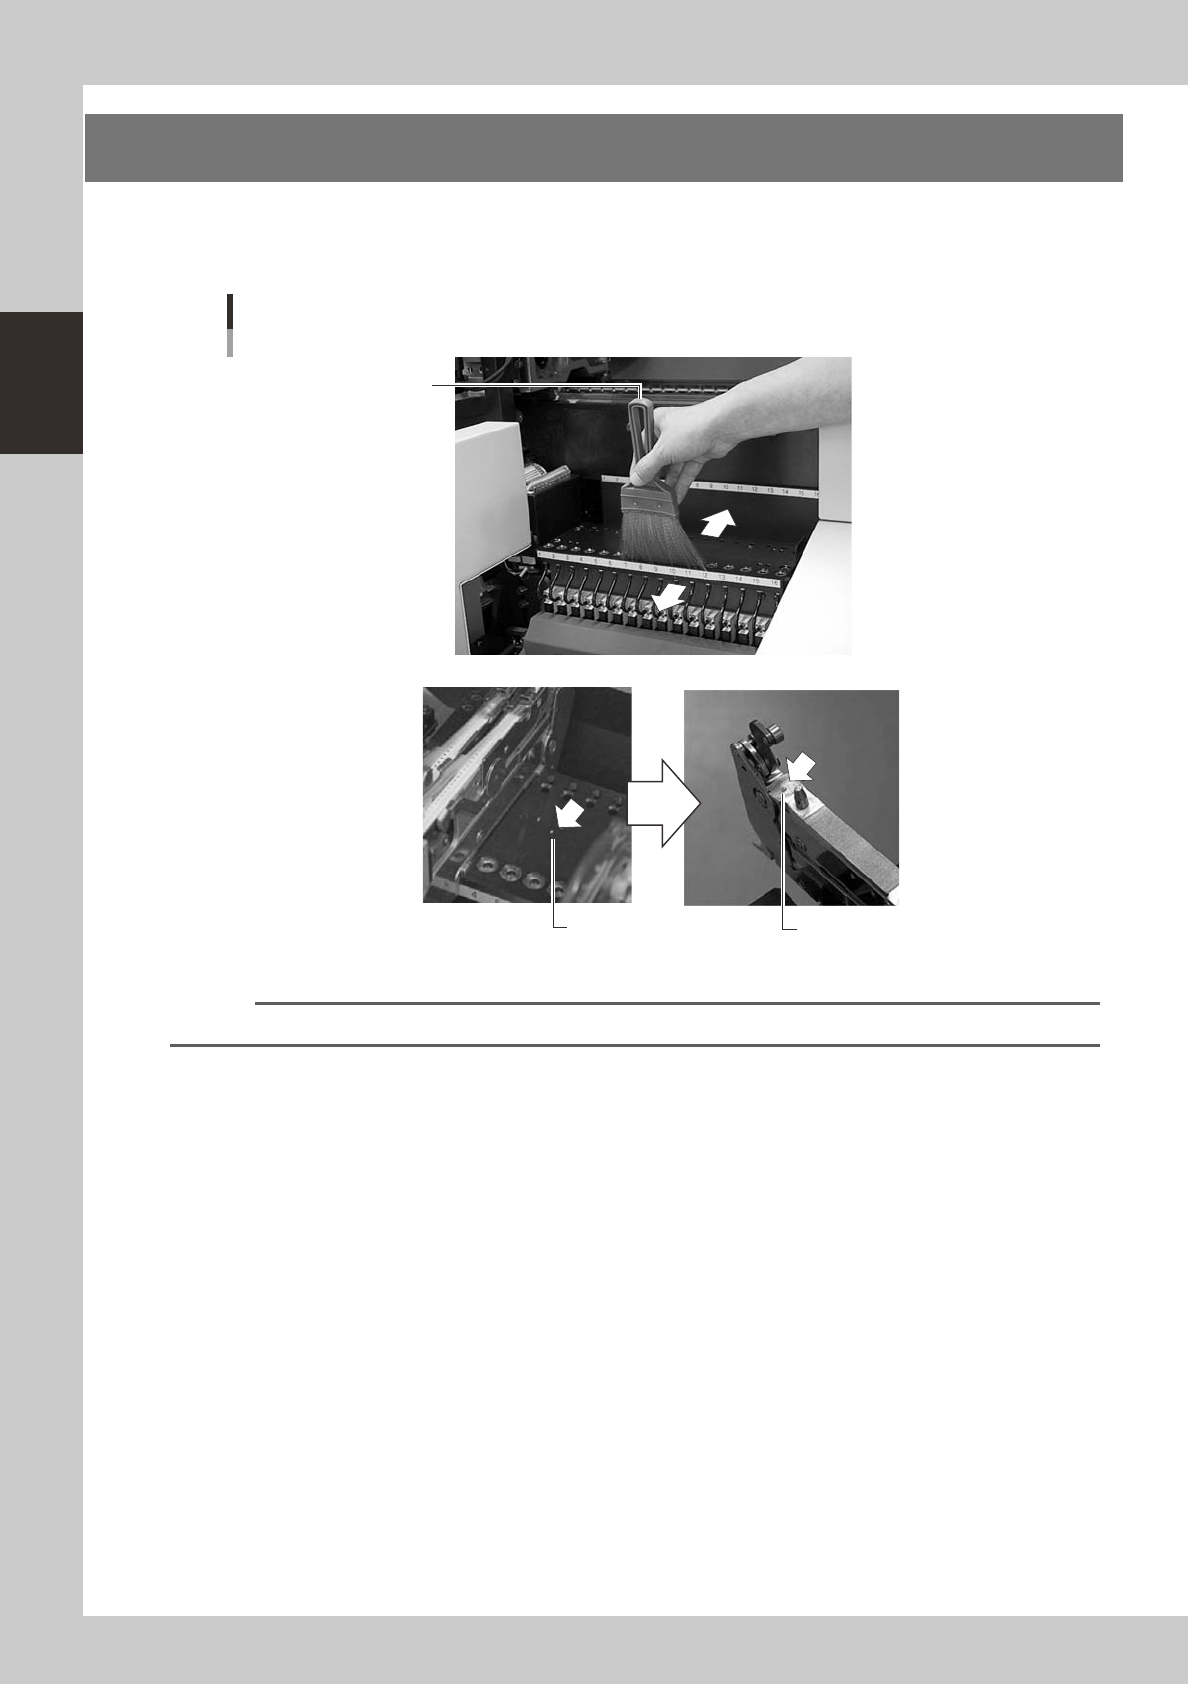
4. Cleaning the feeder plate
Clean the feeder plate by using the brush supplied with the machine. Chips or foreign matter falling on
the feeder plate might bite into the surface during feeder setting and cause the pickup position to deviate.
Periodic inspection and cleaning are recommended to prevent this problem.
Chips
Chips adhering to the bottom
of a tape feeder
Cleaning brush
Cleaning the feeder plate
53205-F1-00
Reference
You can clean chips and debris on the feeder plate while dropping them into the holes in the rear of the feeder plate.
2-7
2
Daily maintenance items
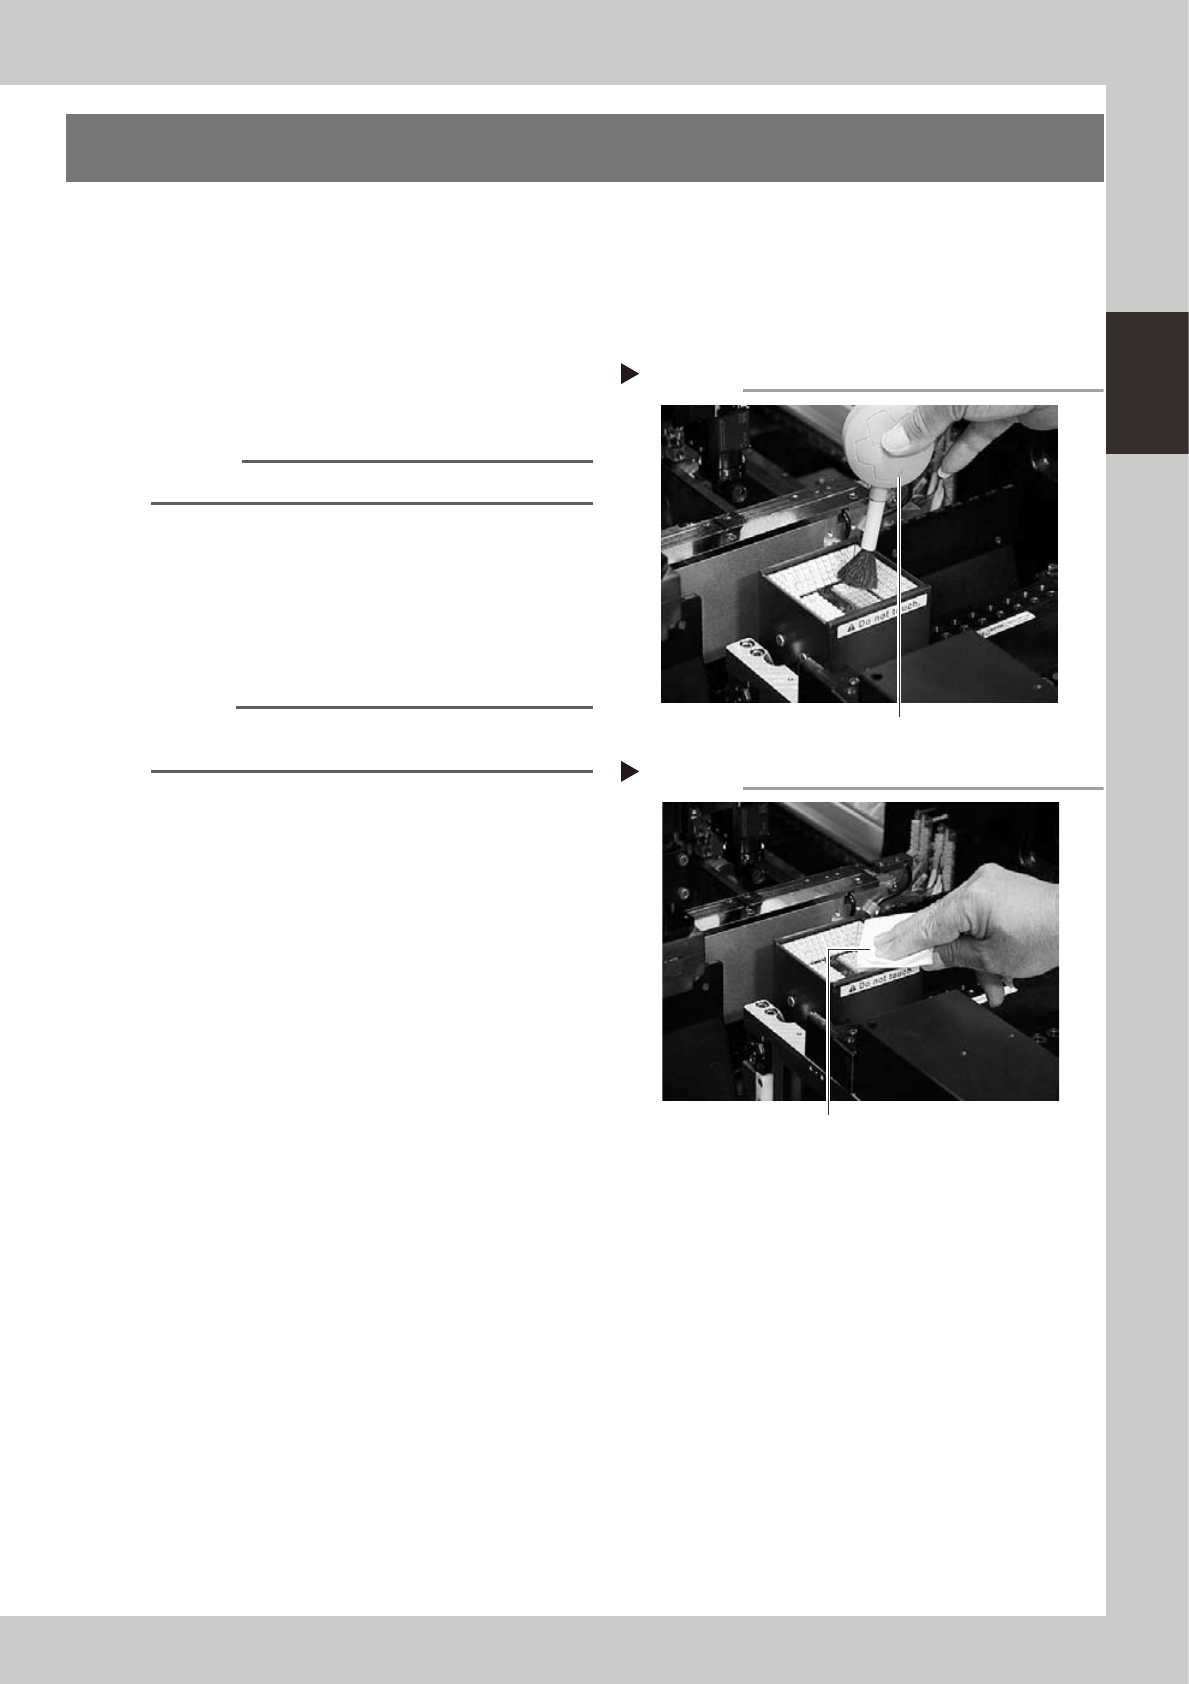
5. Cleaning the camera transparent cover
Dirt or dust particles sticking to the transparent cover of the multi-view camera can cause recognition errors.
Periodic inspection and cleaning are recommended to prevent this problem.
e
To ensure safety, make sure that the machine power switch is off or the emergency stop button is pressed
before starting work.
1
Remove dust on the transparent
cover with the lens blower brush.
53206-F1-00
Reference
A lens blower brush is available as an option.
2
Wipe the transparent cover with a
lint-free cloth.
Apply a few drops of lens cleaner to a
lint-free cleaning cloth or paper towel and
wipe the transparent cover.
53207-F1-00
n
NOTE
Use a lint-free cleaning cloth or paper wiper.
A lens cleaner is available as an option.
Blowing off dust with blower brush
Step 1
Lens blower brush
Wiping the transparent cover
Step 2
Lent-free cleaning cloth or paper wiper