YG300_Mainte_E.pdf - 第59页
3-21 3 Periodic maintenance items 2 . 1 0 C l e a n i n g t h e c a m e r a l e n s a n d l i g h t i n g u n i t Th e c a m e r a l e n s a n d l i g h t i n g u n i t m ay b e c o m e d i r t y d u e t o d u s t a n d …
3-20
3
Periodic maintenance items
n
Cleaning the air filter
1
Remove the filter cup.
See the previous procedure in "Cleaning the
filter cup".
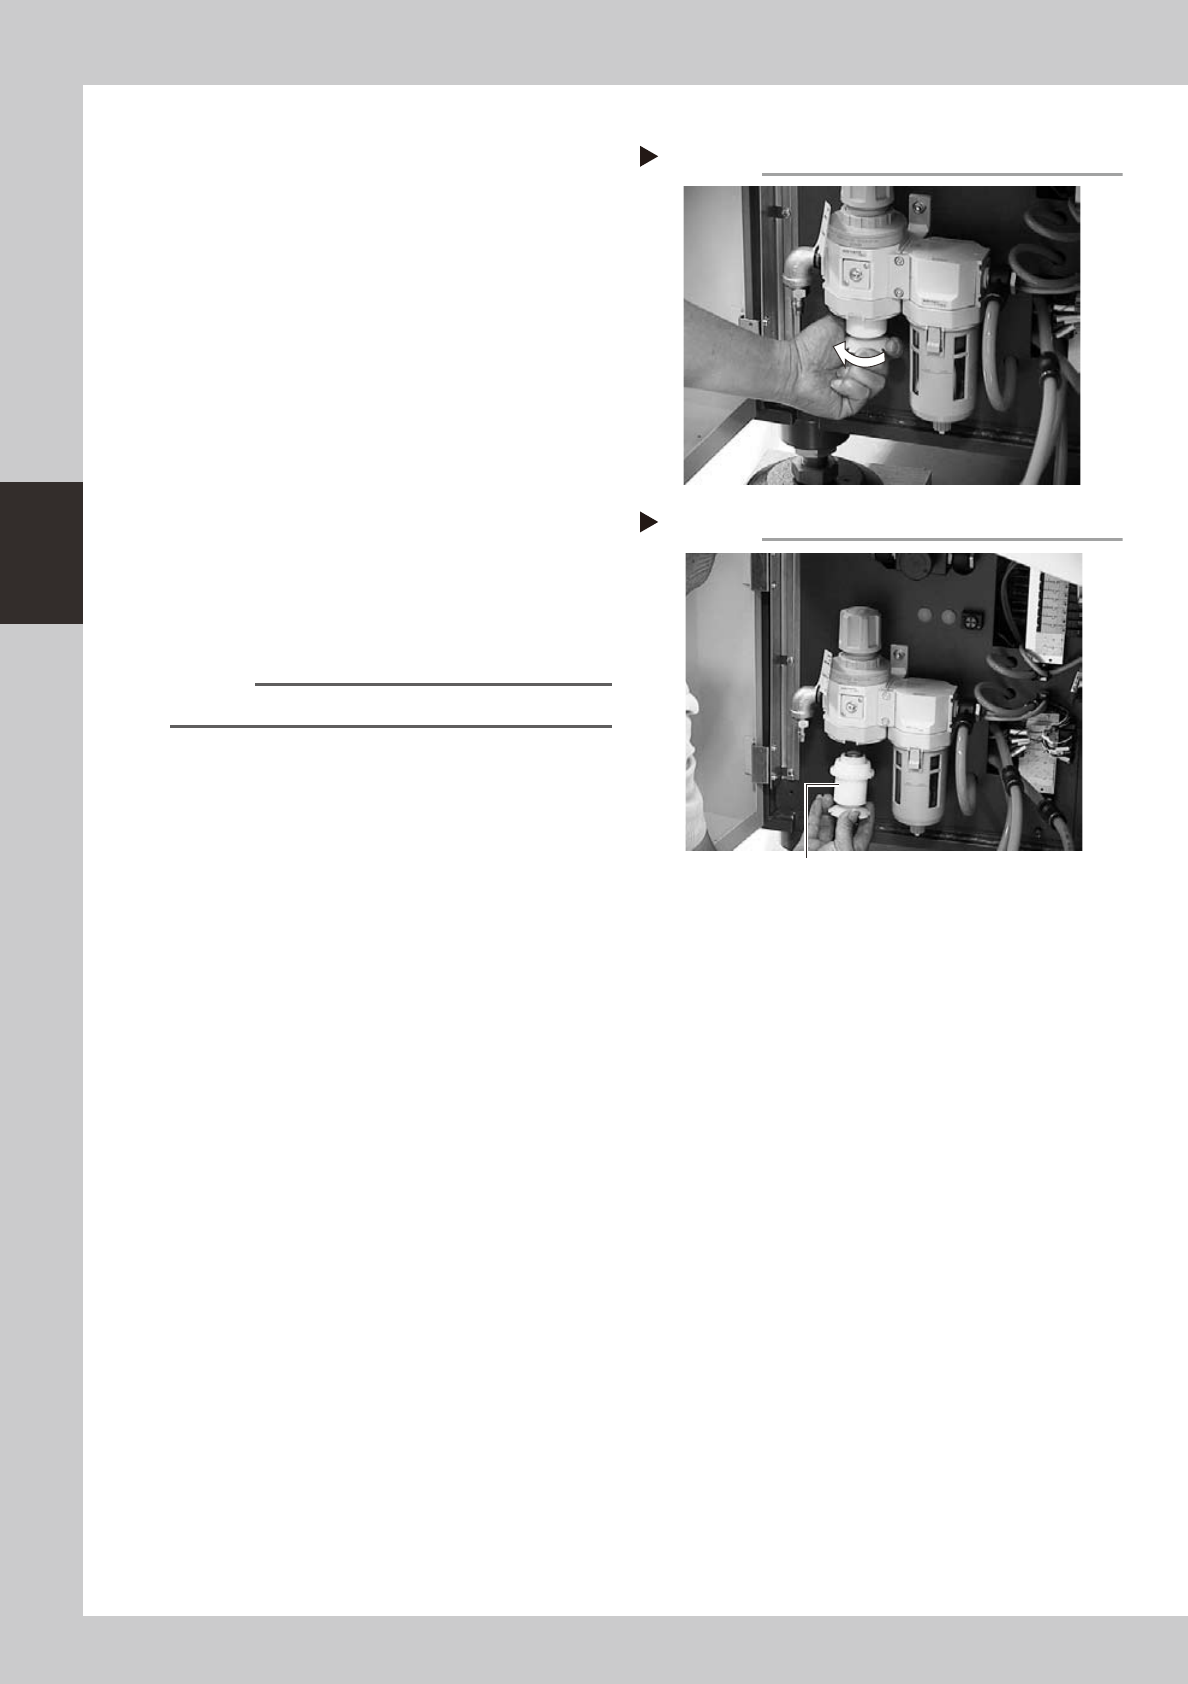
2
Remove the air filter.
Rotate the white disk clockwise as viewed
from the top and take out the air filter.
53334-F1-00
3
Clean the air filter.
Use an air blow gun to blow away dust and
impurities trapped by the air filter. If the filter
is excessively dirty and cannot be cleaned,
replace it with a new filter.
4
Reattach the air filter.
Screw the white disk back in to attach the
air filter to the original position.
53335-F1-00
5
Reattach the filter cup.
n
NOTE
When cleaning the mist filter, use the same procedure.
Removing the air filter
Step 2
Reattaching the air filter
Step 4
Air filter
3-21
3
Periodic maintenance items
2.10 Cleaning the camera lens and lighting unit
The camera lens and lighting unit may become dirty due to dust and dirt. We recommend periodic cleaning as
explained below. To ensure safety, make sure that the machine power switch is off or the emergency button is
pressed before starting work.
c
CAUTION
Do not apply strong force or shock to the camera unit and lighting unit during cleaning. Optical axis adjustment might
become unreliable.
n
Multi-view camera
The multi-view camera lens and lighting unit are enclosed inside the transparent cover. It is unlikely that you need to
clean these parts. If the transparent cover is dirty, clean it as explained in section 5, "Cleaning the camera transparent
cover", in Chapter 2.
n
Side-view camera
Clean the surface of the side-view camera lens and light diffuser plate as explained below.
1
Remove dust on the lens with a
blower brush.
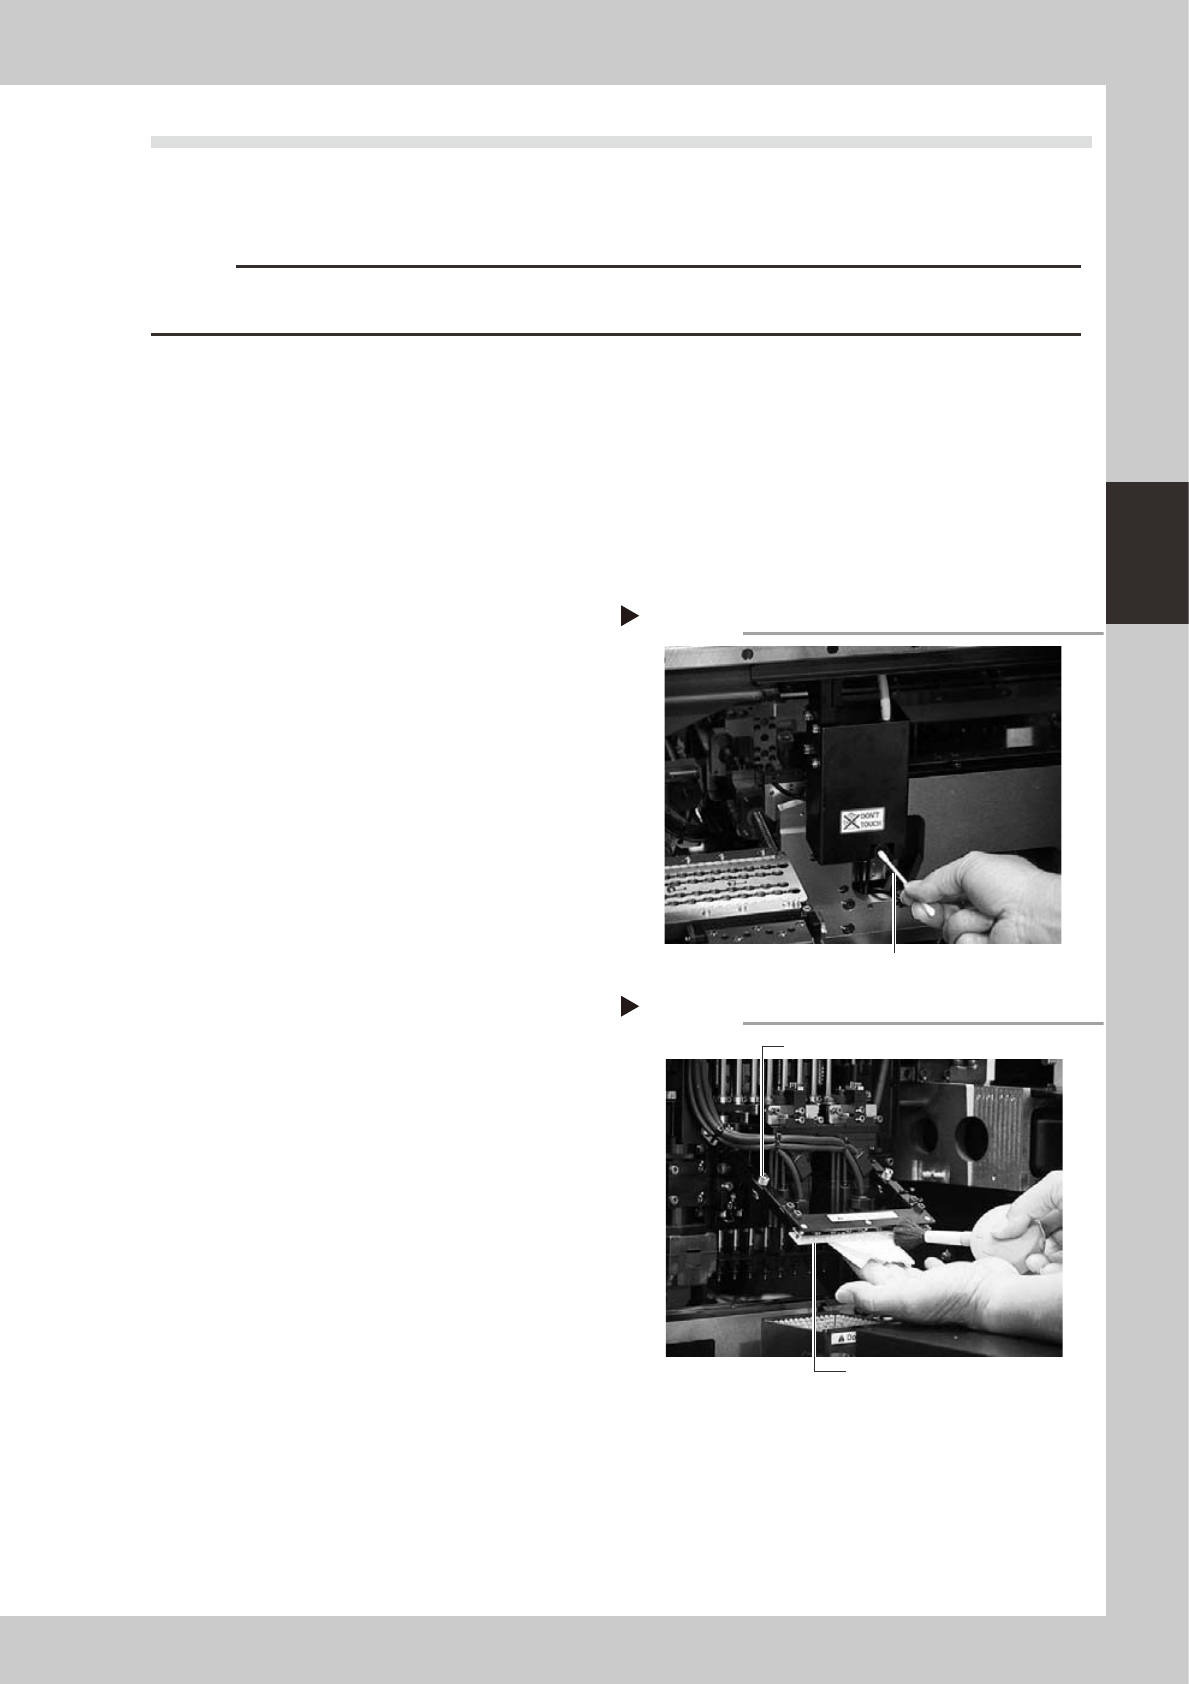
2
Wipe the lens with a cotton swab.
Apply a few drops of lens cleaner to a
cotton swab and wipe the surface of the
lens.
53336-F1-00
3
Wipe the light diffuser plate with a
cleaning cloth.
1. Loosen the bolts holding the light diffuser
plate with a flat-blade screwdriver.
2. Remove dust on the light diffuser plate
with a blower brush, then apply a few
drops of lens cleaner to a cleaning cloth
and wipe the light diffuser plate.
53337-F1-00
4
Reattach the light diffuser plate.
Attach the light diffuser plate back to the
original position and secure it by tightening
the bolts with the flat-blade screwdriver.
Wiping the lens
Step 2
Cotton swab moistened with lens cleaner
Wiping the light diffuser plate
Step 3
Light diffuser plate
Bolt securing the light diffuser plate
3-22
3
Periodic maintenance items
n
Fiducial mark recognition cameras
Fiducial mark recognition cameras (moving cameras) are mounted on the left and right of each head unit. Clean the
lighting units for these cameras as explained below.
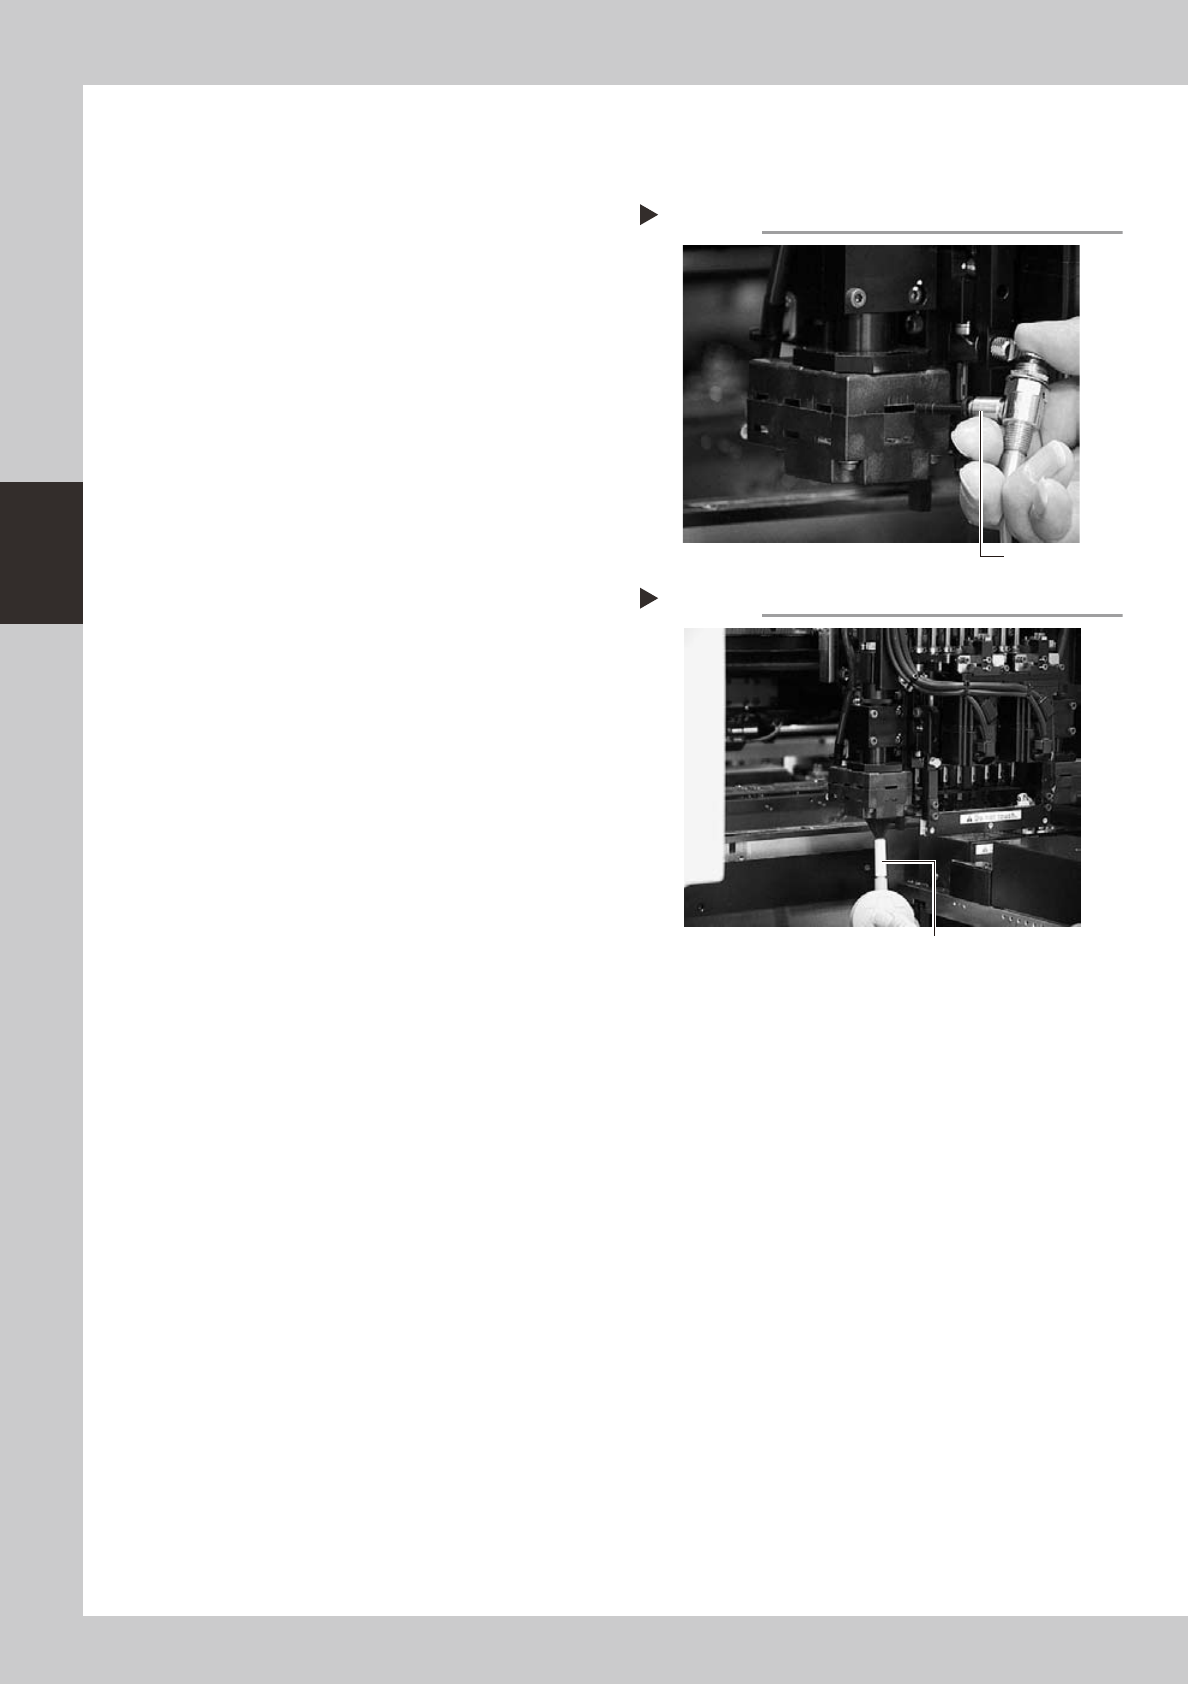
1
Remove dust from the inside of the
lighting unit.
Using the air blow gun, gently blow air
through the slits in the lighting unit.
53338-F1-00
2
Remove dust on the diffuser plate.
Use the blower brush to remove dust from
the diffuser plate.
53339-F1-00
3
Wipe the lens with a cleaning cloth.
Apply a few drops of lens cleaner to a
lint-free cleaning cloth and wipe the diffuser
plate on the bottom of the lighting unit.
Cleaning the inside of the lighting unit
Step 1
Air blow gun
Cleaning the light diffuser plate
Step 2
Blower brush